

This page applies to Apigee and Apigee hybrid.
View
Apigee Edge documentation.

Manage the pages in your portal, as described in the following sections.
About the reserved URL paths
The following URL paths are reserved for use by the developer portal and
cannot be specified as the page path (or as the prefix of a nested page path,
such as docs/... or apis/...) when creating pages:
aaccounts/createapisconsumers/apicreatedocsfilesloginlogoutlogosmy-appsportals/apisiteidsitessmartdocsteams
The reserved path /create can be used as the target URL of a MenuItem or
be linked to from a Page.
The /create reserved path will redirect to the
accounts creation page.
Exploring the Pages page
To access the Pages page:
In the Apigee in Cloud console, go to the Distribution > Portals page.
The list of pages in your portal is displayed.
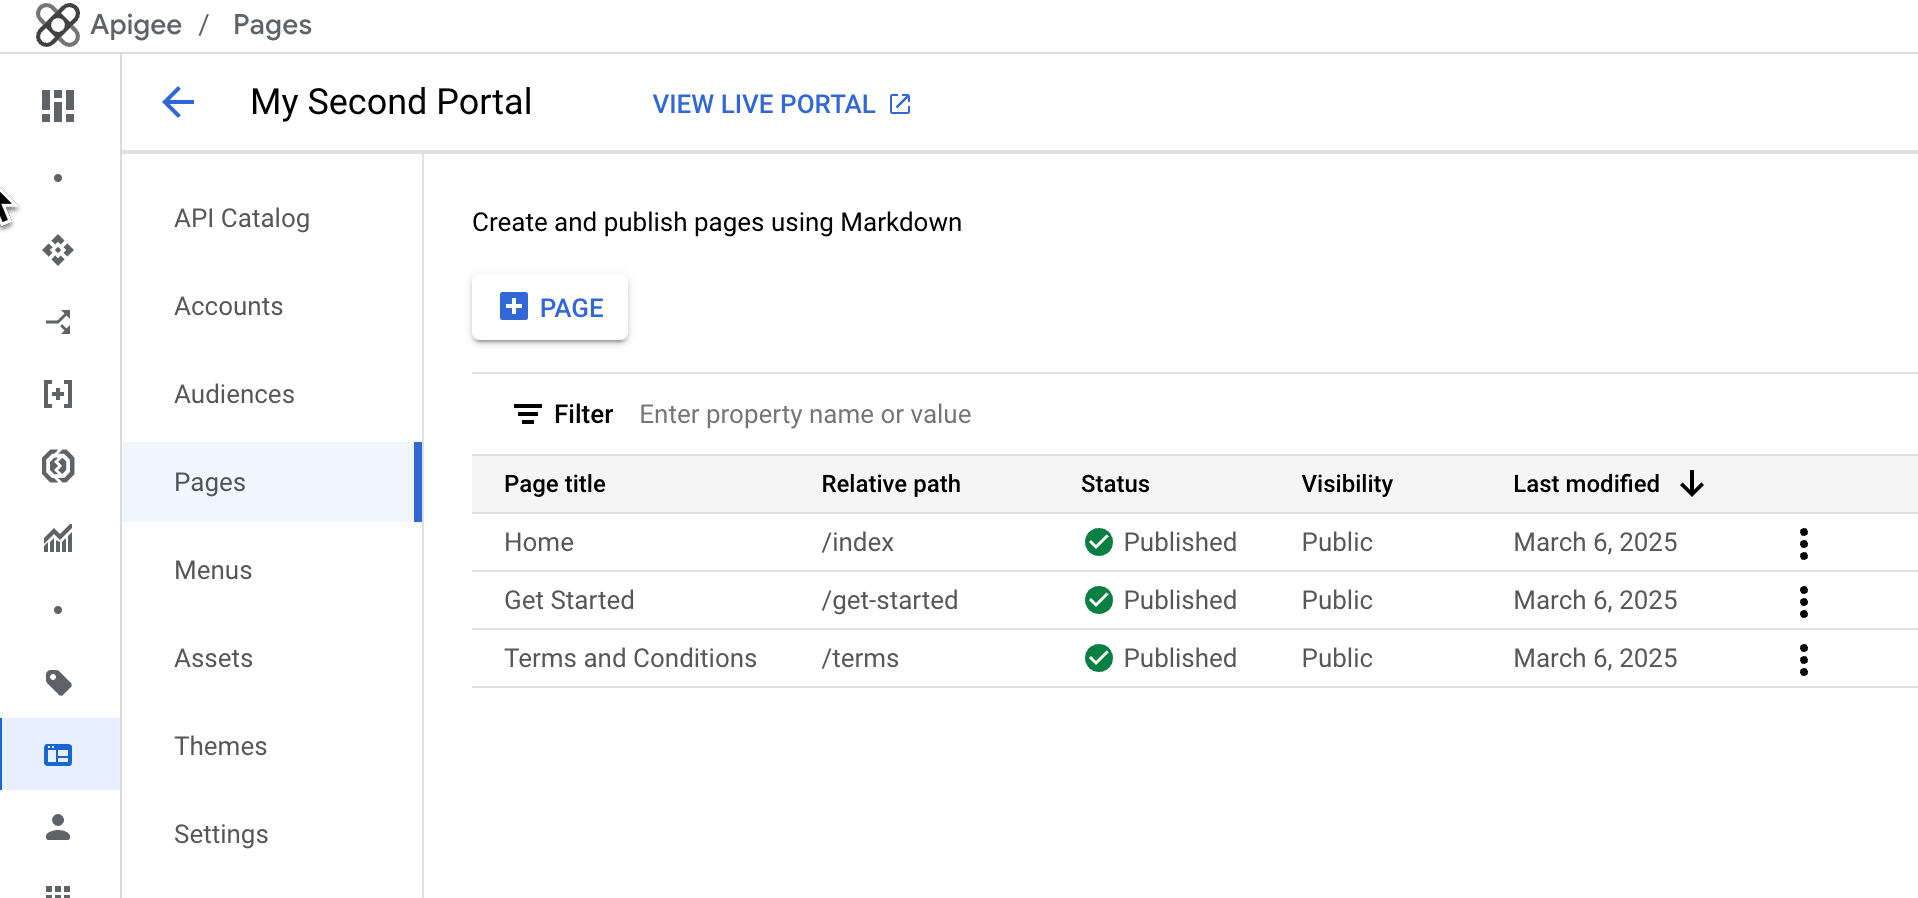
The Pages page lets you:
- Create a page
- View page details, including name, relative path, status, visibility, and amount of time since the page was last modified
- Edit page content and details
- Manage the visibility of a page in your portal
- Delete pages in your portal
- Sort the list of pages by column (the arrow indicates the active column and direction of the sorted content)
Creating a page
To create a new page:
- Access the Pages page.
- Click +Page.
In the Create a Page dialog, enter the following details:
Field Description Required? Name Name of the page. The page name must be unique within the portal. The name is used in the portal page header and browser tab. Yes Path User-friendly relative URL to use for the page (up to 255 characters). For best practices, see Implement search engine optimization (SEO). Defaults to the page name with spaces converted to dashes. The path must meet the following requirements: - Use lowercase letters (
a-z), numbers (0-9), dashes (-), and forward slashes (/) only. Forward slashes can be used to create nested page paths (for example,guides/getting-started). Spaces and other special characters are not allowed. - Start and end with a lowercase letter or number (do not include a leading or trailing
/or-). - Do not include consecutive dashes (
--), consecutive forward slashes (//), or adjacent dashes and forward slashes (/-or-/).
<reserved-path>/) when creating a page. For a list of reserved URL paths, see About the reserved URL paths.Yes - Use lowercase letters (
Save the page. Click Save.
Editing the contents of a page
To edit the contents of a page:
- Access the Pages page.
- Click the name of the page that you want to edit.
- Edit the contents of the page. See Developing portal content using the page editor.
Editing the page details
To edit the details for a page, including the name, description, and relative path:
- Access the Pages page.
Open the editor. On the row for the page you want to edit, click More, Edit.
Edit the page details.
Save the page. Click Save.
Managing the visibility of a page in your portal
To manage the visibility of a page in your portal:
Open the visibility editor:
- On the row for the page you want to modify, click More, Edit.
- In the Visibility area, click Edit.
Select one of the following options:
- Public (visible to anyone) to allow all users to view the page.
- Authenticated users to allow only registered users to view the page.
- Selected audiences to select the specific audiences that you want to be able to view the page. For information about managing the audiences defined for your portal, see Managing the audiences for your portal.
Save the visibility settings.
Click Apply.
Deleting pages from your portal
To delete a page from your portal:
Delete the page.
- Click More, Delete.
- Type Delete and then click Delete page to confirm.