
Setting up the queues for your Mobile SDK shapes your customer's experience, dictates agent assignments, and has hundreds of configuration possibilities. The first step to the configuration is to build out the structure of the queues or sub-queues and naming each. The queue names will be displayed to customers within the Mobile SDK.
Queues can be configured to enable specific channels (email, call, chat), the assignment of Agents and Teams to each channel, and many features can be applied at the queue level for specific customization.
If you are using the multiple mobile app configuration, you will need to have a specific setup so that each mobile app has a top-level queue and is assigned a DAP. Refer to Multiple Mobile Apps Technical Guide for details.
Once you complete the steps, move forward to Enabling and Assigning Agents to Channels: IVR, Mobile, Web.
Enable the mobile channel
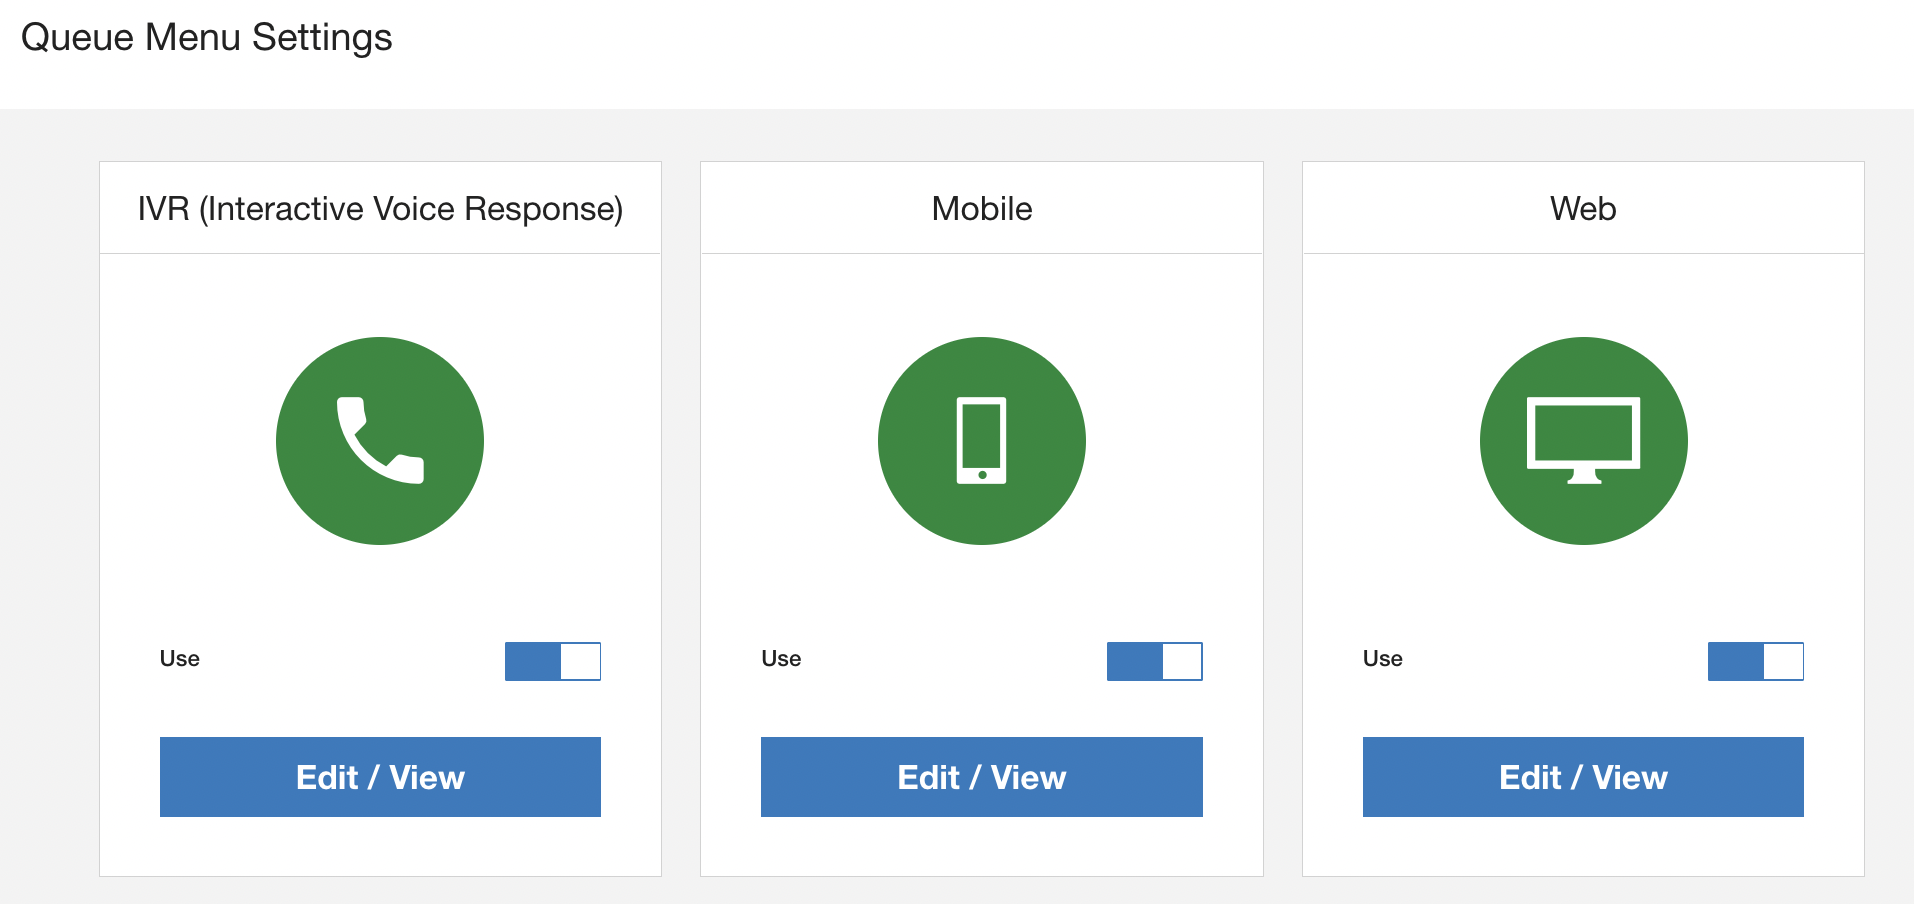
Go to Settings > Queue.
Toggle On to enable the Mobile Channel.
"Sorry, customer support is not available now."
Add and edit queues
You can build and edit the structure of your queues just like using a text editor by using your keyboard.
Go to Settings > Queue.
Click Edit / View to go to the editing section for queue menus within this channel.
Click Edit to view the Mobile Menu Structure page.

Click into the New Item line to type in the first queue menu name. These queue names will be displayed to customers in the Mobile SDK.
Press return/enter to create a new queue menu.
Press return/enter + tab to create a sub-queue.
Press shift + tab to move back if you pressed tab and want to go back a level.
If IVR or Web queues are set up, you can copy them over by clicking Copy Queue From in the top of the edit screen.
Click the X to delete a queue option.
Drag the icon to move queue options up or down on the list.
Click Done to save.