
You can serve your instance through a custom web domain rather than through the default domain that Looker (Google Cloud core) provides.
This documentation page describes custom domain setup for instances that meet one of the following criteria:
- The instance uses public secure connections only.
- The instance uses hybrid connections. Hybrid connections include a public secure connection for ingress.
If you create a custom domain with an instance that uses a public network connection, Google provides a managed, auto-renewing SSL certificate.
To implement a custom domain for this kind of instance, you must perform the following steps:
Set up a custom domain
After your Looker (Google Cloud core) instance has been created, you can set up a custom domain.
Before you begin
Before you can customize the domain of your Looker (Google Cloud core) instance, identify where your domain's DNS records are stored, so that you can update them.
Required roles
To get the permissions that
you need to create a custom domain for a Looker (Google Cloud core) instance,
ask your administrator to grant you the
Looker Admin (roles/looker.admin) IAM role on the project the instance resides in.
For more information about granting roles, see Manage access to projects, folders, and organizations.
You might also be able to get the required permissions through custom roles or other predefined roles.
Create a custom domain
In the Google Cloud console, follow these steps to customize the domain of your Looker (Google Cloud core) instance:
- On the Instances page, click the name of the instance for which you want to set up a custom domain.
- Click the CUSTOM DOMAIN tab.
Click ADD A CUSTOM DOMAIN.
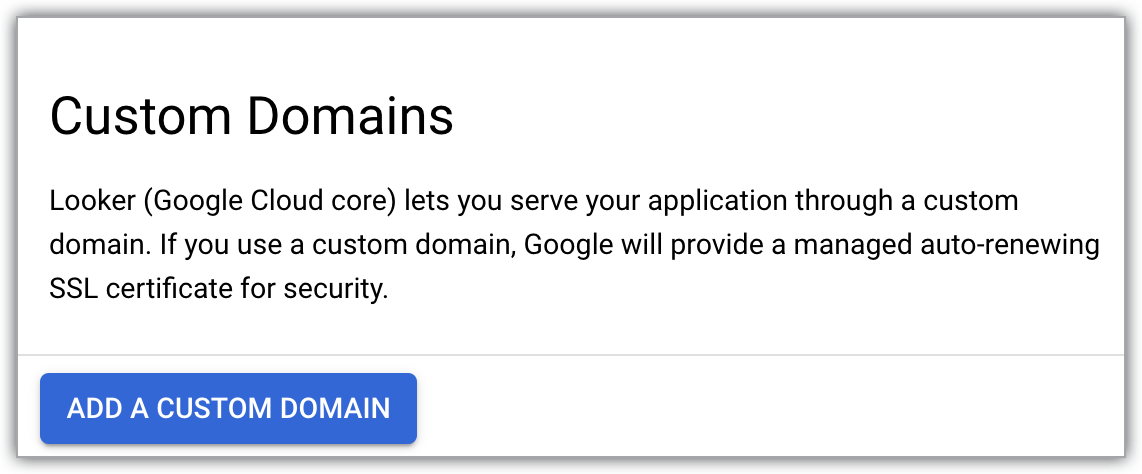
This action opens the Add a new custom domain panel.
Using only letters, numbers, and dashes, enter the hostname of up to 64 characters for the web domain that you want to use — for example:
looker.examplepetstore.com.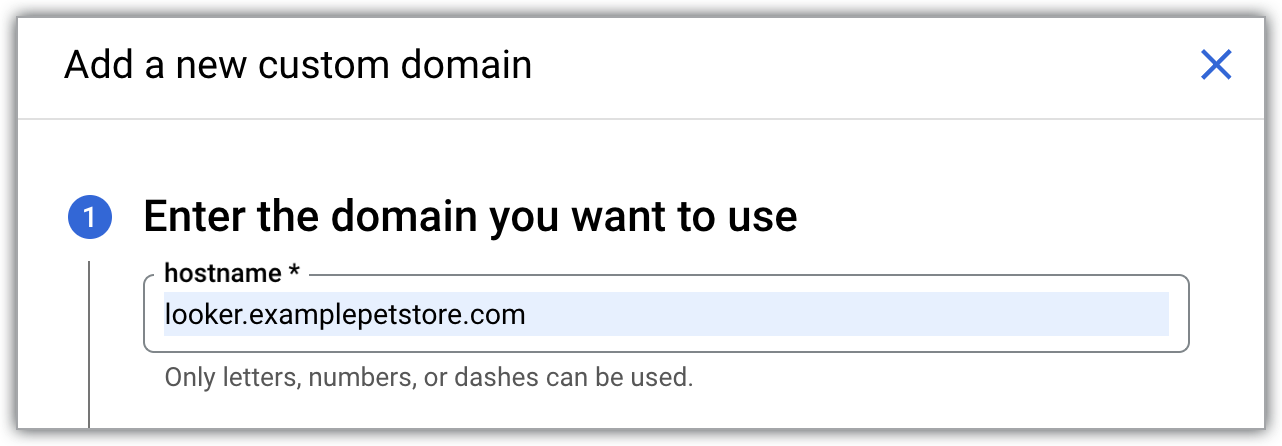
Click the Continue button.
If you haven't associated manual OAuth credentials with your Looker (Google Cloud core) instance (for example, if you have a public secure connections instance and didn't manually add OAuth credentials), the OAuth application credentials section opens. Follow the instructions to complete the following two tasks:
- Generate an OAuth client ID and client secret.
- Add the authorized redirect URI in the Authorized redirect URIs section of the OAuth client. At this point in the process, enter the Looker autogenerated URL that appears on the Instances page within the Google Cloud console. You will enter the custom domain when you update the OAuth credentials.
Enter the credentials in the OAuth Client ID and OAuth Client Secret fields, and then click the Continue button.
If your Looker (Google Cloud core) instance already has manual OAuth credentials associated with it (for example, if you have a hybrid connections instance), or, if you just added OAuth credentials in the OAuth application credentials section of the panel, the Update your DNS records section opens. Use the ingress public IP that's listed in the Data field when you are creating or updating your A record's IP address.
Click DONE on the Add a new custom domain panel to return to the CUSTOM DOMAIN tab.
Once your custom domain is set up, it is displayed in the Domain column on the CUSTOM DOMAIN tab of the Looker (Google Cloud core) instance details page in the Google Cloud console.
After your custom domain has been created, you can view information about it, or delete it.
Access the custom domain
To set up access to a custom domain for a Looker (Google Cloud core) instance that uses public secure connections, create a DNS record and update the OAuth credentials.
Before you begin
To get the permissions that you need to set up access to a public secure connections custom domain, ask your administrator to grant you the following IAM roles on the project the instance resides in:
- Looker Admin (
roles/looker.admin) - DNS Admin (
roles/dns.admin) -
Use Google OAuth:
OAuth Config Editor (
roles/oauthconfig.editor)
For more information about granting roles, see Manage access to projects, folders, and organizations.
You might also be able to get the required permissions through custom roles or other predefined roles.
Create a DNS record
Wherever your DNS records are stored, create an A record in the DNS zone for your domain. For an instance that uses a public network connection, use the Looker (Google Cloud core) instance's ingress public IP for the A record's IP address. The ingress public IP can be found on the Details tab of the Looker (Google Cloud core) instance in the Google Cloud console. (It is also displayed in the Data field in the Update your DNS records section of the Add a new custom domain panel.)
If a VERIFY DOMAIN button appears on the CUSTOM DOMAIN tab of the Looker (Google Cloud core) instance, your DNS record may require additional configuration. Click VERIFY DOMAIN to complete the setup of your custom domain.
Once your domain's DNS records are updated and your domain has been verified in the Google Cloud console, the status of the custom domain that is mapped to the instance will be updated from Unverified to Available on the Custom domain tab.
Update the OAuth credentials
- Access your OAuth client by navigating in the Google Cloud console to APIs & Services > Credentials and selecting the OAuth client ID for the OAuth client that is used by your Looker (Google Cloud core) instance.
Click the Add URI button to update the Authorized JavaScript origins field in your OAuth client to include the same DNS name that your organization will use to access Looker (Google Cloud core). For example, if your custom domain is
looker.examplepetstore.com, you would enterlooker.examplepetstore.comas the URI.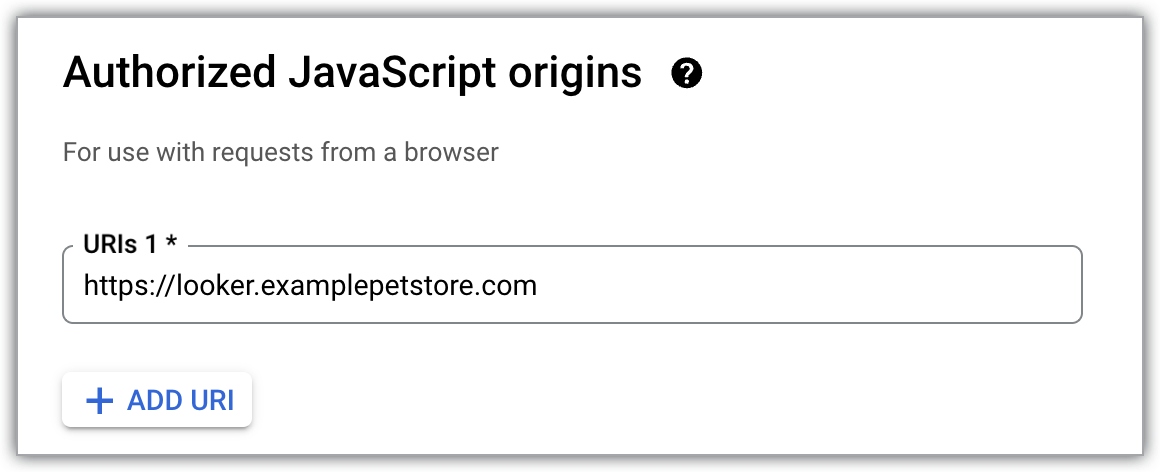
Add the custom domain to the list of Authorized redirect URIs for the OAuth credentials that you used when you created the Looker (Google Cloud core) instance. Add
/oauth2callbackto the end of the URI. For example, if your custom domain islooker.examplepetstore.com, you would enterlooker.examplepetstore.com/oauth2callback.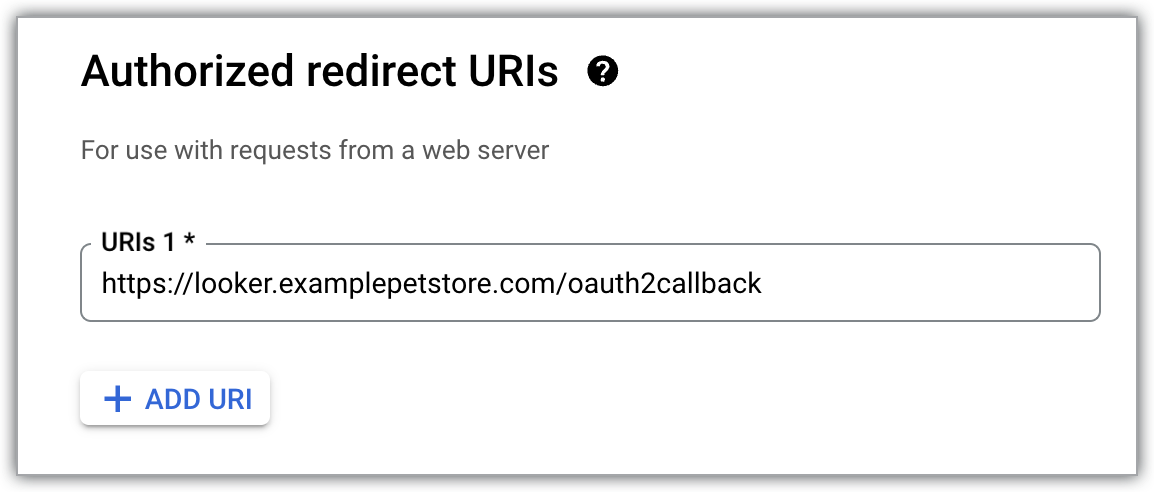
You must have both the custom domain URL and the original Looker (Google Cloud core) autogenerated URL listed in the Authorized redirect URIs section of the OAuth client.
Add users
Once the preceding steps are completed, the custom domain URL is accessible to users.
Ensure that the user authentication method is completely set up for the Looker (Google Cloud core) instance before adding users to the instance.
What's next
- Configure an IP allowlist for Looker (Google Cloud core)
- Manage users within Looker (Google Cloud core)
- Configure your Looker (Google Cloud core) instance
- Connect Looker (Google Cloud core) to your database