
You can use custom themes to customize the appearance of your internal (non-embedded) Looker dashboards. You can use themes to customize font family, text color, background color, button color, tile color, and other visual elements. Themes can be applied to both user-defined dashboards and LookML dashboards.
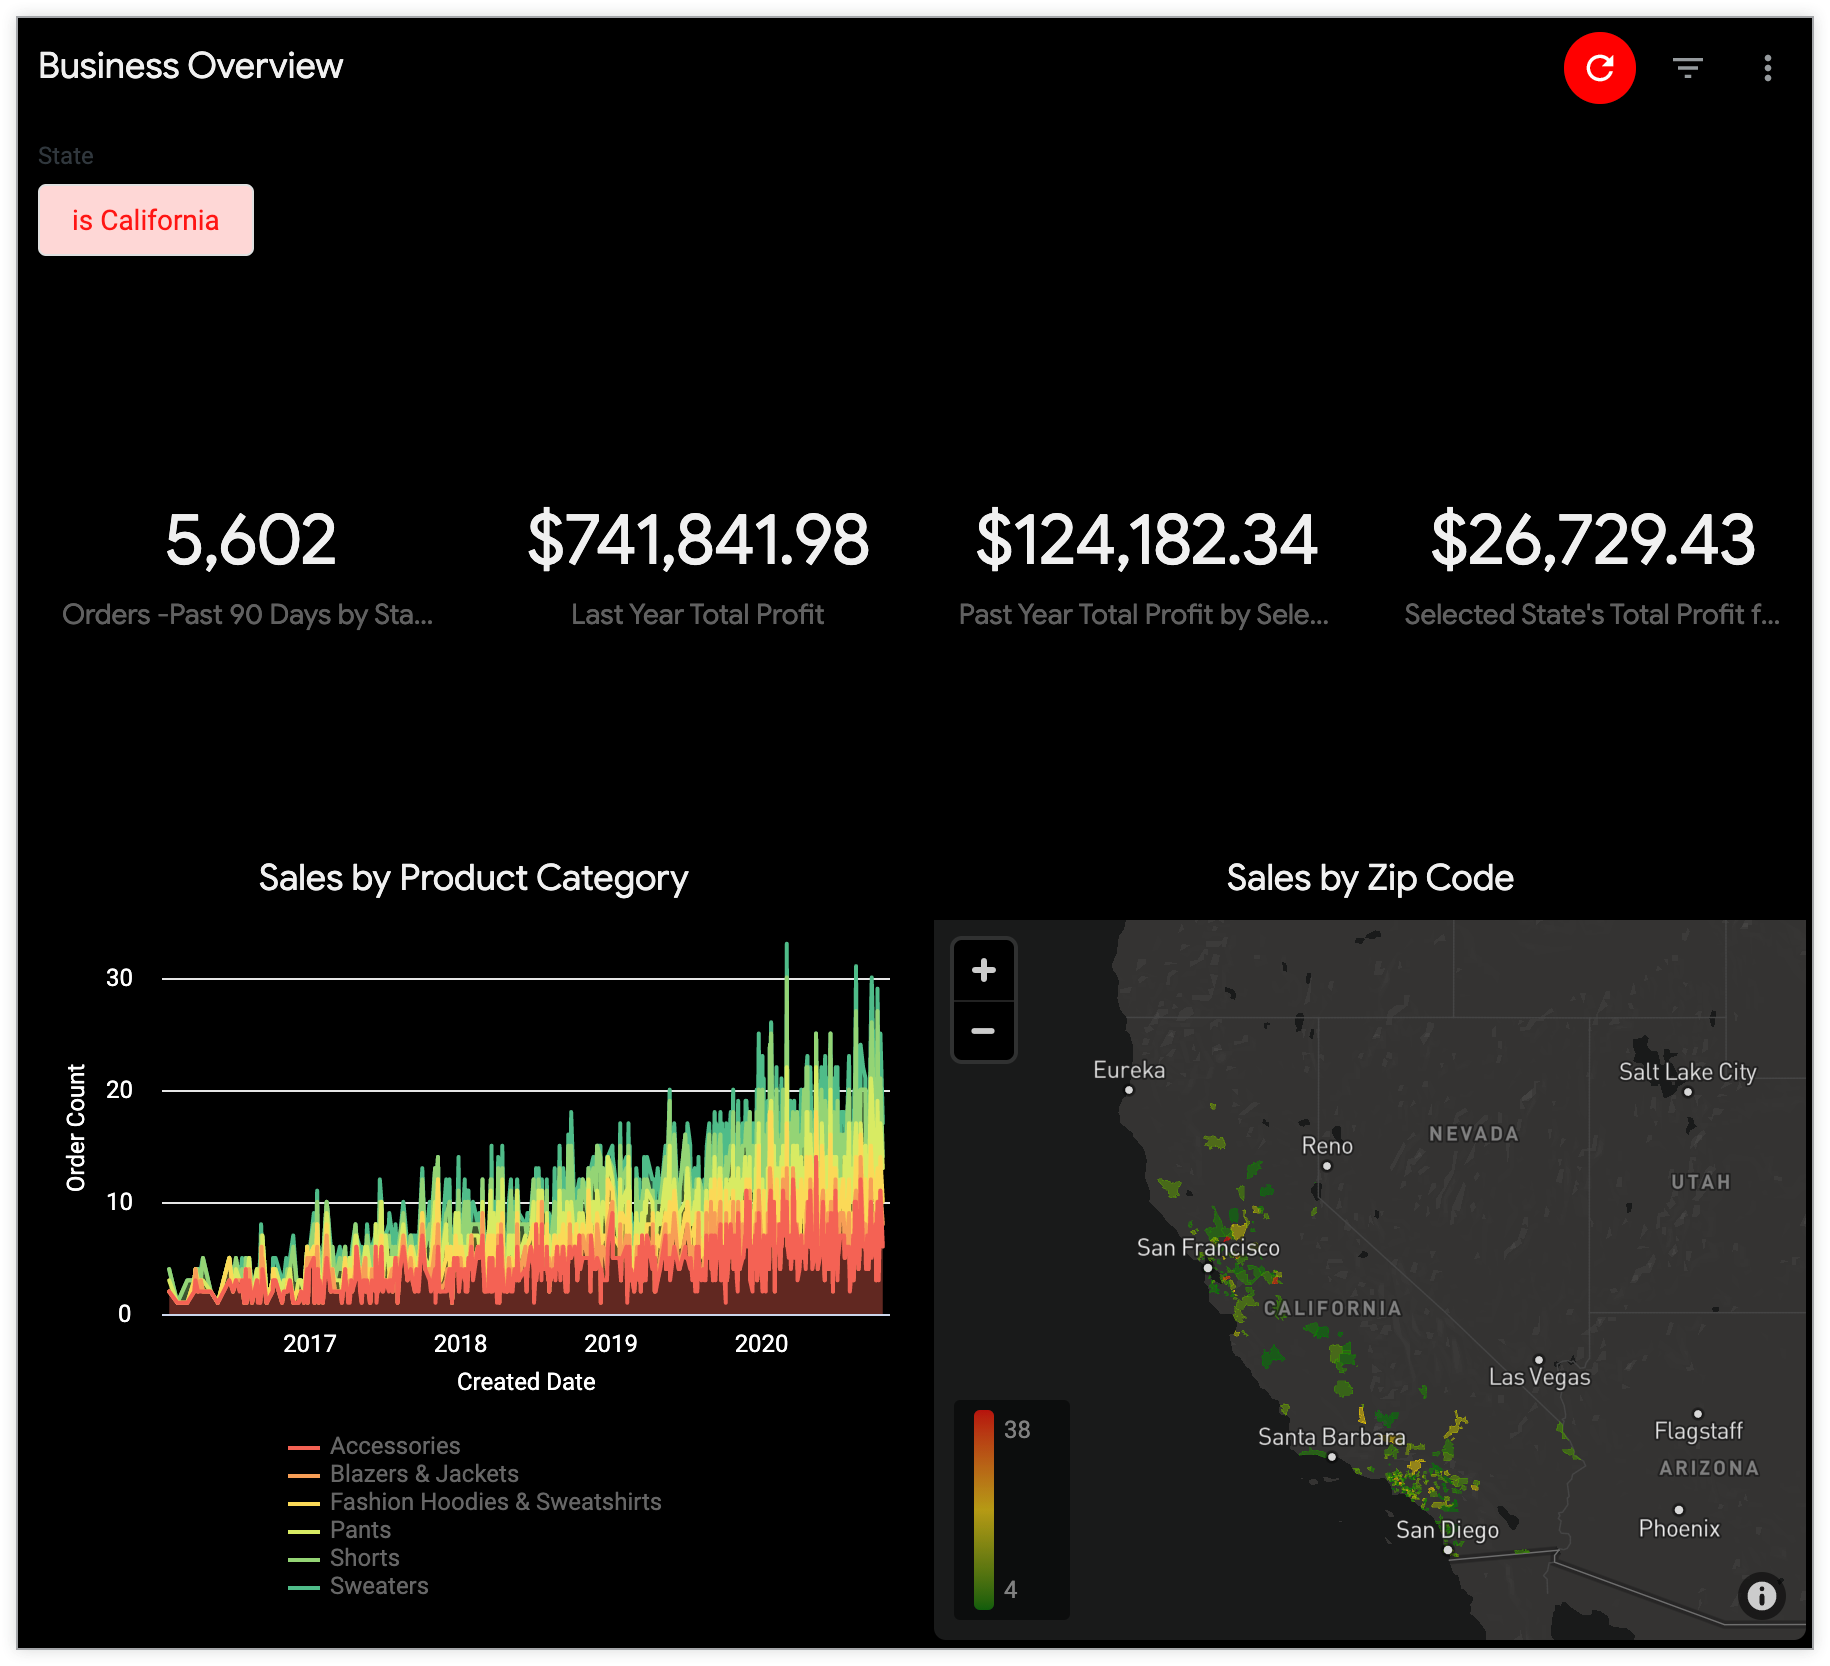
For example, you can create a "dark" theme to change the appearance of your dashboard.
You can define themes for dashboards from the Themes page in the Platform section of the Admin panel.
This page describes the following:
- User and instance requirements
- How themes are applied to dashboards
- How themes are applied to dashboards that are downloaded as a PDF
- How to create, copy, edit, delete, and set as default a custom theme
User and instance requirements
To manage themes for your internal Looker dashboards, you must meet the following requirements:
- Your Looker admin must enable the Internal Dashboard Theming preview feature.
- Your Looker user must have the Admin role or the
manage_internal_themespermission.
Applying a theme to a dashboard
To apply a theme to a dashboard, make sure that the dashboard is in edit mode, and click Style to open the Style panel. Select a theme from the Theme field, and the theme will be applied to your dashboard. If you select None, and your instance has a default theme, the default theme will be applied.
Downloading dashboards
Downloads of dashboards as a PDF will show any applied custom theme.
Creating a custom theme
To create a custom theme, in the Themes admin page, select the Internal tab and click Add Theme.
Next, add style and color specifications for each setting that you want to customize on the New Theme page. You can change any of the settings, which are described in the following sections. Select Save Theme to keep your changes and save your new theme.
Theme
Name: The name for the theme must be unique and can contain only alphanumeric characters and underscores. If you enter spaces in the theme name, the spaces will be replaced with underscores when you save the theme.
General
Key Color: Dashboards use this color for primary buttons and filter controls. Explores use this color for field picker links and icons, primary buttons, banners, and accents.
Text Color: The hexadecimal color code for the text on Explores and dashboards.
Background Color: The hexadecimal color code for the background of Explores and dashboards.
Font Family: The name of the font family. This font will be used for all the text on the dashboard, including tile titles, text tiles, and legends in visualizations. This font will also be used for all the text in an Explore. If there is a space in the name of the font, use quotes around the name, such as "Open Sans".
If you are using a common web-safe font, you can just type the font name in the Font Family field and leave the Font Source field blank. If you want to use a less common font, enter the font name in the Font Family field and then use the Font Source field, described next, to provide a URL to the definition of the font that you want to use.
Font Source: Leave this field blank unless you want to use a custom font — a font that is not a common web-safe font. The Font Source must be a complete URL that starts with https and points to the url value that is specified in the src argument of @font-face. We recommend using a web open font format (.woff) file, since .woff2 files aren't supported by Internet Explorer 11.
- For example, for PT Sans Narrow, you could enter "PT Sans Narrow" in the Font Family field and then enter
https://fonts.gstatic.com/s/ptsansnarrow/v7/UyYrYy3ltEffJV9QueSi4RdbPw3QSf9R-kE0EsQUn2A.woffin the Font Source field.
Dashboard page
Color Collection: Optionally, you can choose a color collection, which is a set of coordinating palettes that work well together. When you assign a color collection to a dashboard, all the data series in all the dashboard's tiles are colored according to the palettes in the collection, ensuring that the data series' colors are coordinated over the entire dashboard.
When you assign a color collection to a theme, the theme's color collection will override any color collection that was previously assigned to a tile. However, a theme's color collection won't override customized colors assigned to a data series, nor will it override conditional formatting applied to a table visualization.
Title Font Size: Optionally adjust the font size of the dashboard title from a set of predefined sizes in pixels.
Margin Top: Optionally set a specific value for the margin at the top of a dashboard. Choose from predefined options in a drop-down menu. Margins are measured in pixels (px).
Margin Bottom: Optionally set a specific value for the margin at the bottom of a dashboard. Choose from predefined options in a drop-down menu. Margins are measured in pixels (px).
Margin Sides: Optionally set a specific value for the margin on the sides of a dashboard. Choose from predefined options in a drop-down menu. Margins are measured in pixels (px).
Dashboard tiles
Title Color: The hexadecimal color code for the following elements:
- Dashboard title
- Titles of dashboard tiles
- Titles and header level 1 text of Markdown tiles
- Text color of single value visualizations
Text Color: The hexadecimal color code for the following elements:
- Text on the dashboard, including legends in visualizations
- Subtitles and body text, with the exception of header level 1 text, of Markdown tiles
- Header level 1, header level 2, and normal text on text tiles
- Tile icons in single value visualizations
Text Body Color: The hexadecimal color code for the following elements:
- Body text, with the exception of header level 2 and header level 3 text, in Markdown tiles.
- Body text in text tiles
Background Color: The hexadecimal color code for the background of all tiles except text tiles.
Text Background Color: The hexadecimal color code for the background of text tiles.
Title Alignment: Set the alignment of tile titles to left, right, or center.
Title Font Size: Optionally adjust the font size of dashboard tiles from a set of predefined sizes in pixels.
Box Shadow: Create a shadow around dashboard tiles using CSS syntax. You can select from a predefined box shadow or create a custom one. To create a custom box shadow, enter your chosen horizontal-offset vertical-offset blur-radius spread-radius color , and select Enter Custom Styling to apply your settings. A preview of the box shadow settings is shown to the right.
Column Gap Size: Optionally adjust the size of the space between columns of dashboard tiles from a set of predefined sizes in pixels.
Row Gap Size: Optionally adjust the size of the space between rows of dashboard tiles from a set of predefined sizes in pixels.
Border Radius: Optionally adjust the border radius of dashboard tiles to create square or rounded corners.
Editing a theme
For all themes, you can click the associated Edit button to update theme settings.
You can edit the settings just as you would when you create a new theme. For a description of the settings, see the theme settings described previously. Be sure to select Save to keep your updates.
Copying a theme
You can copy an existing theme by selecting the theme's menu and selecting Copy Theme.
When you make a copy of a theme, the new theme's name defaults to the name of the copied theme, followed by "(copy)". Be sure to manually change this name to a new, unique name with only alphanumeric characters and underscores, and be sure to remove the parentheses.
You can edit the rest of the settings just as you would when you create a new theme. For a description of the settings, see the theme settings described previously. Be sure to select Save to keep all your theme settings.
Deleting a theme
To delete a theme, select the theme's menu and select Delete Theme.
Setting a default theme
If you set a theme as a default theme, that theme will be applied to any dashboard where the user selects the option None from the Themes field when in edit mode.
To set a theme as the default theme, select the theme's menu and select Set as Default.
To remove the default setting from the default theme, select the theme's menu and select Remove Default.