

Gemini Enterprise 시작하기
Gemini Enterprise는 심층 정보 검색, 최첨단 자연어 처리, 최신 대규모 처리 기능을 결합하여 사용자 의도를 파악하고 사용자와 관련성이 가장 높은 결과를 반환합니다.
이 튜토리얼을 수행하기 전에 시작하기 전에의 단계를 완료해야 합니다.
Google Cloud 콘솔에서 이 태스크에 대한 단계별 안내를 직접 수행하려면 둘러보기를 클릭합니다.
시작하기 전에
- Google Cloud 계정에 로그인합니다. Google Cloud를 처음 사용하는 경우 계정을 만들고 Google 제품의 실제 성능을 평가해 보세요. 신규 고객에게는 워크로드를 실행, 테스트, 배포하는 데 사용할 수 있는 $300의 무료 크레딧이 제공됩니다.
-
In the Google Cloud console, on the project selector page, select or create a Google Cloud project.
Roles required to select or create a project
- Select a project: Selecting a project doesn't require a specific IAM role—you can select any project that you've been granted a role on.
-
Create a project: To create a project, you need the Project Creator role
(
roles/resourcemanager.projectCreator), which contains theresourcemanager.projects.createpermission. Learn how to grant roles.
-
Verify that billing is enabled for your Google Cloud project.
Enable the Gemini Enterprise (Discovery Engine), Cloud Storage, Identity and Access Management APIs.
Roles required to enable APIs
To enable APIs, you need the Service Usage Admin IAM role (
roles/serviceusage.serviceUsageAdmin), which contains theserviceusage.services.enablepermission. Learn how to grant roles.-
Make sure that you have the following role or roles on the project: Gemini Enterprise Admin
Check for the roles
-
In the Google Cloud console, go to the IAM page.
Go to IAM - Select the project.
-
In the Principal column, find all rows that identify you or a group that you're included in. To learn which groups you're included in, contact your administrator.
- For all rows that specify or include you, check the Role column to see whether the list of roles includes the required roles.
Grant the roles
-
In the Google Cloud console, go to the IAM page.
Go to IAM - Select the project.
- Click Grant access.
-
In the New principals field, enter your user identifier. This is typically the email address for a Google Account.
- Click Select a role, then search for the role.
- To grant additional roles, click Add another role and add each additional role.
- Click Save.
-
-
In the Google Cloud console, on the project selector page, select or create a Google Cloud project.
Roles required to select or create a project
- Select a project: Selecting a project doesn't require a specific IAM role—you can select any project that you've been granted a role on.
-
Create a project: To create a project, you need the Project Creator role
(
roles/resourcemanager.projectCreator), which contains theresourcemanager.projects.createpermission. Learn how to grant roles.
-
Verify that billing is enabled for your Google Cloud project.
Enable the Gemini Enterprise (Discovery Engine), Cloud Storage, Identity and Access Management APIs.
Roles required to enable APIs
To enable APIs, you need the Service Usage Admin IAM role (
roles/serviceusage.serviceUsageAdmin), which contains theserviceusage.services.enablepermission. Learn how to grant roles.-
Make sure that you have the following role or roles on the project: Gemini Enterprise Admin
Check for the roles
-
In the Google Cloud console, go to the IAM page.
Go to IAM - Select the project.
-
In the Principal column, find all rows that identify you or a group that you're included in. To learn which groups you're included in, contact your administrator.
- For all rows that specify or include you, check the Role column to see whether the list of roles includes the required roles.
Grant the roles
-
In the Google Cloud console, go to the IAM page.
Go to IAM - Select the project.
- Click Grant access.
-
In the New principals field, enter your user identifier. This is typically the email address for a Google Account.
- Click Select a role, then search for the role.
- To grant additional roles, click Add another role and add each additional role.
- Click Save.
-
Gemini Enterprise 앱 만들기
Google Cloud 콘솔에서 Gemini Enterprise 페이지로 이동합니다.
앱 만들기를 클릭합니다.
앱 이름 아래에 앱 이름을 입력합니다. 앱 이름 아래에 앱 ID가 표시됩니다.
앱 위치로 전역(전 세계)을 선택합니다.
회사 또는 조직의 외부 이름에 회사 또는 조직 이름을 입력합니다. 이 튜토리얼에서는
Cymbal Bank를 사용할 수 있습니다.만들기를 클릭합니다.
앱이 생성되면 앱의 개요 페이지로 리디렉션됩니다.
데이터 스토어 만들기
설정 완료에서 데이터 스토어 만들기를 클릭합니다.
Cloud Storage에서 선택을 클릭합니다.
비정형 데이터 가져오기 (문서 검색 및 RAG)에서 문서가 선택되어 있는지 확인합니다.
동기화 빈도에서 일회성이 선택되어 있는지 확인합니다.
가져올 폴더 또는 파일 선택에서 폴더가 선택되어 있는지 확인합니다.
gs://필드에 다음 값을 입력합니다.cloud-samples-data/gen-app-builder/search/cymbal-bank-employee
이 Cloud Storage 버킷에는 가상의 은행인 Cymbal Bank에서 내부적으로 사용하는 PDF 파일이 포함되어 있습니다.
계속을 클릭합니다.
데이터 스토어 이름에 데이터 스토어의 이름을 입력한 후 만들기를 클릭합니다.
Google Cloud 콘솔에서 연결된 데이터 스토어 페이지로 리디렉션되며 방금 만든 데이터 스토어가 표시됩니다.
앱 미리보기
탐색 메뉴에서 개요를 클릭하여 개요 페이지로 돌아갑니다.
Gemini Enterprise 웹 앱이 준비되었습니다에서 링크를 클릭하여 웹 앱을 방문합니다.
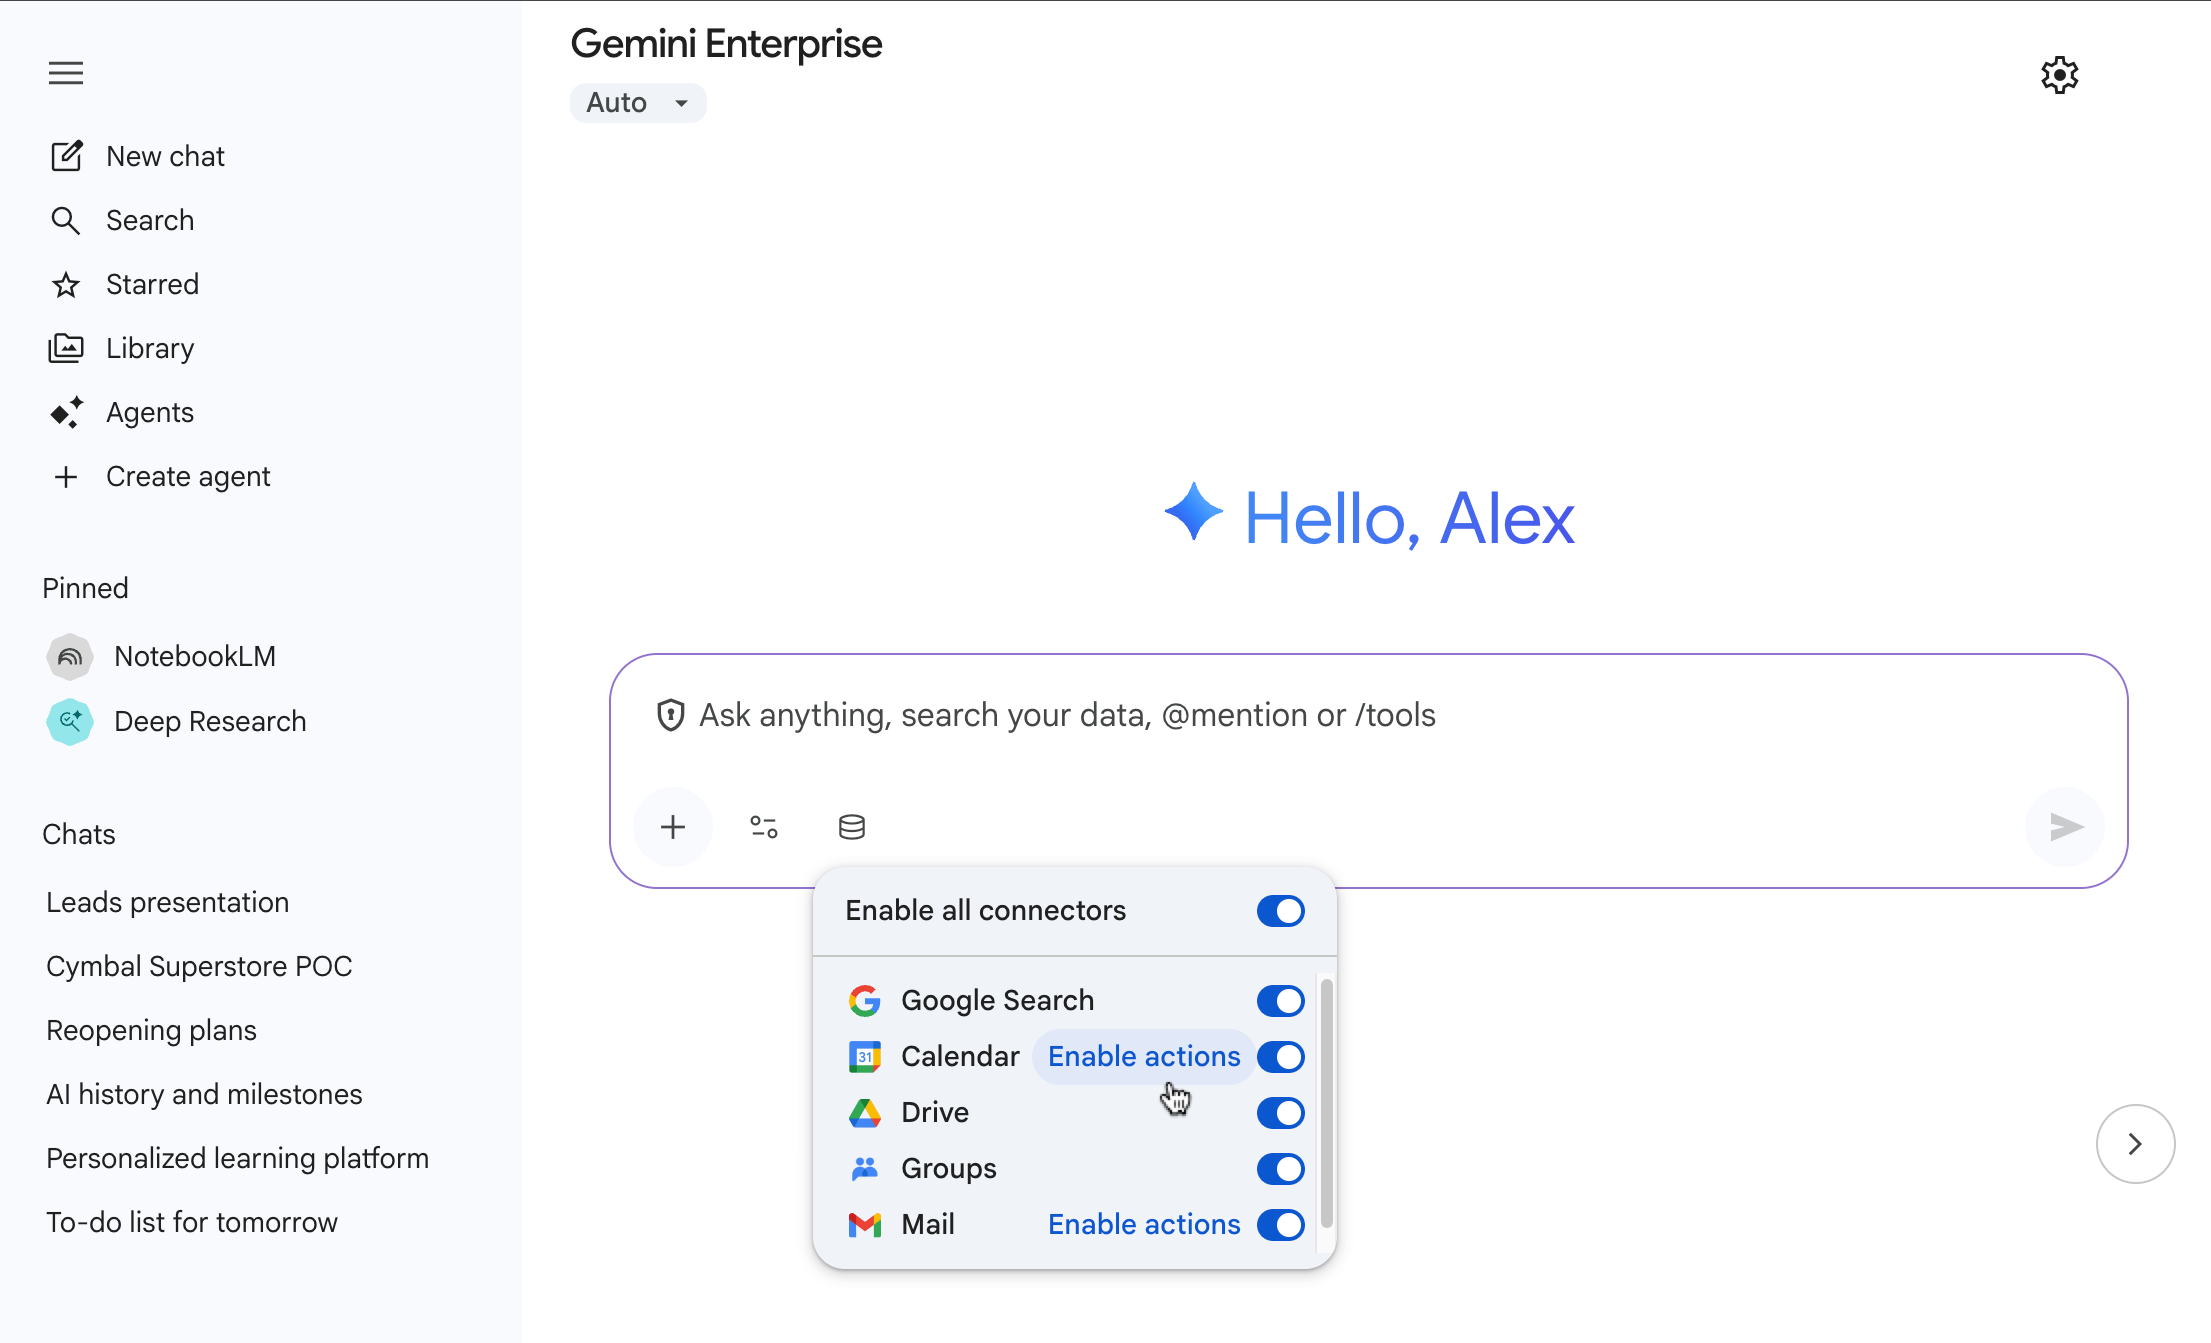
가져온 데이터를 테스트하려면 커넥터를 클릭하고 Google 검색이 선택되지 않았는지 확인합니다.
검색창에 가져온 데이터에 관해 질문합니다(예:
How do I book business travel?).이 질문에 대한 답변에서 Cymbal Bank가 구체적으로 언급되지 않으면 몇 분 더 기다린 후 다시 시도하세요.
Who founded Cymbal Bank?또는Where are the headquarters of Cymbal Bank?와 같은 추가 질문을 하세요.
검색 웹 앱 구성
Google Cloud 콘솔로 돌아갑니다.
탐색 메뉴에서 구성을 클릭합니다.
검색 UI 탭에서 검색 앱 설정을 구성합니다.
모양 및 브랜딩 옵션에서 로고를 Cymbal Bank 로고로 변경합니다.
https://storage.googleapis.com/cloud-samples-data/gen-app-builder/search/cymbal-bank-logo.pngUI 탭에서 구성을 변경하는 경우 저장 및 게시를 클릭합니다.
자동 완성 탭으로 이동하여 자동 완성에 대한 특정 설정을 구성합니다.
자동 완성 사용 설정을 지금으로 설정해야 하며 자동 완성 추천이 표시되기까지 1~2일 정도 걸릴 수 있습니다.
어시스턴트 탭으로 이동하여 검색 어시스턴트의 설정을 구성합니다.
이 페이지에서 추가 LLM 시스템 요청 사항을 설정하고, Model Armor, 웹 그라운딩, 기본 어시스턴트와 관련된 기타 설정을 사용 설정할 수 있습니다.
검색 웹 앱 보기
Gemini Enterprise 웹 앱을 보려면 다음 단계를 따르세요.
탐색 메뉴에서 통합을 클릭합니다.
웹 앱 사용 설정이 사용 설정되어 있는지 확인합니다.
웹 앱 링크 섹션에서 복사를 클릭하고 브라우저에서 링크를 엽니다.
선택사항: URL을 복사하여 사용자에게 전송해 검색 앱을 사용자와 공유합니다. 사용자는 액세스를 위해 웹 앱 URL을 북마크에 추가할 수 있습니다.
삭제
이 페이지에서 사용한 리소스 비용이 Google Cloud 계정에 청구되지 않도록 하려면 다음 단계를 수행합니다.
- 불필요한 Google Cloud 요금이 청구되지 않도록 하려면Google Cloud console 을 사용하여 필요하지 않은 프로젝트를 삭제하세요.
- Gemini Enterprise 학습용으로 만든 새 프로젝트가 더 이상 필요 없는 경우 프로젝트를 삭제하세요.
- 기존 Google Cloud 프로젝트를 사용한 경우 계정에 요금이 청구되지 않도록 만든 리소스를 삭제합니다. 자세한 내용은 앱 삭제 및 데이터 스토어 삭제를 참고하세요.
- Gemini Enterprise 사용 중지의 단계를 따르세요.
다음 단계
- Gemini Enterprise 자세히 알아보기
- 앱 및 데이터 스토어 자세히 알아보기