
When you create a Google Distributed Cloud (GDC) air-gapped Kubernetes cluster, the number of nodes and type of nodes that you specify create the first node pool of the cluster. You can perform the following node pool tasks for an existing cluster as its compute requirements change:
Add a new node pool: Add new node pools as the demand for your cluster workloads increases.
View a node pool: View the characteristics and state of your existing node pools.
Resize a node pool: Manually upscale or downscale your node pools to adapt to workload traffic fluctuations.
Delete a node pool: Remove node pools if the demand for your cluster workloads decreases, or you want to delete machine types that are no longer prudent for your container operations.
For more information about node pools in a cluster, see About nodes.
This document is for application developers within the application operator group and IT administrators within the platform administrator group who are responsible for managing Kubernetes clusters within their organization. For more information, see Audiences for GDC air-gapped documentation.
Before you begin
To complete the tasks in this document, you must have the following resources and roles:
To view and manage node pools in a shared Kubernetes cluster, ask your Organization IAM Admin to grant you the following roles:
- User Cluster Admin (
user-cluster-admin) - User Cluster Node Viewer (
user-cluster-node-viewer)
These roles are not bound to a namespace.
- User Cluster Admin (
To view and manage node pools in a standard Kubernetes cluster, ask your Organization IAM Admin to grant you the Standard Cluster Admin (
standard-cluster-admin) role. This role is bound to your project namespace.To run commands against a Kubernetes cluster, make sure you have the following resources:
Locate the Kubernetes cluster name, or ask a member of the platform administrator group what the cluster name is.
Sign in and generate the kubeconfig file for the Kubernetes cluster if you don't have one.
Use the kubeconfig path of the Kubernetes cluster to replace
KUBERNETES_CLUSTER_KUBECONFIGin these instructions.
Add a node pool
To add a node pool to an existing Kubernetes cluster, complete the following steps:
Console
- In the navigation menu, select Kubernetes Engine > Clusters.
- Click the cluster from the cluster list. The Cluster details page is displayed.
- Select Node pools > Add node pool.
- Assign a name for the node pool. You can't modify the name after you create the node pool.
- Specify the number of worker nodes to create in the node pool.
- Select your machine class that best suits your workload requirements. The
machine classes show in the following settings:
- Machine type
- vCPU
- Memory
- Click Save.
API
Open the
Clustercustom resource spec with thekubectlCLI using the interactive editor:kubectl edit clusters.cluster.gdc.goog/KUBERNETES_CLUSTER_NAME \ -n KUBERNETES_CLUSTER_NAMESPACE \ --kubeconfig MANAGEMENT_API_SERVERReplace the following:
KUBERNETES_CLUSTER_NAME: the name of the cluster.KUBERNETES_CLUSTER_NAMESPACE: the namespace of the cluster. For shared clusters, use theplatformnamespace. For standard clusters, use the project namespace of the cluster.MANAGEMENT_API_SERVER: the zonal API server's kubeconfig path where the Kubernetes cluster is hosted. If you have not yet generated a kubeconfig file for the API server in your targeted zone, see Sign in for details.
Add a new entry in the
nodePoolssection:nodePools: ... - machineTypeName: MACHINE_TYPE name: NODE_POOL_NAME nodeCount: NUMBER_OF_WORKER_NODES taints: TAINTS labels: LABELS acceleratorOptions: gpuPartitionScheme: GPU_PARTITION_SCHEMEReplace the following:
MACHINE_TYPE: the machine type for the worker nodes of the node pool. View the available machine types for what is available to configure.NODE_POOL_NAME: the name of the node pool.NUMBER_OF_WORKER_NODES: the number of worker nodes to provision in the node pool.TAINTS: the taints to apply to the nodes of this node pool. This is an optional field.LABELS: the labels to apply to the nodes of this node pool. It contains a list of key-value pairs. This is an optional field.GPU_PARTITION_SCHEME: the GPU partitioning scheme, if you're running GPU workloads. For example,mixed-2. The GPU is not partitioned if this field is not set. For available Multi-Instance GPU (MIG) profiles, see Supported MIG profiles.
Save the file and exit the editor.
View node pools
To view existing node pools in a Kubernetes cluster, complete the following steps:
Console
- In the navigation menu, select Kubernetes Engine > Clusters.
- Click the cluster from the cluster list. The Cluster details page is displayed.
- Select Node pools.
The list of node pools running in the cluster is displayed. You can manage the node pools of the cluster from this page.
API
View the node pools of a specific Kubernetes cluster:
kubectl get clusters.cluster.gdc.goog/KUBERNETES_CLUSTER_NAME \
    -n KUBERNETES_CLUSTER_NAMESPACE \
    -o json --kubeconfig MANAGEMENT_API_SERVER | \
    jq .status.workerNodePoolStatuses
Replace the following:
KUBERNETES_CLUSTER_NAME: the name of the cluster.KUBERNETES_CLUSTER_NAMESPACE: the namespace of the cluster. For shared clusters, use theplatformnamespace. For standard clusters, use the project namespace of the cluster.
The output is similar to the following:
[
  {
    "conditions": [
      {
        "lastTransitionTime": "2023-08-31T22:16:17Z",
        "message": "",
        "observedGeneration": 2,
        "reason": "NodepoolReady",
        "status": "True",
        "type": "Ready"
      },
      {
        "lastTransitionTime": "2023-08-31T22:16:17Z",
        "message": "",
        "observedGeneration": 2,
        "reason": "ReconciliationCompleted",
        "status": "False",
        "type": "Reconciling"
      }
    ],
    "name": "worker-node-pool",
    "readyNodes": 3,
    "readyTimestamp": "2023-08-31T18:59:46Z",
    "reconcilingNodes": 0,
    "stalledNodes": 0,
    "unknownNodes": 0
  }
]
Resize node pools
You can manually resize node pools in a Kubernetes cluster by upscaling or downscaling the pool. You can't select a specific node to remove when downscaling a node pool.
To scale a node pool in an existing cluster, complete the following steps:
Console
- In the dashboard, select the project in which the cluster you intend to edit exists.
- In the navigation menu, select Kubernetes Engine > Clusters.
- Select the cluster name that the node pool is associated with. The Cluster details page is displayed.
- Click the Node pools tab.
- Select the edit Edit icon for the node pool you want to resize. The Edit node pool prompt is displayed.
Update the Number of nodes field to reflect the new amount of nodes required in the node pool. You can increase or decrease the number of nodes to fit your workload requirements.
Click Save.
Navigate back to the Node pools tab for your cluster and confirm the resized node pool has the
Readystatus and has the correct number of nodes. It can take a few minutes for the node pool to scale to your specification.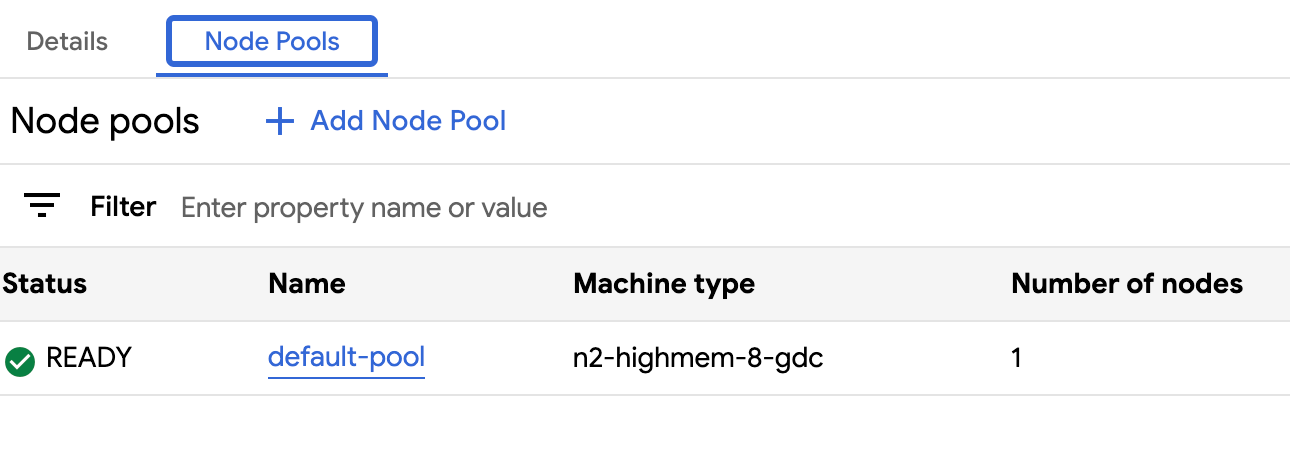
API
Open the
Clustercustom resource spec with the kubectl CLI using the interactive editor:kubectl edit clusters.cluster.gdc.goog/KUBERNETES_CLUSTER_NAME \ -n KUBERNETES_CLUSTER_NAMESPACE \ --kubeconfig MANAGEMENT_API_SERVERReplace the following:
KUBERNETES_CLUSTER_NAME: the name of the cluster that hosts the node pool.KUBERNETES_CLUSTER_NAMESPACE: the namespace of the cluster. For shared clusters, use theplatformnamespace. For standard clusters, use the project namespace of the cluster.MANAGEMENT_API_SERVER: the zonal API server's kubeconfig path where the Kubernetes cluster is hosted. If you haven't generated a kubeconfig file for the API server in your targeted zone, see Zonal Management API server resources.
Update the
nodeCountfield for the node pool to resize:nodePools: # Several lines of code are omitted here. - machineTypeName: n2-standard-2-gdc name: nodepool-1 nodeCount: NUMBER_OF_WORKER_NODESReplace
NUMBER_OF_WORKER_NODESwith the updated number of worker nodes to provision in the node pool.Save the file and exit the editor.
Verify your node scaling is complete by checking the node pool's configuration:
kubectl get clusters.cluster.gdc.goog/KUBERNETES_CLUSTER_NAME \
    -n KUBERNETES_CLUSTER_NAMESPACE -o json \
    --kubeconfig MANAGEMENT_API_SERVER | jq .status.workerNodePoolStatuses
Confirm the
readyNodesnumber reflects the amount of nodes you set for the node pool. It can take a few minutes for the node pool to scale to your specification.
Delete a node pool
Deleting a node pool deletes the nodes and routes to them. These nodes evict and reschedule any pods running on them. If the pods have specific node selectors, the pods might remain in a non-schedulable condition if no other node in the cluster satisfies the criteria.
Ensure you have at least three worker nodes before deleting a node pool to ensure your cluster has enough compute space to run effectively.
To delete a node pool, complete the following steps:
Console
In the navigation menu, select Kubernetes Engine > Clusters.
Click the cluster that is hosting the node pool you want to delete.
Select Node pools.
Click delete Delete next to the node pool to delete.
API
Open the
Clustercustom resource spec with the kubectl CLI using the interactive editor:kubectl edit clusters.cluster.gdc.goog/KUBERNETES_CLUSTER_NAME \ -n KUBERNETES_CLUSTER_NAMESPACE \ --kubeconfig MANAGEMENT_API_SERVERReplace the following:
KUBERNETES_CLUSTER_NAME: the name of the cluster.KUBERNETES_CLUSTER_NAMESPACE: the namespace of the cluster. For shared clusters, use theplatformnamespace. For standard clusters, use the project namespace of the cluster.MANAGEMENT_API_SERVER: the zonal API server's kubeconfig path where the Kubernetes cluster is hosted. If you haven't generated a kubeconfig file for the API server in your targeted zone, see Zonal Management API server resources.
Remove the node pool entry from the
nodePoolssection. For example, in the following snippet, you must remove themachineTypeName,name, andnodeCountfields:nodePools: # Several lines of code are omitted here. - machineTypeName: n2-standard-2-gdc name: nodepool-1 nodeCount: 3Be sure to remove all fields for the node pool you are deleting.
Save the file and exit the editor.