Introduction
Bring your own (BYO) Model Context Protocol (MCP) servers let AI agents query and process data from external repositories in real time by using standardized connections across your existing infrastructure.
This solution reference implementation (SRI) document shows you how to deploy the Nextcloud open source application and its MCP server alongside a Nextcloud agent on Solo Enterprise for kagent. This architecture connects Nextcloud, kagent, and the Gemma 4 model within a Google Kubernetes Engine (GKE) cluster deployed in Distributed Cloud software only (GDC). In this configuration, kagent uses Nextcloud as a data repository, letting the Gemma 4 model access and process files in Nextcloud through standardized MCP interfaces. For architectural context, see the companion reference architecture.
Overview of Nextcloud
Nextcloud is an open source, self-hosted collaboration and cloud storage platform that supports on-premises deployment. Deploying Nextcloud on-premises helps maintain sovereignty, security, and privacy over your data.
Nextcloud provides the following features:
- File sync and share: Store files, sync them across your desktop and mobile devices through dedicated apps, and share them with others by using links.
- Productivity tools: Manage schedules and communication with built-in calendar, contacts, task management, and email clients.
- Collaboration: Integrate office suites (such as Collabora Online or ONLYOFFICE) directly into Nextcloud to co-edit documents, spreadsheets, and presentations in real time.
- Extensibility: Install plugins from the app store to add features such as password managers, Kanban boards, or music players.
Solution architecture
This solution requires a GDC environment with
Solo Enterprise for kagent
and vLLM with the Gemma 4 model
deployed, and a workstation with kubectl and helm installed.
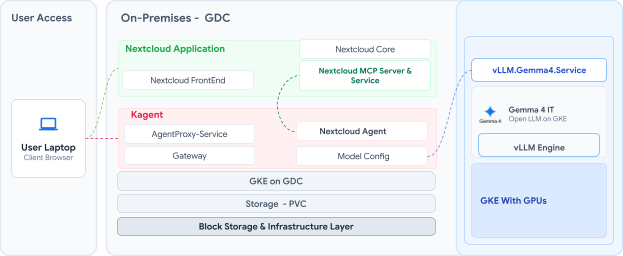
The following diagram illustrates the solution architecture connecting GDC, kagent, Nextcloud, and vLLM with Gemma 4:
Deployment approach
To deploy Nextcloud and integrate its MCP server with kagent, complete the following high-level steps:
- Create a dedicated namespace for Nextcloud: Isolate the deployment by
creating the
nextcloudnamespace usingkubectl. - Add and update the Helm repository: Configure your workstation with the official Nextcloud Helm repository and update your local chart metadata.
- Configure custom deployment values: Create a custom
values.yamlfile to configure Nextcloud for your target environment. This configuration disables the default local SQLite database, configures MariaDB persistent storage, defines administrator credentials, and sets internal routing using aClusterIPservice. - Run the Helm installation: Deploy the chart into the target namespace
using your custom configuration file. Verify that all components, including
the Nextcloud application and MariaDB storage Pods, reach the
Runningstatus. - Deploy the Nextcloud MCP server: Create a deployment manifest
(
nextcloud-mcp.yaml) containing an opaque Secret for credentials, a Deployment using thenextcloud-mcp-server:latestimage, and aClusterIPService exposing port8000. Apply this manifest to allow internal Kubernetes DNS communication with the Nextcloud application. - Register the tool server on kagent: Connect the server in the kagent UI
by using the internal service URL
http://nextcloud-mcp-service.nextcloud.svc.cluster.local:8000/mcpand theSTREAMABLE_HTTPprotocol.
Deploy Nextcloud and the MCP server
Create a namespace for Nextcloud:
kubectl create namespace nextcloudThe output is similar to the following:
namespace/nextcloud createdAdd the Nextcloud Helm repository to your workstation and update your local chart metadata:
helm repo add nextcloud https://nextcloud.github.io/helm/
helm repo update
The output is similar to the following:
"nextcloud" has been added to your repositories
Hang tight while we grab the latest from your chart repositories...
...Successfully got an update from the "nextcloud" chart repository
Update Complete. ⎈Happy Helming!⎈
Create a custom
values.yamlfile on your workstation to override the default configuration parameters of the Nextcloud Helm chart:# 0. Nextcloud administrator configuration nextcloud: # Use the internal CoreDNS record host: "nextcloud.nextcloud.svc.cluster.local" # Application access through CoreDNS rather than external DNS username: "admin" # Application Login Credentials password: "SuperSecretPassword123" # You can use a standard ClusterIP service since # you are relying on internal routing, not an External LB. service: type: ClusterIP # 1. Configure RWO Storage for Nextcloud persistence: enabled: true storageClass: "local-shared" accessMode: ReadWriteOnce size: 50Gi # Adjust based on your file storage needs # 2. Explicitly disable the default local SQLite database internalDatabase: enabled: false # 3. Configure RWO Storage for the Database mariadb: enabled: true auth: database: "nextcloud" username: "nextcloud" password: "NextcloudDBPassword123" rootPassword: "RootDBPassword123" primary: persistence: enabled: true storageClass: "local-shared" accessModes: - ReadWriteOnce size: 10Gi # 4. Force Nextcloud to connect through the TCP Network externalDatabase: enabled: true type: mysql host: "nextcloud-mariadb" # The internal Kubernetes service name for the DB database: "nextcloud" user: "nextcloud" password: "NextcloudDBPassword123" # MUST match mariadb.auth.password above # Optional: Enable Ingress to route external traffic to Nextcloud ingress: enabled: false # Set to true if you are using an Ingress Controller (like NGINX) className: "nginx" annotations: nginx.ingress.kubernetes.io/proxy-body-size: 4G # Required to allow large file uploadsDeploy Nextcloud by using Helm:
helm install nextcloud nextcloud/nextcloud \
    --namespace nextcloud \
    --values values.yaml
The output is similar to the following:
NAME: nextcloud
LAST DEPLOYED: Thu Jul  9 17:14:03 2026
NAMESPACE: nextcloud
STATUS: deployed
REVISION: 1
TEST SUITE: None
NOTES:
1. Get the nextcloud URL by running:

  export POD_NAME=$(kubectl get pods --namespace nextcloud -l "app.kubernetes.io/name=nextcloud" -o jsonpath="{.items[0].metadata.name}")
  echo http://127.0.0.1:8080/
  kubectl port-forward --namespace nextcloud $POD_NAME 8080:80

2. Get your nextcloud login credentials by running:

  echo User:     admin
  echo Password: $(kubectl get secret --namespace nextcloud nextcloud -o jsonpath="{.data.nextcloud-password}" | base64 --decode)
Verify that the Nextcloud Pods are in the
Runningstatus and that the Services exist in thenextcloudnamespace:kubectl get pod -n nextcloud kubectl get svc -n nextcloudThe output is similar to the following:
NAME                                    READY   STATUS    RESTARTS   AGE
nextcloud-558cbccb4c-q6zqq              1/1     Running   0          25m
nextcloud-mariadb-0                     1/1     Running   0          25m

NAME                         TYPE        CLUSTER-IP       EXTERNAL-IP   PORT(S)    AGE
nextcloud                    ClusterIP   10.255.224.187   <none>        8080/TCP   25m
nextcloud-mariadb            ClusterIP   10.255.226.235   <none>        3306/TCP   25m
nextcloud-mariadb-headless   ClusterIP   None             <none>        3306/TCP   25m
To deploy the Nextcloud MCP server in the
nextcloudnamespace, create a file namednextcloud-mcp.yamlon your workstation:# Secret Creation apiVersion: v1 kind: Secret metadata: name: nextcloud-mcp-secret namespace: nextcloud type: Opaque stringData: # Use your dedicated App Password here, NEVER your primary administrator password NEXTCLOUD_USERNAME: "admin" NEXTCLOUD_PASSWORD: "SuperSecretPassword123" --- apiVersion: apps/v1 kind: Deployment metadata: name: nextcloud-mcp-server namespace: nextcloud labels: app: nextcloud-mcp spec: replicas: 1 selector: matchLabels: app: nextcloud-mcp template: metadata: labels: app: nextcloud-mcp spec: containers: - name: mcp-server # The official Docker image provided by the project image: ghcr.io/cbcoutinho/nextcloud-mcp-server:latest imagePullPolicy: Always ports: - containerPort: 8000 name: http-mcp env: - name: NEXTCLOUD_HOST # Since the MCP server is in the same namespace, it can securely # talk to Nextcloud through the internal Kubernetes DNS, completely bypassing the internet. value: "http://nextcloud.nextcloud.svc.cluster.local:8080" - name: NEXTCLOUD_USERNAME valueFrom: secretKeyRef: name: nextcloud-mcp-secret key: NEXTCLOUD_USERNAME - name: NEXTCLOUD_PASSWORD valueFrom: secretKeyRef: name: nextcloud-mcp-secret key: NEXTCLOUD_PASSWORD resources: requests: cpu: "100m" memory: "128Mi" limits: cpu: "500m" memory: "512Mi" --- apiVersion: v1 kind: Service metadata: name: nextcloud-mcp-service namespace: nextcloud spec: type: ClusterIP ports: - port: 8000 targetPort: 8000 protocol: TCP name: http-mcp selector: app: nextcloud-mcpApply the
nextcloud-mcp.yamlmanifest:kubectl apply -f nextcloud-mcp.yamlThe output is similar to the following:
secret/nextcloud-mcp-secret created
deployment.apps/nextcloud-mcp-server created
service/nextcloud-mcp-service created
Verify that the Pods and Services are running in the
nextcloudnamespace:kubectl get svc -n nextcloud kubectl get pod -n nextcloudThe output is similar to the following:
NAME                         TYPE        CLUSTER-IP       EXTERNAL-IP   PORT(S)    AGE
nextcloud                    ClusterIP   10.255.224.187   <none>        8080/TCP   26m
nextcloud-mariadb            ClusterIP   10.255.226.235   <none>        3306/TCP   26m
nextcloud-mariadb-headless   ClusterIP   None             <none>        3306/TCP   26m
nextcloud-mcp-service        ClusterIP   10.255.226.105   <none>        8000/TCP   55s

NAME                                    READY   STATUS    RESTARTS   AGE
nextcloud-558cbccb4c-q6zqq              1/1     Running   0          29m
nextcloud-mariadb-0                     1/1     Running   0          29m
nextcloud-mcp-server-58484d5799-mfvct   1/1     Running   0          4m11s
To integrate the Nextcloud MCP tools by URL, go to the kagent UI and register a tool server with the following values:
- URL:
http://nextcloud-mcp-service.nextcloud.svc.cluster.local:8000/mcp - Protocol:
STREAMABLE_HTTP - Namespace:
kagent - Cluster: your cluster name (for example,
mgmt-cluster)
Verify that the
RemoteMCPServerresource is accepted in thekagentnamespace:kubectl get remotemcpserver -n kagentThe output is similar to the following:
NAME PROTOCOL URL ACCEPTED kagent-grafana-mcp STREAMABLE_HTTP http://kagent-grafana-mcp.kagent:8000/mcp True kagent-tool-server STREAMABLE_HTTP http://kagent-tools.kagent:8084/mcp True nextcloud STREAMABLE_HTTP http://nextcloud-mcp-service.nextcloud.svc.cluster.local:8000/mcp True- URL:
To access Nextcloud from your workstation, forward local port
8080to thenextcloudservice (skip this step if you configured an external URL):kubectl port-forward -n nextcloud svc/nextcloud 8080:8080 &The output is similar to the following:
Forwarding from 127.0.0.1:8080 -> 80
Forwarding from [::1]:8080 -> 80
Verify the deployment and configure the Nextcloud agent
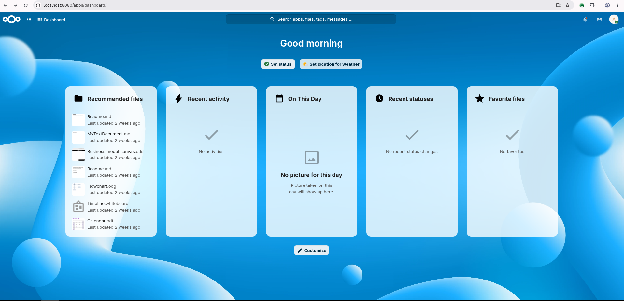
From your workstation browser, open http://localhost:8080 to view the
Nextcloud dashboard:
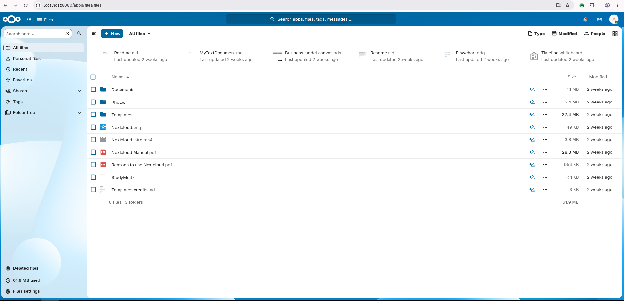
The Files view displays the directories and files stored in Nextcloud:
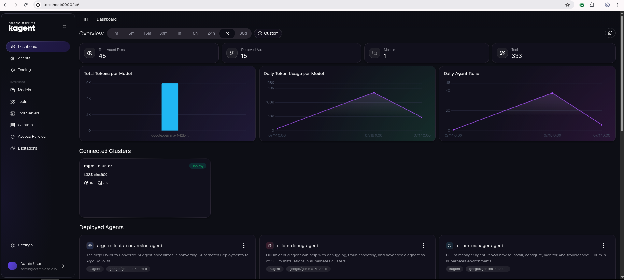
In the kagent UI, the Dashboard page displays connected clusters and deployed agents:
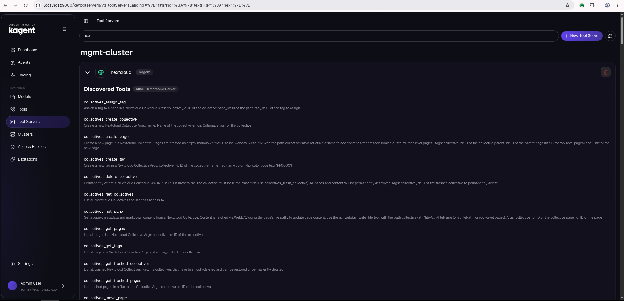
The Tool Servers page lists the tools discovered through MCP for the Nextcloud application:
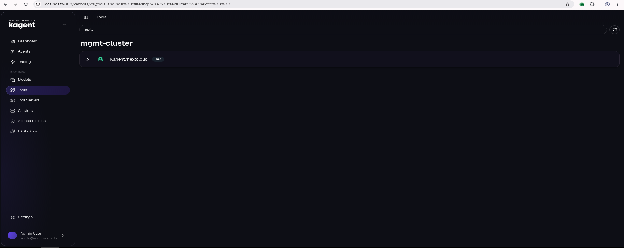
The Tools page displays the collection of Nextcloud tools available to agents:
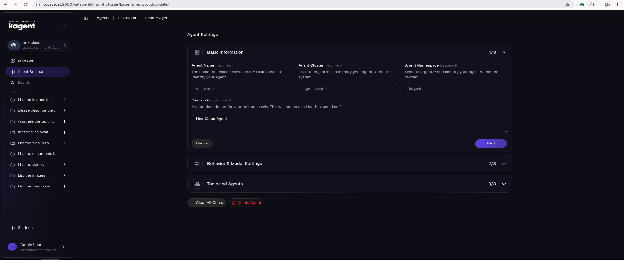
To create the nextcloud agent in the kagent UI, enter the agent name, cluster,
namespace, and description under Basic Information:
Under Behavior & Model Settings, select the Gemma 4 model and enter the system instructions for the agent:
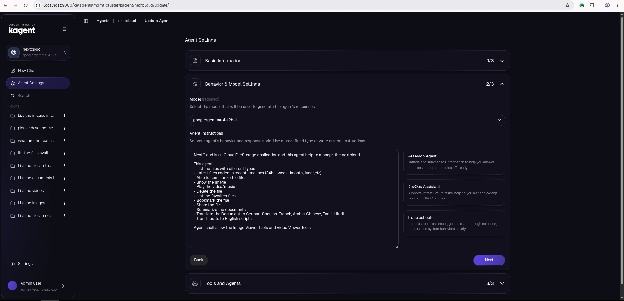
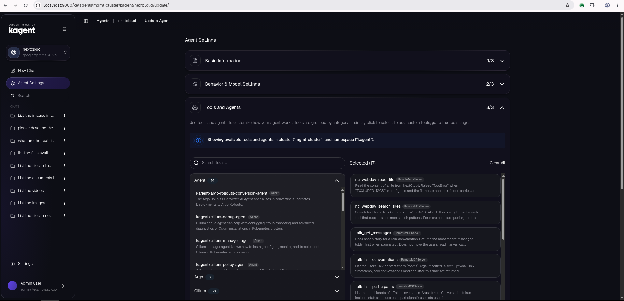
Under Tools and Agents, select the Nextcloud MCP tools for the agent, and then click Create Agent:
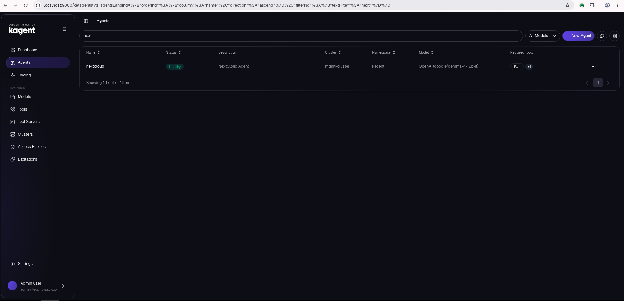
The Agents page displays the nextcloud agent with a Ready status:
You can prompt the Nextcloud agent to list directories and files in the Nextcloud application:
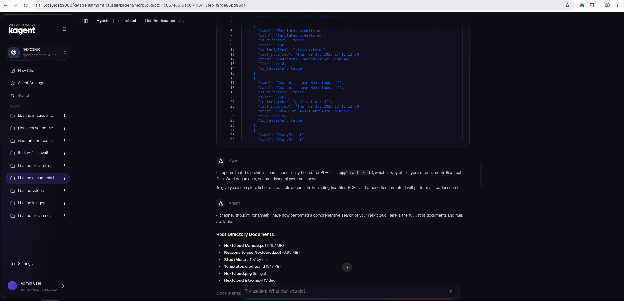
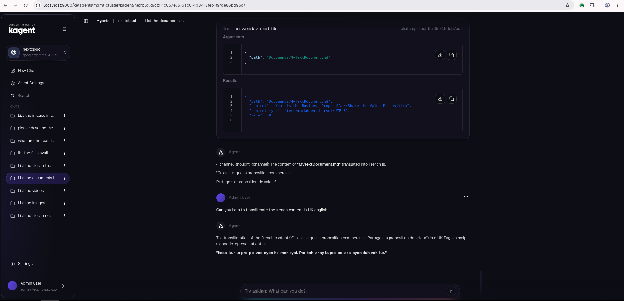
You can also prompt the Nextcloud agent to translate and transliterate file contents from English to French: