

Set a run-as service account
This page is part of Prepare for upcoming authorization changes. Follow these steps for each integration that needs a run-as service account and doesn't have one.
Set the service account
- Choose or create the service account, and grant it the roles the integration's
tasks need on the resources they touch. To work out what to grant, look at the roles
your project's Application Integration service agent,
service-PROJECT_NUMBER@gcp-sa-integrations.iam.gserviceaccount.com, holds today, and give the new account just the part this integration uses. - Grant Service Account User on it to everyone who needs it, including any automation and trigger service accounts.
- Open the integration in the integration editor, and then click
(Integration settings) in the
editor toolbar.

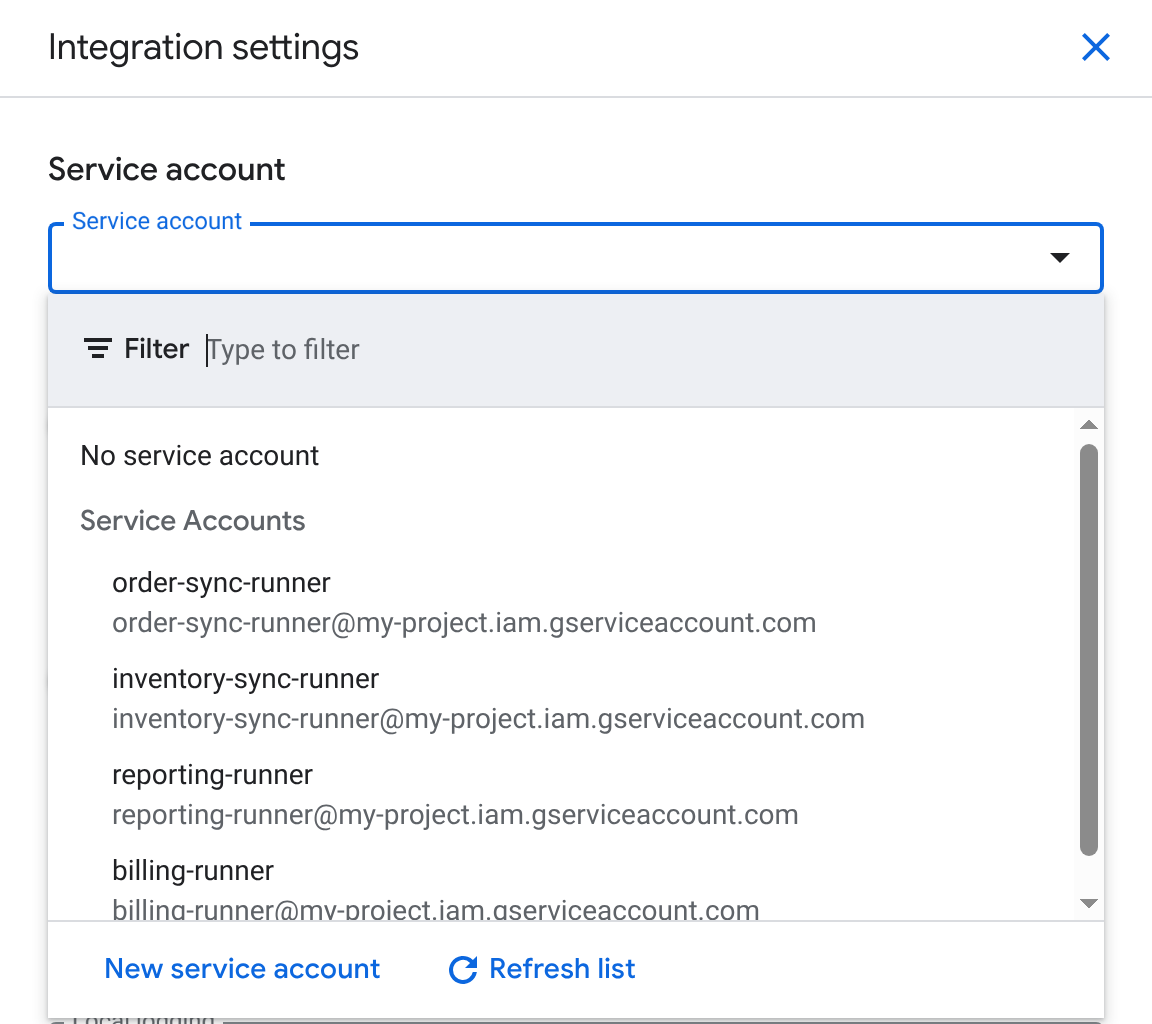
- In the Integration settings pane, click the Service account list, and
then select the service account. If it doesn't exist yet, click New service
account to create it.
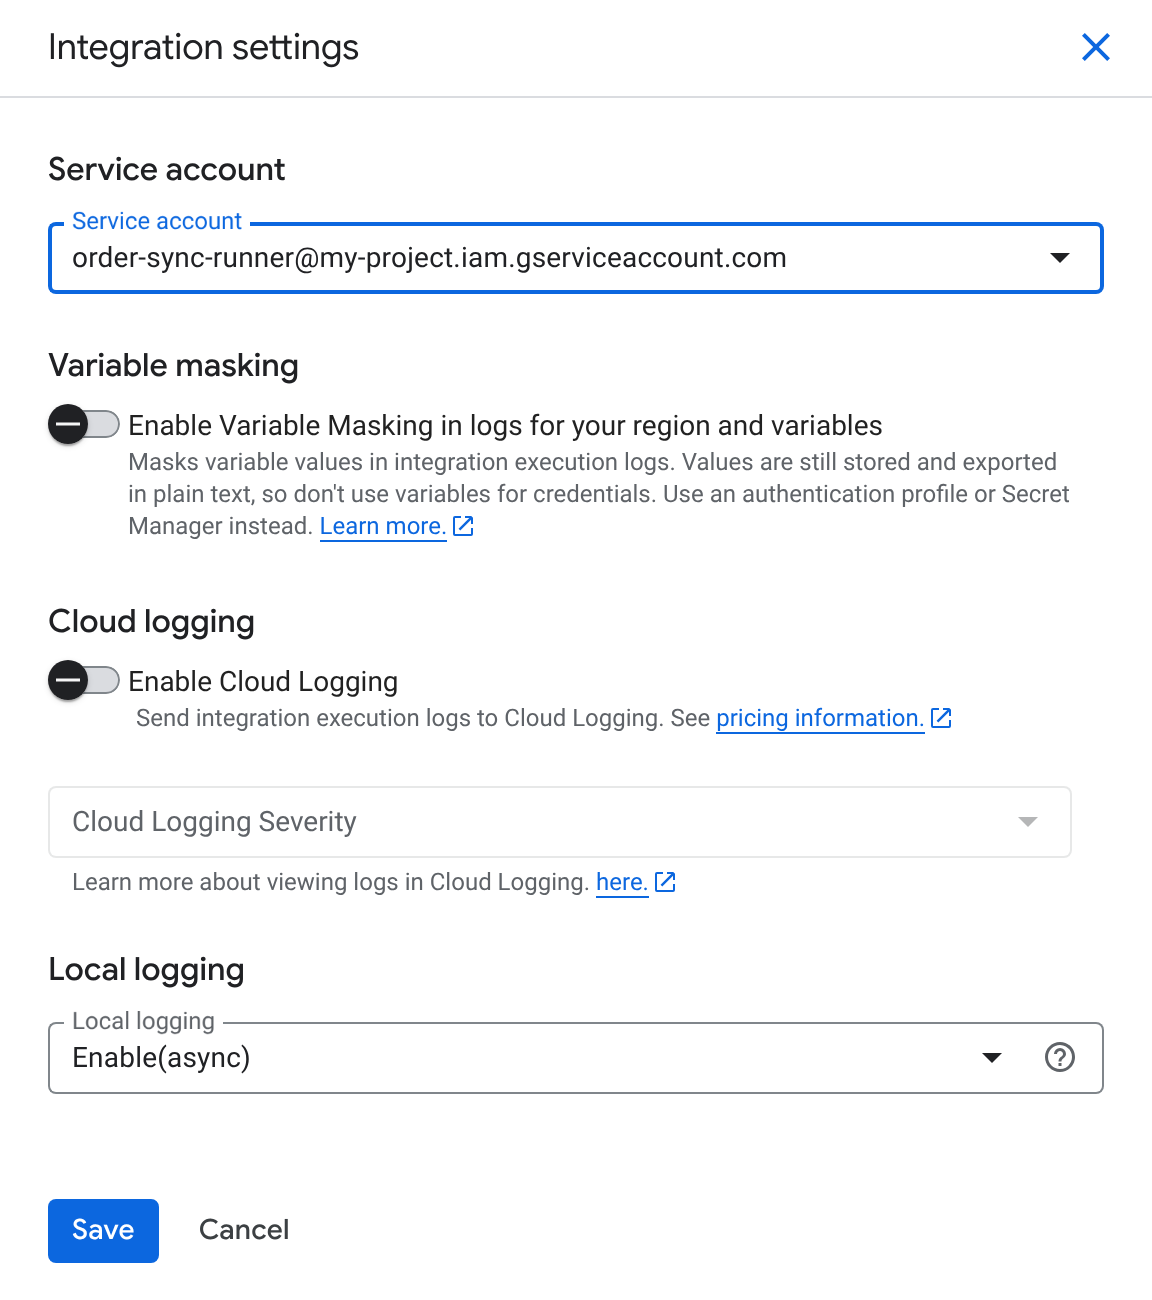
- Click Save.
- Click Publish. The new run-as service account takes effect for the runs that the published version handles. For more, see Test and publish integrations.
Use one service account per integration
Google Cloud recommends using a dedicated, minimally scoped service account for each integration rather than one broadly privileged account shared across all of them, because it does the following:
- Contains the effect of any one integration.
- Shows up by name in your audit logs.
For more, see Best practices for working with service accounts.
What's next
- If publishing or a run fails after the change, see Troubleshoot authorization errors.