
レイアウト パーサーのクイックスタート
レイアウト パーサーを使用して、テキスト、表、リストなどの要素をドキュメントから抽出します。
このタスクを Google Cloud コンソールで直接行う際の順を追ったガイダンスについては、「ガイドを表示」をクリックしてください。
始める前に
- Google Cloud アカウントにログインします。 Google Cloudを初めて使用する場合は、 アカウントを作成して、実際のシナリオでの Google プロダクトのパフォーマンスを評価してください。新規のお客様には、ワークロードの実行、テスト、デプロイができる無料クレジット $300 分を差し上げます。
-
In the Google Cloud console, on the project selector page, select or create a Google Cloud project.
Roles required to select or create a project
- Select a project: Selecting a project doesn't require a specific IAM role—you can select any project that you've been granted a role on.
-
Create a project: To create a project, you need the Project Creator role
(
roles/resourcemanager.projectCreator), which contains theresourcemanager.projects.createpermission. Learn how to grant roles.
-
Verify that billing is enabled for your Google Cloud project.
Enable the Document AI, Cloud Storage APIs.
Roles required to enable APIs
To enable APIs, you need the Service Usage Admin IAM role (
roles/serviceusage.serviceUsageAdmin), which contains theserviceusage.services.enablepermission. Learn how to grant roles.-
In the Google Cloud console, on the project selector page, select or create a Google Cloud project.
Roles required to select or create a project
- Select a project: Selecting a project doesn't require a specific IAM role—you can select any project that you've been granted a role on.
-
Create a project: To create a project, you need the Project Creator role
(
roles/resourcemanager.projectCreator), which contains theresourcemanager.projects.createpermission. Learn how to grant roles.
-
Verify that billing is enabled for your Google Cloud project.
Enable the Document AI, Cloud Storage APIs.
Roles required to enable APIs
To enable APIs, you need the Service Usage Admin IAM role (
roles/serviceusage.serviceUsageAdmin), which contains theserviceusage.services.enablepermission. Learn how to grant roles.
プロセッサの作成
Google Cloud コンソールの Document AI セクションで、[プロセッサ ギャラリー] を選択します。
[プロセッサ ギャラリー] で、[レイアウト パーサー] を
検索 して [作成] を選択します。
サイド ウィンドウで、[プロセッサ名] に「
quickstart-layout-processor」などを入力します。最も近いリージョンを選択します。
[作成] をクリックします。
新しいフォーム パーサー プロセッサの [プロセッサの詳細] ページが表示されます。
省略可: [
バージョンの管理 ] をクリックし、[バージョン] テーブルからプロセッサを選択して、デフォルトのプロセッサを選択します。[デフォルトとしてマーク ] をクリックし、プロセッサ名を入力して確定します。
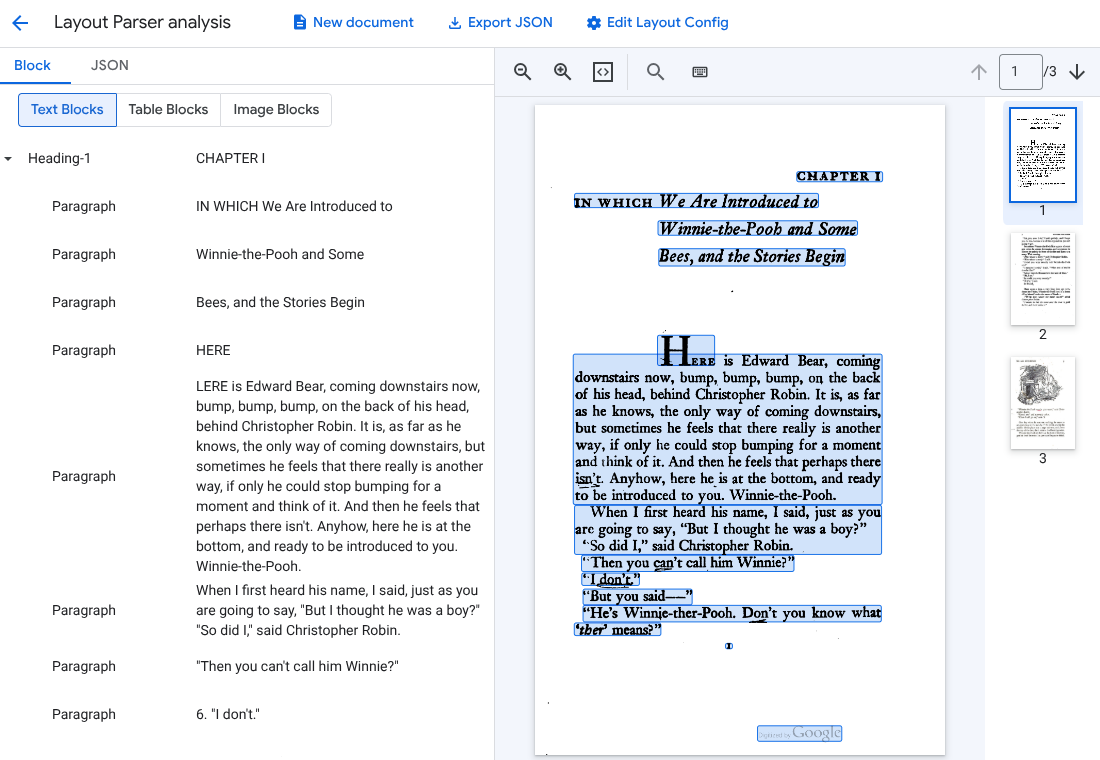
プロセッサをテストする
プロセッサを作成したら、作成したプロセッサに対してアノテーション リクエストを送信できます。
[
テスト ドキュメントをアップロード ] ボタンをクリックし、ダウンロードしたドキュメントを選択します。[レイアウト パーサー分析] ページが表示されます。ドキュメントから解析されたブロックまたはチャンクを、検出されたタイプごとに整理して表示できます。
省略可: [
レイアウト構成を編集 ] を選択して、画像またはテーブルのアノテーション データを有効にします。
ドキュメントを処理する
REST
この例では、Cloud Storage に保存されているドキュメントをレイアウト パーサーに送信して処理する方法を示します。このプロセスでは、画像とテーブルの注釈がデフォルトで有効になります。
REST
リクエストのデータを使用する前に、次のように置き換えます。
- PROJECT_ID: 実際の Google Cloud プロジェクト ID。
- LOCATION: プロセッサのロケーション(例:
-
)
us- 米国eu- 欧州連合
- PROCESSOR_ID: カスタム プロセッサの ID。
- MIME_TYPE: レイアウト パーサーが
application/pdfとtext/htmlをサポートします。 - GCS_FILE_PATH: ドキュメントを含む Cloud Storage バケットのファイルパス。
- CHUNK_SIZE: 省略可。ドキュメントの分割時に使用するチャンクサイズ(トークン単位)。
- INCLUDE_ANCESTOR_HEADINGS: 省略可。ブール値。ドキュメントを分割するときに上位の見出しを含めるかどうか。
HTTP メソッドと URL:
POST https://LOCATION-documentai.googleapis.com/v1beta3/projects/PROJECT_ID/locations/LOCATION/processors/PROCESSOR_ID/processorVersions/pretrained-layout-parser-v1.5-2025-08-25:process
リクエストの本文(JSON):
{
  "gcsDocument": {
    "gcsUri": "GCS_FILE_PATH",
    "mimeType": "MIME_TYPE"
  },
  "processOptions": {
    "layoutConfig": {
      "enableTableAnnotation": "true",
      "enableImageAnnotation": "true",
      "chunkingConfig": {
        "chunkSize": "CHUNK_SIZE",
        "includeAncestorHeadings": "INCLUDE_ANCESTOR_HEADINGS",
      }
    }
  }
}
リクエストを送信するには、次のいずれかのオプションを選択します。
curl
リクエスト本文を request.json という名前のファイルに保存して、次のコマンドを実行します。
curl -X POST \
     -H "Authorization: Bearer $(gcloud auth print-access-token)" \
     -H "Content-Type: application/json; charset=utf-8" \
     -d @request.json \
     "https://LOCATION-documentai.googleapis.com/v1beta3/projects/PROJECT_ID/locations/LOCATION/processors/PROCESSOR_ID/processorVersions/pretrained-layout-parser-v1.5-2025-08-25:process"
PowerShell
リクエスト本文を request.json という名前のファイルに保存して、次のコマンドを実行します。
$cred = gcloud auth print-access-token
$headers = @{ "Authorization" = "Bearer $cred" }

Invoke-WebRequest `
    -Method POST `
    -Headers $headers `
    -ContentType: "application/json; charset=utf-8" `
    -InFile request.json `
    -Uri "https://LOCATION-documentai.googleapis.com/v1beta3/projects/PROJECT_ID/locations/LOCATION/processors/PROCESSOR_ID/processorVersions/pretrained-layout-parser-v1.5-2025-08-25:process" | Select-Object -Expand Content
成功したことを示すステータス コード(2xx)と空のレスポンスが返されます。
出力を確認する
リクエストが成功すると、JSON 形式のドキュメント オブジェクトが返されます。検索拡張生成(RAG)で最も重要なフィールドは document.chunked_document.chunks です。
以下は、A.A. ミルンの「クマのプーさん」の 3 ページ目を解析した出力フォームです。
{
  "document": {
  document_layout {
    blocks {
      block_id: "1"
      text_block {
        text: "WE ARE INTRODUCED 3"
        type_: "header"
      }
      page_span {
        page_start: 1
        page_end: 1
      }
    }
    blocks {
      block_id: "2"
      page_span {
        page_start: 1
        page_end: 1
      }
      image_block {
        mime_type: "image/png"
        annotations {
          description: "This is an ink drawing depicting Winnie-the-Pooh sitting outside his house.\n\nHere are the facts and conclusions that can be derived from the image:\n\n*   **Character:** The central figure is a bear, identifiable as Winnie-the-Pooh, sitting on a log.\n*   **Location:** He is positioned outside what appears to be a small, rustic shelter or house.\n*   **Signage:** Above the doorway of the shelter, there is a sign that reads \"MR SANDERZ\". Below this sign, there is another partial sign visible, where the letters \"RNIG\" and \"ALSO\" can be seen.\n*   **Doorbell:** To the left of the doorway, a bell is hanging, indicating a doorbell mechanism.\n*   **Setting:** The dwelling is surrounded by what looks like brush, trees, and general wilderness, suggested by the lines representing foliage and twigs.\n*   **Log:** Pooh is seated on a cut log or tree trunk. To the left of this log, there are other smaller logs or branches piled up.\n*   **Style:** The image is a black and white line drawing, characteristic of classic book illustrations."
        }
        blob_asset_id: "blob_1"
      }
    }
    blocks {
      block_id: "3"
      text_block {
        text: ""Winnie-the-Pooh wasn't quite sure," said Christopher Robin. "Now I am," said a growly voice. "Then I will go on,"said I.) One day when he was out walking, he came to an open place in the middle of the forest, and in the middle of this place was a large oak-tree, and, from the top of the tree, there came a loud buzzing-noise. Winnie-the-Pooh sat down at the foot of the tree,put his head between his paws and began to think."
        type_: "paragraph"
      }
      page_span {
        page_start: 1
        page_end: 1
      }
    }
    blocks {
      block_id: "4"
      text_block {
        text: "Digitized by Google"
        type_: "footer"
      }
      page_span {
        page_start: 1
        page_end: 1
      }
    }
  }
  chunked_document {
    chunks {
      chunk_id: "c1"
      source_block_ids: "2"
      source_block_ids: "3"
      content: "__START_OF_ANNOTATION__This is an ink drawing depicting Winnie-the-Pooh sitting outside his house.\n\nHere are the facts and conclusions that can be derived from the image:\n\n*   **Character:** The central figure is a bear, identifiable as Winnie-the-Pooh, sitting on a log.\n*   **Location:** He is positioned outside what appears to be a small, rustic shelter or house.\n*   **Signage:** Above the doorway of the shelter, there is a sign that reads \"MR SANDERZ\". Below this sign, there is another partial sign visible, where the letters \"RNIG\" and \"ALSO\" can be seen.\n*   **Doorbell:** To the left of the doorway, a bell is hanging, indicating a doorbell mechanism.\n*   **Setting:** The dwelling is surrounded by what looks like brush, trees, and general wilderness, suggested by the lines representing foliage and twigs.\n*   **Log:** Pooh is seated on a cut log or tree trunk. To the left of this log, there are other smaller logs or branches piled up.\n*   **Style:** The image is a black and white line drawing, characteristic of classic book illustrations.__END_OF_ANNOTATION__"Winnie-the-Pooh wasn't quite sure," said Christopher Robin. "Now I am," said a growly voice. "Then I will go on," said I.) One day when he was out walking, he came to an open place in the middle of the forest, and in the middle of this place was a large oak-tree, and, from the top of the tree, there came a loud buzzing-noise. Winnie-the-Pooh sat down at the foot of the tree,put his head between his paws and began to think."
      page_span {
        page_start: 1
        page_end: 1
      }
      page_headers {
        text: "WE ARE INTRODUCED 3"
        page_span {
          page_start: 1
          page_end: 1
        }
      }
      page_footers {
        text: "Digitized by Google"
        page_span {
          page_start: 1
          page_end: 1
        }
      }
      chunk_fields {
        image_chunk_field {
          blob_asset_id: "blob_1"
          annotations {
            description: "This is an ink drawing depicting Winnie-the-Pooh sitting outside his house.\n\nHere are the facts and conclusions that can be derived from the image:\n\n*   **Character:** The central figure is a bear, identifiable as Winnie-the-Pooh, sitting on a log.\n*   **Location:** He is positioned outside what appears to be a small, rustic shelter or house.\n*   **Signage:** Above the doorway of the shelter, there is a sign that reads \"MR SANDERZ\". Below this sign, there is another partial sign visible, where the letters \"RNIG\" and \"ALSO\" can be seen.\n*   **Doorbell:** To the left of the doorway, a bell is hanging, indicating a doorbell mechanism.\n*   **Setting:** The dwelling is surrounded by what looks like brush, trees, and general wilderness, suggested by the lines representing foliage and twigs.\n*   **Log:** Pooh is seated on a cut log or tree trunk. To the left of this log, there are other smaller logs or branches piled up.\n*   **Style:** The image is a black and white line drawing, characteristic of classic book illustrations."
          }
        }
      }
    }
  }
  blob_assets {
    asset_id: "blob_1"
    content: "image_bytes"
    mime_type: "image/png"
  }
}
Python
このガイドでは、Python クライアント ライブラリを使用してドキュメントを処理する方法について説明します。このコードを使用すると、画像と表の注釈がデフォルトで有効になります。
クライアント ライブラリをインストールする。
! pip install --upgrade --quiet google-cloud-documentaiプロセッサを実行します。
def process_layout_parser(
    project_id: str, location: str, processor_id: str, gcs_uri: str, mime_type: str
):
    """
    Processes a document with the layout parser and prints chunk text.
    """
    client = documentai.DocumentProcessorServiceClient()

    # The full resource name of the processor
    processor_version_id = 'pretrained-layout-parser-v1.5-2025-08-25'
    name = client.processor_path(project_id, location, processor_id, processor_version_id)

    # Configure the Cloud Storage document
    gcs_document = documentai.GcsDocument(gcs_uri=gcs_uri, mime_type=mime_type)

    # Configure processing options for RAG
    # This enables annotation and context-aware chunking.
    process_options = documentai.ProcessOptions(
      # Process only specific pages
      layout_config=documentai.ProcessOptions.LayoutConfig(
          enable_table_annotation=True,
          enable_image_annotation=True,
          chunking_config=documentai.ProcessOptions.LayoutConfig.ChunkingConfig(
        chunk_size=1024,
        include_ancestor_headings=True,
          ),
      ),
  )

    # Build the request
    request = documentai.ProcessRequest(
        name=name,
        gcs_document=gcs_document,
        process_options=process_options,
    )

    # Process the document
    result = client.process_document(request=request)
    document = result.document

    print(f"Document processing complete.\n")

    print("--- RAG-Ready Chunks (with context) ---")
    for i, chunk in enumerate(document.chunked_document.chunks):
        print(f"\n--- Chunk {i} ---")

        # Print the chunk's content
        print(f"Text: {chunk.content}")
    return result
レイアウト パーサーを使用してドキュメントをバッチ処理する
次の手順に沿って、1 つのリクエストで複数のドキュメントを解析してチャンク化します。
レイアウト パーサーにドキュメントを入力して、解析とチャンク化を行います。
処理リクエストを送信するのバッチ処理リクエストの手順に沿って操作します。
batchProcessリクエストを行うときに、ProcessOptions.layoutConfigのフィールドを構成します。入力
次の JSON の例では、
ProcessOptions.layoutConfigを構成します。"processOptions": { "layoutConfig": { "enableTableAnnotation": "true", "enableImageAnnotation": "true", "chunkingConfig": { "chunkSize": "CHUNK_SIZE", "includeAncestorHeadings": "INCLUDE_ANCESTOR_HEADINGS_BOOLEAN" } } }次のように置き換えます。
CHUNK_SIZE: ドキュメントの分割時に使用するチャンクの最大サイズ(トークンの数)。INCLUDE_ANCESTOR_HEADINGS_BOOLEAN: ドキュメントを分割するときに、祖先の見出しを含めるかどうか。祖先の見出しは、元のドキュメントの小見出しの親です。元のドキュメント内の位置に関する追加のコンテキストを含むチャンクを提供できます。チャンクには、最大 2 レベルの見出しを含めることができます。
クリーンアップ
このページで使用したリソースについて、 Google Cloud アカウントに課金されないようにするには、次の手順を実施します。
不要な Google Cloud 料金が発生しないようにするには、Google Cloud console を使用して、不要なプロセッサやプロジェクトを削除します。
Document AI の学習用に新しいプロジェクトを作成し、そのプロジェクトが不要になった場合は、[プロジェクトを削除][delete-project]します。
既存の Google Cloud プロジェクトを使用した場合は、作成したリソースを削除して、アカウントに課金されないようにします。
Google Cloud コンソールのナビゲーション メニューで [Document AI] を選択し、[マイプロセッサ] を選択します。
削除するプロセッサと同じ行にある [
その他の操作 ] を選択します。[プロセッサを削除] を選択し、プロセッサ名を入力して、もう一度 [削除] を選択して確定します。
次のステップ
詳細については、ガイドをご覧ください。