
Guía de inicio rápido del analizador de diseño
Usa el analizador de diseño para extraer elementos de un documento, como texto, tablas y listas.
Para seguir la guía paso a paso sobre esta tarea directamente en la Google Cloud consola, haz clic en Guiarme:
Antes de comenzar
- Accede a tu Google Cloud cuenta de. Si eres nuevo en Google Cloud, crea una cuenta para evaluar el rendimiento de nuestros productos en situaciones reales. Los clientes nuevos también obtienen $300 en créditos gratuitos para ejecutar, probar y, además, implementar cargas de trabajo.
-
In the Google Cloud console, on the project selector page, select or create a Google Cloud project.
Roles required to select or create a project
- Select a project: Selecting a project doesn't require a specific IAM role—you can select any project that you've been granted a role on.
-
Create a project: To create a project, you need the Project Creator role
(
roles/resourcemanager.projectCreator), which contains theresourcemanager.projects.createpermission. Learn how to grant roles.
-
Verify that billing is enabled for your Google Cloud project.
Enable the Document AI, Cloud Storage APIs.
Roles required to enable APIs
To enable APIs, you need the
serviceusage.services.enablepermission. If you created the project, then you likely already have this permission through the Owner role (roles/owner). Otherwise, you can get this permission through the Service Usage Admin role (roles/serviceusage.serviceUsageAdmin). Learn how to grant roles.-
In the Google Cloud console, on the project selector page, select or create a Google Cloud project.
Roles required to select or create a project
- Select a project: Selecting a project doesn't require a specific IAM role—you can select any project that you've been granted a role on.
-
Create a project: To create a project, you need the Project Creator role
(
roles/resourcemanager.projectCreator), which contains theresourcemanager.projects.createpermission. Learn how to grant roles.
-
Verify that billing is enabled for your Google Cloud project.
Enable the Document AI, Cloud Storage APIs.
Roles required to enable APIs
To enable APIs, you need the
serviceusage.services.enablepermission. If you created the project, then you likely already have this permission through the Owner role (roles/owner). Otherwise, you can get this permission through the Service Usage Admin role (roles/serviceusage.serviceUsageAdmin). Learn how to grant roles.
Crea un procesador
En la Google Cloud consola de, en la sección Document AI, selecciona Galería del procesador.
En la Galería del procesador,
busca Analizador de diseño y selecciona Crear.
En la ventana lateral, ingresa un Nombre del procesador, como
quickstart-layout-processor.Selecciona la región más cercana a ti.
Haz clic en Crear.
Se te redireccionará a la página Detalles del procesador del nuevo procesador de analizador de formularios.
Opcional: Para seleccionar un procesador predeterminado, haz clic en
Administrar versiones y selecciona un procesador de la tabla Versiones. Luego, haz clic enMarcar como predeterminada y confirma ingresando el nombre del procesador.
Procesador de prueba
Después de crear tu procesador, puedes enviarle solicitudes de anotación.
Haz clic en el botón
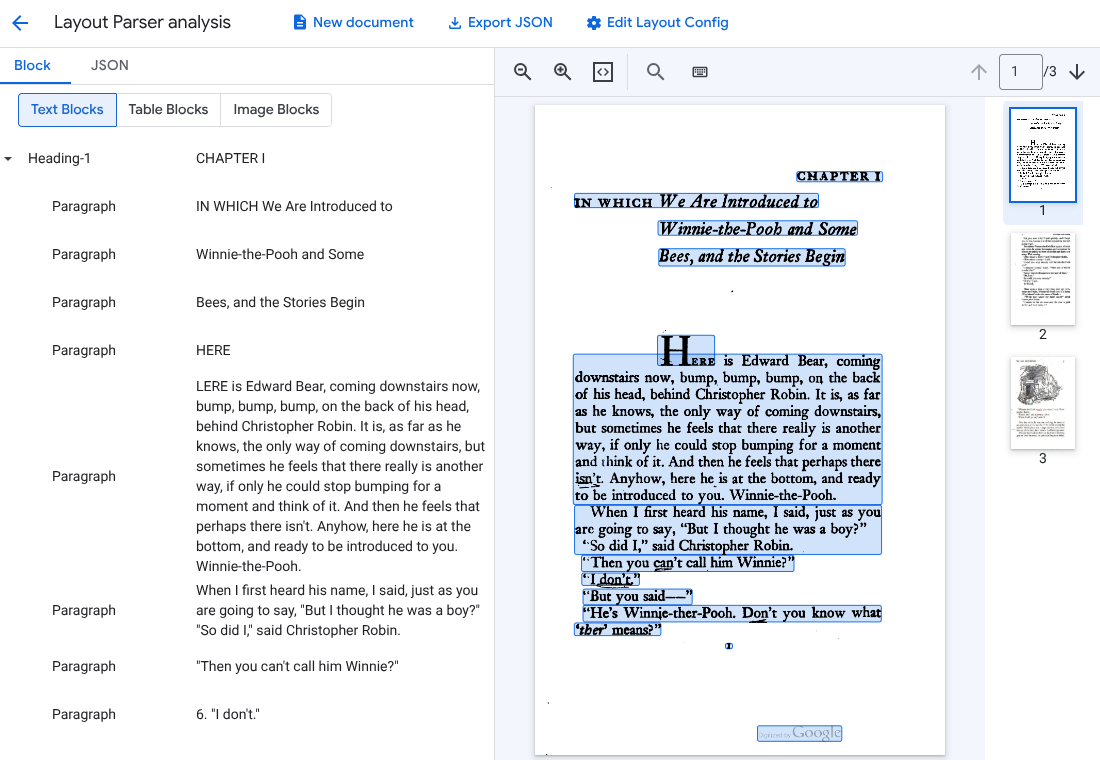
Subir documento de prueba y selecciona el documento que acabas de descargar.Ahora, debes estar en la página Análisis del analizador de diseños. Puedes ver los bloques o fragmentos analizados del documento, organizados por los tipos detectados.
Selecciona
Editar la configuración del diseño (opcional) para habilitar los datos de anotación de imágenes o tablas.
Procesa un documento
REST
En este ejemplo, se muestra cómo enviar un documento almacenado en Cloud Storage al analizador de diseño para su procesamiento. Este proceso habilita la anotación de imágenes y tablas de forma predeterminada.
REST
Antes de usar cualquiera de los datos de solicitud a continuación, realiza los siguientes reemplazos:
- PROJECT_ID: Es el ID del Google Cloud proyecto.
- LOCATION: Es la ubicación de tu procesador, por ejemplo:
us- Estados Unidoseu- Unión Europea
- PROCESSOR_ID: Es el ID de tu procesador personalizado.
- MIME_TYPE: El analizador de diseño admite
application/pdfytext/html. - GCS_FILE_PATH: Es la ruta de acceso al archivo del bucket de Cloud Storage con tu documento.
- CHUNK_SIZE: Opcional. Es el tamaño del fragmento, en tokens, que se usará cuando se dividan los documentos.
- INCLUDE_ANCESTOR_HEADINGS: Opcional. Booleano. Indica si se deben incluir o no los encabezados principales cuando se dividan los documentos.
Método HTTP y URL:
POST https://LOCATION-documentai.googleapis.com/v1beta3/projects/PROJECT_ID/locations/LOCATION/processors/PROCESSOR_ID/processorVersions/pretrained-layout-parser-v1.5-2025-08-25:process
Cuerpo JSON de la solicitud:
{
  "gcsDocument": {
    "gcsUri": "GCS_FILE_PATH",
    "mimeType": "MIME_TYPE"
  },
  "processOptions": {
    "layoutConfig": {
      "enableTableAnnotation": "true",
      "enableImageAnnotation": "true",
      "chunkingConfig": {
        "chunkSize": "CHUNK_SIZE",
        "includeAncestorHeadings": "INCLUDE_ANCESTOR_HEADINGS",
      }
    }
  }
}
Para enviar tu solicitud, elige una de estas opciones:
curl
Guarda el cuerpo de la solicitud en un archivo llamado request.json y ejecuta el siguiente comando:
curl -X POST \
     -H "Authorization: Bearer $(gcloud auth print-access-token)" \
     -H "Content-Type: application/json; charset=utf-8" \
     -d @request.json \
     "https://LOCATION-documentai.googleapis.com/v1beta3/projects/PROJECT_ID/locations/LOCATION/processors/PROCESSOR_ID/processorVersions/pretrained-layout-parser-v1.5-2025-08-25:process"
PowerShell
Guarda el cuerpo de la solicitud en un archivo llamado request.json y ejecuta el siguiente comando:
$cred = gcloud auth print-access-token
$headers = @{ "Authorization" = "Bearer $cred" }

Invoke-WebRequest `
    -Method POST `
    -Headers $headers `
    -ContentType: "application/json; charset=utf-8" `
    -InFile request.json `
    -Uri "https://LOCATION-documentai.googleapis.com/v1beta3/projects/PROJECT_ID/locations/LOCATION/processors/PROCESSOR_ID/processorVersions/pretrained-layout-parser-v1.5-2025-08-25:process" | Select-Object -Expand Content
Deberías recibir un código de estado exitoso (2xx) y una respuesta vacía.
Revisa el resultado
Una solicitud exitosa muestra un objeto de documento en JSON. Los campos más importantes para la Generación mejorada por recuperación (RAG) son document.chunked_document.chunks.
A continuación, se muestra el resultado del análisis de la tercera página de "Winnie the Pooh" de A.A. Milne.
{
  "document": {
  document_layout {
    blocks {
      block_id: "1"
      text_block {
        text: "WE ARE INTRODUCED 3"
        type_: "header"
      }
      page_span {
        page_start: 1
        page_end: 1
      }
    }
    blocks {
      block_id: "2"
      page_span {
        page_start: 1
        page_end: 1
      }
      image_block {
        mime_type: "image/png"
        annotations {
          description: "This is an ink drawing depicting Winnie-the-Pooh sitting outside his house.\n\nHere are the facts and conclusions that can be derived from the image:\n\n*   **Character:** The central figure is a bear, identifiable as Winnie-the-Pooh, sitting on a log.\n*   **Location:** He is positioned outside what appears to be a small, rustic shelter or house.\n*   **Signage:** Above the doorway of the shelter, there is a sign that reads \"MR SANDERZ\". Below this sign, there is another partial sign visible, where the letters \"RNIG\" and \"ALSO\" can be seen.\n*   **Doorbell:** To the left of the doorway, a bell is hanging, indicating a doorbell mechanism.\n*   **Setting:** The dwelling is surrounded by what looks like brush, trees, and general wilderness, suggested by the lines representing foliage and twigs.\n*   **Log:** Pooh is seated on a cut log or tree trunk. To the left of this log, there are other smaller logs or branches piled up.\n*   **Style:** The image is a black and white line drawing, characteristic of classic book illustrations."
        }
        blob_asset_id: "blob_1"
      }
    }
    blocks {
      block_id: "3"
      text_block {
        text: ""Winnie-the-Pooh wasn't quite sure," said Christopher Robin. "Now I am," said a growly voice. "Then I will go on,"said I.) One day when he was out walking, he came to an open place in the middle of the forest, and in the middle of this place was a large oak-tree, and, from the top of the tree, there came a loud buzzing-noise. Winnie-the-Pooh sat down at the foot of the tree,put his head between his paws and began to think."
        type_: "paragraph"
      }
      page_span {
        page_start: 1
        page_end: 1
      }
    }
    blocks {
      block_id: "4"
      text_block {
        text: "Digitized by Google"
        type_: "footer"
      }
      page_span {
        page_start: 1
        page_end: 1
      }
    }
  }
  chunked_document {
    chunks {
      chunk_id: "c1"
      source_block_ids: "2"
      source_block_ids: "3"
      content: "__START_OF_ANNOTATION__This is an ink drawing depicting Winnie-the-Pooh sitting outside his house.\n\nHere are the facts and conclusions that can be derived from the image:\n\n*   **Character:** The central figure is a bear, identifiable as Winnie-the-Pooh, sitting on a log.\n*   **Location:** He is positioned outside what appears to be a small, rustic shelter or house.\n*   **Signage:** Above the doorway of the shelter, there is a sign that reads \"MR SANDERZ\". Below this sign, there is another partial sign visible, where the letters \"RNIG\" and \"ALSO\" can be seen.\n*   **Doorbell:** To the left of the doorway, a bell is hanging, indicating a doorbell mechanism.\n*   **Setting:** The dwelling is surrounded by what looks like brush, trees, and general wilderness, suggested by the lines representing foliage and twigs.\n*   **Log:** Pooh is seated on a cut log or tree trunk. To the left of this log, there are other smaller logs or branches piled up.\n*   **Style:** The image is a black and white line drawing, characteristic of classic book illustrations.__END_OF_ANNOTATION__"Winnie-the-Pooh wasn't quite sure," said Christopher Robin. "Now I am," said a growly voice. "Then I will go on," said I.) One day when he was out walking, he came to an open place in the middle of the forest, and in the middle of this place was a large oak-tree, and, from the top of the tree, there came a loud buzzing-noise. Winnie-the-Pooh sat down at the foot of the tree,put his head between his paws and began to think."
      page_span {
        page_start: 1
        page_end: 1
      }
      page_headers {
        text: "WE ARE INTRODUCED 3"
        page_span {
          page_start: 1
          page_end: 1
        }
      }
      page_footers {
        text: "Digitized by Google"
        page_span {
          page_start: 1
          page_end: 1
        }
      }
      chunk_fields {
        image_chunk_field {
          blob_asset_id: "blob_1"
          annotations {
            description: "This is an ink drawing depicting Winnie-the-Pooh sitting outside his house.\n\nHere are the facts and conclusions that can be derived from the image:\n\n*   **Character:** The central figure is a bear, identifiable as Winnie-the-Pooh, sitting on a log.\n*   **Location:** He is positioned outside what appears to be a small, rustic shelter or house.\n*   **Signage:** Above the doorway of the shelter, there is a sign that reads \"MR SANDERZ\". Below this sign, there is another partial sign visible, where the letters \"RNIG\" and \"ALSO\" can be seen.\n*   **Doorbell:** To the left of the doorway, a bell is hanging, indicating a doorbell mechanism.\n*   **Setting:** The dwelling is surrounded by what looks like brush, trees, and general wilderness, suggested by the lines representing foliage and twigs.\n*   **Log:** Pooh is seated on a cut log or tree trunk. To the left of this log, there are other smaller logs or branches piled up.\n*   **Style:** The image is a black and white line drawing, characteristic of classic book illustrations."
          }
        }
      }
    }
  }
  blob_assets {
    asset_id: "blob_1"
    content: "image_bytes"
    mime_type: "image/png"
  }
}
Python
En esta guía, se muestra cómo usar la biblioteca cliente de Python para procesar un documento. El uso de este código habilita la anotación de imágenes y tablas de forma predeterminada.
Instalar la biblioteca cliente.
! pip install --upgrade --quiet google-cloud-documentaiEjecuta el procesador.
def process_layout_parser(
    project_id: str, location: str, processor_id: str, gcs_uri: str, mime_type: str
):
    """
    Processes a document with the layout parser and prints chunk text.
    """
    client = documentai.DocumentProcessorServiceClient()

    # The full resource name of the processor
    processor_version_id = 'pretrained-layout-parser-v1.5-2025-08-25'
    name = client.processor_path(project_id, location, processor_id, processor_version_id)

    # Configure the Cloud Storage document
    gcs_document = documentai.GcsDocument(gcs_uri=gcs_uri, mime_type=mime_type)

    # Configure processing options for RAG
    # This enables annotation and context-aware chunking.
    process_options = documentai.ProcessOptions(
      # Process only specific pages
      layout_config=documentai.ProcessOptions.LayoutConfig(
          enable_table_annotation=True,
          enable_image_annotation=True,
          chunking_config=documentai.ProcessOptions.LayoutConfig.ChunkingConfig(
        chunk_size=1024,
        include_ancestor_headings=True,
          ),
      ),
  )

    # Build the request
    request = documentai.ProcessRequest(
        name=name,
        gcs_document=gcs_document,
        process_options=process_options,
    )

    # Process the document
    result = client.process_document(request=request)
    document = result.document

    print(f"Document processing complete.\n")

    print("--- RAG-Ready Chunks (with context) ---")
    for i, chunk in enumerate(document.chunked_document.chunks):
        print(f"\n--- Chunk {i} ---")

        # Print the chunk's content
        print(f"Text: {chunk.content}")
    return result
Procesa documentos por lotes con el analizador de diseño
Usa el siguiente procedimiento para analizar y fragmentar varios documentos en una sola solicitud.
Ingresa documentos al analizador de diseño para analizarlos y fragmentarlos.
Sigue las instrucciones para las solicitudes de procesamiento por lotes en Envía una solicitud de procesamiento request.
Configura los campos en
ProcessOptions.layoutConfigcuando realices una solicitudbatchProcess.Entrada
En el siguiente ejemplo de JSON, se configura
ProcessOptions.layoutConfig."processOptions": { "layoutConfig": { "enableTableAnnotation": "true", "enableImageAnnotation": "true", "chunkingConfig": { "chunkSize": "CHUNK_SIZE", "includeAncestorHeadings": "INCLUDE_ANCESTOR_HEADINGS_BOOLEAN" } } }Reemplaza lo siguiente:
CHUNK_SIZE: Es el tamaño máximo del fragmento, en cantidad de tokens, que se usará cuando se dividan los documentos.INCLUDE_ANCESTOR_HEADINGS_BOOLEAN: Indica si se deben incluir o no los encabezados principales cuando se dividan los documentos. Los encabezados principales son los superiores de los subtítulos en el documento original. Pueden proporcionar un fragmento con contexto adicional sobre su posición en el documento original. Se pueden incluir hasta dos niveles de encabezados con un fragmento.
Limpia
Sigue estos pasos para evitar que se apliquen cargos a tu Google Cloud cuenta de por los recursos que usaste en esta página.
Para evitar cargos innecesarios Google Cloud , usa Google Cloud console para borrar el procesador y el proyecto si no los necesitas.
Si creaste un proyecto nuevo para aprender sobre Document AI y ya no lo necesitas, [bórralo][delete-project].
Si usaste un proyecto Google Cloud existente, borra los recursos que creaste para evitar que se generen cargos en tu cuenta.
En el Google Cloud menú de navegación de la consola de, selecciona Document AI y selecciona Mis procesadores.
Selecciona
Más acciones en la misma fila del procesador que quieres borrar.Selecciona Borrar procesador, escribe el nombre del procesador y, luego, vuelve a seleccionar Borrar para confirmar.
¿Qué sigue?
Para obtener detalles, consulta las Guías.