
版面配置剖析器快速入門導覽課程
使用版面配置剖析器擷取文件中的元素,例如文字、表格和清單。
如要直接在 Google Cloud 控制台中,按照這項工作的逐步指南操作,請按一下「Guide me」(逐步引導):
事前準備
- 登入 Google Cloud 帳戶。如果您是 Google Cloud新手,歡迎 建立帳戶,親自評估產品在實際工作環境中的成效。新客戶還能獲得價值 $300 美元的免費抵免額,可用於執行、測試及部署工作負載。
-
In the Google Cloud console, on the project selector page, select or create a Google Cloud project.
Roles required to select or create a project
- Select a project: Selecting a project doesn't require a specific IAM role—you can select any project that you've been granted a role on.
-
Create a project: To create a project, you need the Project Creator role
(
roles/resourcemanager.projectCreator), which contains theresourcemanager.projects.createpermission. Learn how to grant roles.
-
Verify that billing is enabled for your Google Cloud project.
Enable the Document AI, Cloud Storage APIs.
Roles required to enable APIs
To enable APIs, you need the
serviceusage.services.enablepermission. If you created the project, then you likely already have this permission through the Owner role (roles/owner). Otherwise, you can get this permission through the Service Usage Admin role (roles/serviceusage.serviceUsageAdmin). Learn how to grant roles.-
In the Google Cloud console, on the project selector page, select or create a Google Cloud project.
Roles required to select or create a project
- Select a project: Selecting a project doesn't require a specific IAM role—you can select any project that you've been granted a role on.
-
Create a project: To create a project, you need the Project Creator role
(
roles/resourcemanager.projectCreator), which contains theresourcemanager.projects.createpermission. Learn how to grant roles.
-
Verify that billing is enabled for your Google Cloud project.
Enable the Document AI, Cloud Storage APIs.
Roles required to enable APIs
To enable APIs, you need the
serviceusage.services.enablepermission. If you created the project, then you likely already have this permission through the Owner role (roles/owner). Otherwise, you can get this permission through the Service Usage Admin role (roles/serviceusage.serviceUsageAdmin). Learn how to grant roles.
建立處理器
在 Google Cloud 控制台的「Document AI」部分,選取「Processor Gallery」(處理器庫)。
在「Processor Gallery」(處理器庫) 頁面,
尋找 「Layout parser」(版面配置剖析器),然後選取「Create」(建立)。
在側邊視窗中輸入處理器名稱,例如
quickstart-layout-processor。請選取最近的區域。
按一下「Create」(建立)。
系統會將您導向新表單剖析器處理器的「Processor Details」(處理器詳細資料) 頁面。
選用:如要選取預設處理器,請點選
「Manage versions」(管理版本) ,並從「Versions」(版本) 資料表選取任一處理器。接著,點選「Mark as default」(標示為預設) ,再輸入處理器名稱來確認操作。
測試處理器
建立處理器後,您可以將註解要求傳送至處理器。
點選
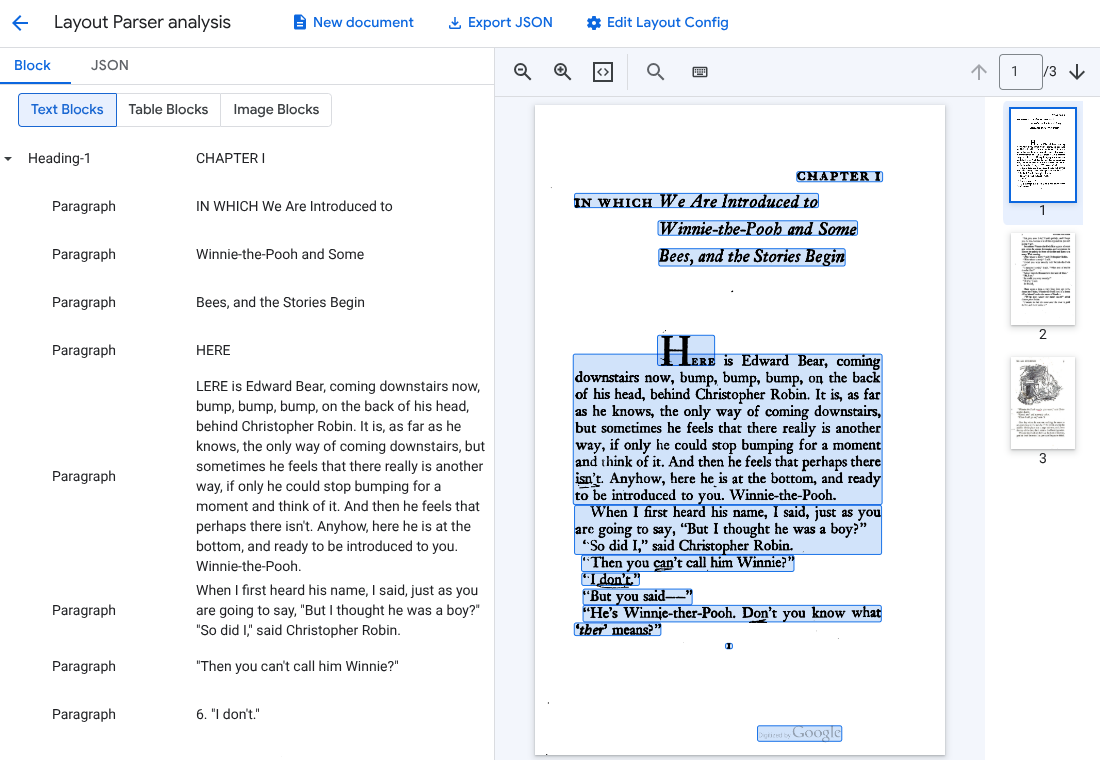
「Upload Test Document」(上傳測試文件) 按鈕,然後選取剛才下載的文件。您現在應該會位於「layout parser analysis」(版面配置剖析器分析) 頁面。畫面上會顯示從文件剖析出的區塊或分塊,並按照偵測到的類型區分。
選用:選取
「Edit Layout Config」(編輯版面配置設定) ,啟用圖片或表格註解資料。
處理文件
REST
這個範例說明如何將儲存在 Cloud Storage 中的文件傳送至版面配置剖析器進行處理。這個程序預設會啟用圖片和表格註解。
REST
使用任何要求資料之前,請先修改下列項目的值:
- PROJECT_ID: Google Cloud 專案 ID。
- LOCATION:處理器的位置,例如:
us- 美國eu- 歐盟
- PROCESSOR_ID:自訂處理器的 ID。
- MIME_TYPE:版面配置剖析器支援
application/pdf和text/html。 - GCS_FILE_PATH:含有文件的 Cloud Storage bucket 檔案路徑。
- CHUNK_SIZE:選用。分割文件時使用的區塊大小 (以權杖為單位)。
- INCLUDE_ANCESTOR_HEADINGS:選用。布林值。是否要在分割文件時納入祖系標題。
HTTP 方法和網址:
POST https://LOCATION-documentai.googleapis.com/v1beta3/projects/PROJECT_ID/locations/LOCATION/processors/PROCESSOR_ID/processorVersions/pretrained-layout-parser-v1.5-2025-08-25:process
JSON 要求內文:
{
  "gcsDocument": {
    "gcsUri": "GCS_FILE_PATH",
    "mimeType": "MIME_TYPE"
  },
  "processOptions": {
    "layoutConfig": {
      "enableTableAnnotation": "true",
      "enableImageAnnotation": "true",
      "chunkingConfig": {
        "chunkSize": "CHUNK_SIZE",
        "includeAncestorHeadings": "INCLUDE_ANCESTOR_HEADINGS",
      }
    }
  }
}
如要傳送要求,請選擇以下其中一個選項:
curl
將要求主體儲存在名為 request.json 的檔案中,然後執行下列指令:
curl -X POST \
     -H "Authorization: Bearer $(gcloud auth print-access-token)" \
     -H "Content-Type: application/json; charset=utf-8" \
     -d @request.json \
     "https://LOCATION-documentai.googleapis.com/v1beta3/projects/PROJECT_ID/locations/LOCATION/processors/PROCESSOR_ID/processorVersions/pretrained-layout-parser-v1.5-2025-08-25:process"
PowerShell
將要求主體儲存在名為 request.json 的檔案中,然後執行下列指令:
$cred = gcloud auth print-access-token
$headers = @{ "Authorization" = "Bearer $cred" }

Invoke-WebRequest `
    -Method POST `
    -Headers $headers `
    -ContentType: "application/json; charset=utf-8" `
    -InFile request.json `
    -Uri "https://LOCATION-documentai.googleapis.com/v1beta3/projects/PROJECT_ID/locations/LOCATION/processors/PROCESSOR_ID/processorVersions/pretrained-layout-parser-v1.5-2025-08-25:process" | Select-Object -Expand Content
您應該會收到執行成功的狀態碼 (2xx) 和空白回應。
查看輸出內容。
如果要求成功,系統會以 JSON 格式傳回文件物件。檢索增強生成 (RAG) 最重要的欄位是 document.chunked_document.chunks。
以下是剖析艾倫.亞歷山大.米恩《小熊維尼》第三頁的輸出表單。
{
  "document": {
  document_layout {
    blocks {
      block_id: "1"
      text_block {
        text: "WE ARE INTRODUCED 3"
        type_: "header"
      }
      page_span {
        page_start: 1
        page_end: 1
      }
    }
    blocks {
      block_id: "2"
      page_span {
        page_start: 1
        page_end: 1
      }
      image_block {
        mime_type: "image/png"
        annotations {
          description: "This is an ink drawing depicting Winnie-the-Pooh sitting outside his house.\n\nHere are the facts and conclusions that can be derived from the image:\n\n*   **Character:** The central figure is a bear, identifiable as Winnie-the-Pooh, sitting on a log.\n*   **Location:** He is positioned outside what appears to be a small, rustic shelter or house.\n*   **Signage:** Above the doorway of the shelter, there is a sign that reads \"MR SANDERZ\". Below this sign, there is another partial sign visible, where the letters \"RNIG\" and \"ALSO\" can be seen.\n*   **Doorbell:** To the left of the doorway, a bell is hanging, indicating a doorbell mechanism.\n*   **Setting:** The dwelling is surrounded by what looks like brush, trees, and general wilderness, suggested by the lines representing foliage and twigs.\n*   **Log:** Pooh is seated on a cut log or tree trunk. To the left of this log, there are other smaller logs or branches piled up.\n*   **Style:** The image is a black and white line drawing, characteristic of classic book illustrations."
        }
        blob_asset_id: "blob_1"
      }
    }
    blocks {
      block_id: "3"
      text_block {
        text: ""Winnie-the-Pooh wasn't quite sure," said Christopher Robin. "Now I am," said a growly voice. "Then I will go on,"said I.) One day when he was out walking, he came to an open place in the middle of the forest, and in the middle of this place was a large oak-tree, and, from the top of the tree, there came a loud buzzing-noise. Winnie-the-Pooh sat down at the foot of the tree,put his head between his paws and began to think."
        type_: "paragraph"
      }
      page_span {
        page_start: 1
        page_end: 1
      }
    }
    blocks {
      block_id: "4"
      text_block {
        text: "Digitized by Google"
        type_: "footer"
      }
      page_span {
        page_start: 1
        page_end: 1
      }
    }
  }
  chunked_document {
    chunks {
      chunk_id: "c1"
      source_block_ids: "2"
      source_block_ids: "3"
      content: "__START_OF_ANNOTATION__This is an ink drawing depicting Winnie-the-Pooh sitting outside his house.\n\nHere are the facts and conclusions that can be derived from the image:\n\n*   **Character:** The central figure is a bear, identifiable as Winnie-the-Pooh, sitting on a log.\n*   **Location:** He is positioned outside what appears to be a small, rustic shelter or house.\n*   **Signage:** Above the doorway of the shelter, there is a sign that reads \"MR SANDERZ\". Below this sign, there is another partial sign visible, where the letters \"RNIG\" and \"ALSO\" can be seen.\n*   **Doorbell:** To the left of the doorway, a bell is hanging, indicating a doorbell mechanism.\n*   **Setting:** The dwelling is surrounded by what looks like brush, trees, and general wilderness, suggested by the lines representing foliage and twigs.\n*   **Log:** Pooh is seated on a cut log or tree trunk. To the left of this log, there are other smaller logs or branches piled up.\n*   **Style:** The image is a black and white line drawing, characteristic of classic book illustrations.__END_OF_ANNOTATION__"Winnie-the-Pooh wasn't quite sure," said Christopher Robin. "Now I am," said a growly voice. "Then I will go on," said I.) One day when he was out walking, he came to an open place in the middle of the forest, and in the middle of this place was a large oak-tree, and, from the top of the tree, there came a loud buzzing-noise. Winnie-the-Pooh sat down at the foot of the tree,put his head between his paws and began to think."
      page_span {
        page_start: 1
        page_end: 1
      }
      page_headers {
        text: "WE ARE INTRODUCED 3"
        page_span {
          page_start: 1
          page_end: 1
        }
      }
      page_footers {
        text: "Digitized by Google"
        page_span {
          page_start: 1
          page_end: 1
        }
      }
      chunk_fields {
        image_chunk_field {
          blob_asset_id: "blob_1"
          annotations {
            description: "This is an ink drawing depicting Winnie-the-Pooh sitting outside his house.\n\nHere are the facts and conclusions that can be derived from the image:\n\n*   **Character:** The central figure is a bear, identifiable as Winnie-the-Pooh, sitting on a log.\n*   **Location:** He is positioned outside what appears to be a small, rustic shelter or house.\n*   **Signage:** Above the doorway of the shelter, there is a sign that reads \"MR SANDERZ\". Below this sign, there is another partial sign visible, where the letters \"RNIG\" and \"ALSO\" can be seen.\n*   **Doorbell:** To the left of the doorway, a bell is hanging, indicating a doorbell mechanism.\n*   **Setting:** The dwelling is surrounded by what looks like brush, trees, and general wilderness, suggested by the lines representing foliage and twigs.\n*   **Log:** Pooh is seated on a cut log or tree trunk. To the left of this log, there are other smaller logs or branches piled up.\n*   **Style:** The image is a black and white line drawing, characteristic of classic book illustrations."
          }
        }
      }
    }
  }
  blob_assets {
    asset_id: "blob_1"
    content: "image_bytes"
    mime_type: "image/png"
  }
}
Python
本指南說明如何使用 Python 用戶端程式庫處理文件。使用這段程式碼會預設啟用圖片和表格註解。
安裝用戶端程式庫。
! pip install --upgrade --quiet google-cloud-documentai執行處理器。
def process_layout_parser(
    project_id: str, location: str, processor_id: str, gcs_uri: str, mime_type: str
):
    """
    Processes a document with the layout parser and prints chunk text.
    """
    client = documentai.DocumentProcessorServiceClient()

    # The full resource name of the processor
    processor_version_id = 'pretrained-layout-parser-v1.5-2025-08-25'
    name = client.processor_path(project_id, location, processor_id, processor_version_id)

    # Configure the Cloud Storage document
    gcs_document = documentai.GcsDocument(gcs_uri=gcs_uri, mime_type=mime_type)

    # Configure processing options for RAG
    # This enables annotation and context-aware chunking.
    process_options = documentai.ProcessOptions(
      # Process only specific pages
      layout_config=documentai.ProcessOptions.LayoutConfig(
          enable_table_annotation=True,
          enable_image_annotation=True,
          chunking_config=documentai.ProcessOptions.LayoutConfig.ChunkingConfig(
        chunk_size=1024,
        include_ancestor_headings=True,
          ),
      ),
  )

    # Build the request
    request = documentai.ProcessRequest(
        name=name,
        gcs_document=gcs_document,
        process_options=process_options,
    )

    # Process the document
    result = client.process_document(request=request)
    document = result.document

    print(f"Document processing complete.\n")

    print("--- RAG-Ready Chunks (with context) ---")
    for i, chunk in enumerate(document.chunked_document.chunks):
        print(f"\n--- Chunk {i} ---")

        # Print the chunk's content
        print(f"Text: {chunk.content}")
    return result
使用版面配置剖析器批次處理文件
請按照下列程序,在單一要求中剖析及分塊處理多份文件。
將輸入文件提供給版面配置剖析器,進行剖析和分塊。
請按照「傳送處理要求」中的批次處理要求操作說明進行。
在發出
ProcessOptions.layoutConfigbatchProcess要求時,設定欄位。輸入
下列 JSON 範例會設定
ProcessOptions.layoutConfig。"processOptions": { "layoutConfig": { "enableTableAnnotation": "true", "enableImageAnnotation": "true", "chunkingConfig": { "chunkSize": "CHUNK_SIZE", "includeAncestorHeadings": "INCLUDE_ANCESTOR_HEADINGS_BOOLEAN" } } }更改下列內容:
CHUNK_SIZE:分割文件時使用的最大區塊大小,以符記數為單位。INCLUDE_ANCESTOR_HEADINGS_BOOLEAN:是否要在分割文件時納入祖系標題。祖系標題是原始文件中子標題的上層標題。這類模型可以提供額外背景資訊的區塊,說明該區塊在原始文件中的位置。每個區塊最多可包含兩層標題。
清除所用資源
為了避免系統向您的 Google Cloud 帳戶收取本頁面所用資源的費用,請按照下列步驟操作。
請透過Google Cloud console 刪除不需要的處理器和專案,以免產生不必要的 Google Cloud 費用。
如果您為了學習 Document AI 而建立新專案,但現在不再需要,請[刪除專案][delete-project]。
如果您使用現有的 Google Cloud 專案,請刪除稍早建立的資源,以免系統向您的帳戶收取費用。
在 Google Cloud 控制台導覽選單中,依序選取「Document AI」和「My Processors」(我的處理器)。
找到要刪除的處理器,然後點選該列中的
「More actions」(更多動作) 。選取「Delete processor」(刪除處理器),輸入處理器名稱,然後再次選取「Delete」(刪除) 來確認操作。
後續步驟
詳情請參閱「指南」。