
Kurzanleitung für den Layoutparser
Mit dem Layoutparser können Sie Elemente wie Text, Tabellen und Listen aus einem Dokument extrahieren.
Eine detaillierte Anleitung dazu finden Sie direkt in der Google Cloud Console. Klicken Sie dazu einfach auf Anleitung:
Hinweis
- Melden Sie sich in Ihrem Google Cloud -Konto an. Wenn Sie mit Google Cloudnoch nicht vertraut sind, erstellen Sie ein Konto, um die Leistungsfähigkeit unserer Produkte in der Praxis sehen und bewerten zu können. Neukunden erhalten außerdem ein Guthaben von 300 $, um Arbeitslasten auszuführen, zu testen und bereitzustellen.
-
In the Google Cloud console, on the project selector page, select or create a Google Cloud project.
Roles required to select or create a project
- Select a project: Selecting a project doesn't require a specific IAM role—you can select any project that you've been granted a role on.
-
Create a project: To create a project, you need the Project Creator role
(
roles/resourcemanager.projectCreator), which contains theresourcemanager.projects.createpermission. Learn how to grant roles.
-
Verify that billing is enabled for your Google Cloud project.
Enable the Document AI, Cloud Storage APIs.
Roles required to enable APIs
To enable APIs, you need the Service Usage Admin IAM role (
roles/serviceusage.serviceUsageAdmin), which contains theserviceusage.services.enablepermission. Learn how to grant roles.-
In the Google Cloud console, on the project selector page, select or create a Google Cloud project.
Roles required to select or create a project
- Select a project: Selecting a project doesn't require a specific IAM role—you can select any project that you've been granted a role on.
-
Create a project: To create a project, you need the Project Creator role
(
roles/resourcemanager.projectCreator), which contains theresourcemanager.projects.createpermission. Learn how to grant roles.
-
Verify that billing is enabled for your Google Cloud project.
Enable the Document AI, Cloud Storage APIs.
Roles required to enable APIs
To enable APIs, you need the Service Usage Admin IAM role (
roles/serviceusage.serviceUsageAdmin), which contains theserviceusage.services.enablepermission. Learn how to grant roles.
Prozessor erstellen
Wählen Sie in der Google Cloud Console im Bereich „Document AI“ die Prozessorgalerie aus.
Suchen Sie in der Prozessorgalerie
nach Layoutparser und wählen Sie Erstellen aus.
Geben Sie im Seitenfenster einen Prozessornamen ein, z. B.
quickstart-layout-processor.Wählen Sie die Region aus, die Ihnen am nächsten ist.
Klicken Sie auf Erstellen.
Sie werden zur Seite Prozessordetails für Ihren neuen Formularparser weitergeleitet.
Optional: Klicken Sie auf
Versionen verwalten und wählen Sie in der Tabelle Versionen einen Prozessor aus, um einen Standardprozessor festzulegen. Klicken Sie dann aufAls Standard festlegen und bestätigen Sie die Auswahl, indem Sie den Namen des Prozessors eingeben.
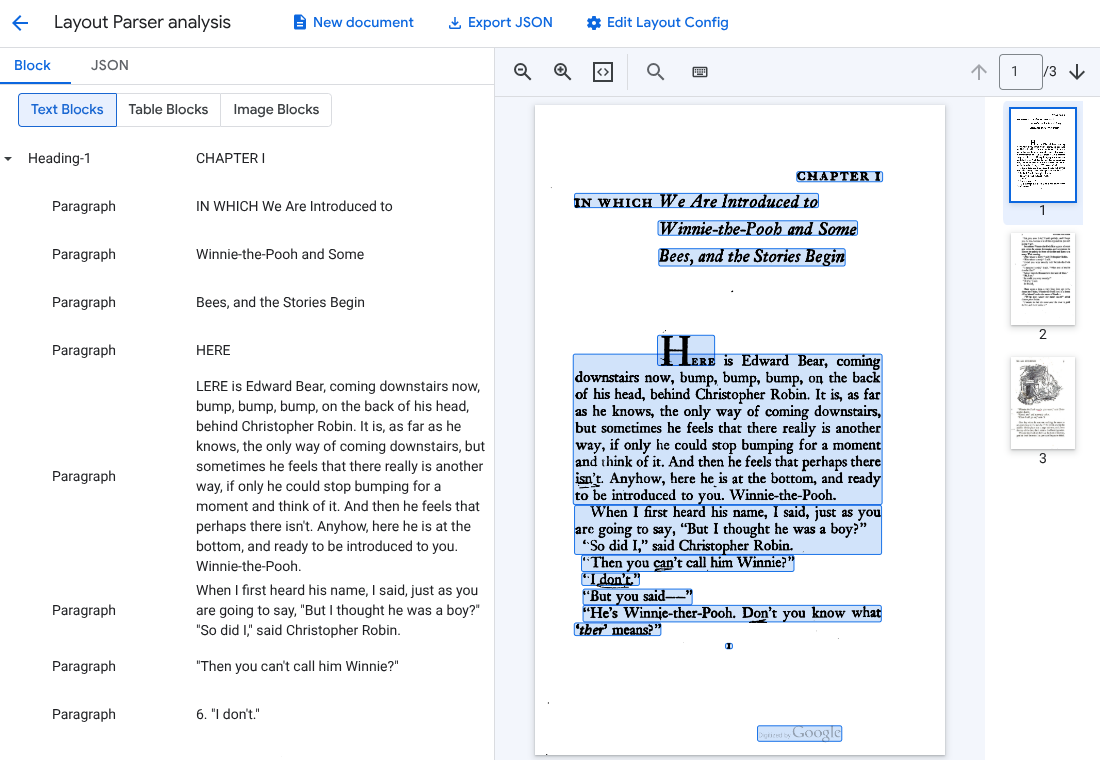
Testprozessor
Nachdem Sie den Prozessor erstellt haben, können Sie Annotationsanfragen an ihn senden.
Klicken Sie auf den Button
Testdokument hochladen und wählen Sie das Dokument aus, das Sie gerade heruntergeladen haben.Sie sollten sich jetzt auf der Seite Analyse des Layoutparsers befinden. Sie können sich die aus dem Dokument geparsten Blöcke oder Teilmengen ansehen, die nach erkannten Typen organisiert sind.
Optional: Wählen Sie
Layoutkonfiguration bearbeiten aus, um Anmerkungsdaten für Bilder oder Tabellen zu aktivieren.
Dokument verarbeiten
REST
In diesem Beispiel wird gezeigt, wie Sie ein in Cloud Storage gespeichertes Dokument zur Verarbeitung an den Layoutparser senden. Bei diesem Prozess werden Bild- und Tabellenanmerkungen standardmäßig aktiviert.
REST
Ersetzen Sie diese Werte in den folgenden Anfragedaten:
- PROJECT_ID: Ihre Google Cloud Projekt-ID
- LOCATION: Der Standort Ihres Prozessors, z. B.
us– USAeu– Europäische Union
- PROCESSOR_ID: Die ID Ihres benutzerdefinierten Prozessors.
- MIME_TYPE: Der Layoutparser unterstützt
application/pdfundtext/html. - GCS_FILE_PATH: Der Dateipfad für den Cloud Storage-Bucket mit Ihrem Dokument.
- CHUNK_SIZE: Optional. Die Chunk-Größe in Tokens, die beim Aufteilen von Dokumenten verwendet werden soll.
- INCLUDE_ANCESTOR_HEADINGS: Optional. Boolescher Wert. Gibt an, ob beim Aufteilen von Dokumenten Ancestor-Überschriften berücksichtigt werden sollen.
HTTP-Methode und URL:
POST https://LOCATION-documentai.googleapis.com/v1beta3/projects/PROJECT_ID/locations/LOCATION/processors/PROCESSOR_ID/processorVersions/pretrained-layout-parser-v1.5-2025-08-25:process
JSON-Text der Anfrage:
{
  "gcsDocument": {
    "gcsUri": "GCS_FILE_PATH",
    "mimeType": "MIME_TYPE"
  },
  "processOptions": {
    "layoutConfig": {
      "enableTableAnnotation": "true",
      "enableImageAnnotation": "true",
      "chunkingConfig": {
        "chunkSize": "CHUNK_SIZE",
        "includeAncestorHeadings": "INCLUDE_ANCESTOR_HEADINGS",
      }
    }
  }
}
Wenn Sie die Anfrage senden möchten, wählen Sie eine der folgenden Optionen aus:
curl
Speichern Sie den Anfragetext in einer Datei mit dem Namen request.json und führen Sie den folgenden Befehl aus:
curl -X POST \
     -H "Authorization: Bearer $(gcloud auth print-access-token)" \
     -H "Content-Type: application/json; charset=utf-8" \
     -d @request.json \
     "https://LOCATION-documentai.googleapis.com/v1beta3/projects/PROJECT_ID/locations/LOCATION/processors/PROCESSOR_ID/processorVersions/pretrained-layout-parser-v1.5-2025-08-25:process"
PowerShell
Speichern Sie den Anfragetext in einer Datei mit dem Namen request.json und führen Sie den folgenden Befehl aus:
$cred = gcloud auth print-access-token
$headers = @{ "Authorization" = "Bearer $cred" }

Invoke-WebRequest `
    -Method POST `
    -Headers $headers `
    -ContentType: "application/json; charset=utf-8" `
    -InFile request.json `
    -Uri "https://LOCATION-documentai.googleapis.com/v1beta3/projects/PROJECT_ID/locations/LOCATION/processors/PROCESSOR_ID/processorVersions/pretrained-layout-parser-v1.5-2025-08-25:process" | Select-Object -Expand Content
Sie sollten einen erfolgreichen Statuscode (2xx) und eine leere Antwort als Ausgabe erhalten.
Die Ausgabe ansehen
Bei einer erfolgreichen Anfrage wird ein Dokumentobjekt in JSON zurückgegeben. Die wichtigsten Felder für Retrieval-Augmented Generation (RAG) sind document.chunked_document.chunks.
Im Folgenden sehen Sie die Ausgabe des Parsings der dritten Seite von „Winnie the Pooh“ von A.A. Milne.
{
  "document": {
  document_layout {
    blocks {
      block_id: "1"
      text_block {
        text: "WE ARE INTRODUCED 3"
        type_: "header"
      }
      page_span {
        page_start: 1
        page_end: 1
      }
    }
    blocks {
      block_id: "2"
      page_span {
        page_start: 1
        page_end: 1
      }
      image_block {
        mime_type: "image/png"
        annotations {
          description: "This is an ink drawing depicting Winnie-the-Pooh sitting outside his house.\n\nHere are the facts and conclusions that can be derived from the image:\n\n*   **Character:** The central figure is a bear, identifiable as Winnie-the-Pooh, sitting on a log.\n*   **Location:** He is positioned outside what appears to be a small, rustic shelter or house.\n*   **Signage:** Above the doorway of the shelter, there is a sign that reads \"MR SANDERZ\". Below this sign, there is another partial sign visible, where the letters \"RNIG\" and \"ALSO\" can be seen.\n*   **Doorbell:** To the left of the doorway, a bell is hanging, indicating a doorbell mechanism.\n*   **Setting:** The dwelling is surrounded by what looks like brush, trees, and general wilderness, suggested by the lines representing foliage and twigs.\n*   **Log:** Pooh is seated on a cut log or tree trunk. To the left of this log, there are other smaller logs or branches piled up.\n*   **Style:** The image is a black and white line drawing, characteristic of classic book illustrations."
        }
        blob_asset_id: "blob_1"
      }
    }
    blocks {
      block_id: "3"
      text_block {
        text: ""Winnie-the-Pooh wasn't quite sure," said Christopher Robin. "Now I am," said a growly voice. "Then I will go on,"said I.) One day when he was out walking, he came to an open place in the middle of the forest, and in the middle of this place was a large oak-tree, and, from the top of the tree, there came a loud buzzing-noise. Winnie-the-Pooh sat down at the foot of the tree,put his head between his paws and began to think."
        type_: "paragraph"
      }
      page_span {
        page_start: 1
        page_end: 1
      }
    }
    blocks {
      block_id: "4"
      text_block {
        text: "Digitized by Google"
        type_: "footer"
      }
      page_span {
        page_start: 1
        page_end: 1
      }
    }
  }
  chunked_document {
    chunks {
      chunk_id: "c1"
      source_block_ids: "2"
      source_block_ids: "3"
      content: "__START_OF_ANNOTATION__This is an ink drawing depicting Winnie-the-Pooh sitting outside his house.\n\nHere are the facts and conclusions that can be derived from the image:\n\n*   **Character:** The central figure is a bear, identifiable as Winnie-the-Pooh, sitting on a log.\n*   **Location:** He is positioned outside what appears to be a small, rustic shelter or house.\n*   **Signage:** Above the doorway of the shelter, there is a sign that reads \"MR SANDERZ\". Below this sign, there is another partial sign visible, where the letters \"RNIG\" and \"ALSO\" can be seen.\n*   **Doorbell:** To the left of the doorway, a bell is hanging, indicating a doorbell mechanism.\n*   **Setting:** The dwelling is surrounded by what looks like brush, trees, and general wilderness, suggested by the lines representing foliage and twigs.\n*   **Log:** Pooh is seated on a cut log or tree trunk. To the left of this log, there are other smaller logs or branches piled up.\n*   **Style:** The image is a black and white line drawing, characteristic of classic book illustrations.__END_OF_ANNOTATION__"Winnie-the-Pooh wasn't quite sure," said Christopher Robin. "Now I am," said a growly voice. "Then I will go on," said I.) One day when he was out walking, he came to an open place in the middle of the forest, and in the middle of this place was a large oak-tree, and, from the top of the tree, there came a loud buzzing-noise. Winnie-the-Pooh sat down at the foot of the tree,put his head between his paws and began to think."
      page_span {
        page_start: 1
        page_end: 1
      }
      page_headers {
        text: "WE ARE INTRODUCED 3"
        page_span {
          page_start: 1
          page_end: 1
        }
      }
      page_footers {
        text: "Digitized by Google"
        page_span {
          page_start: 1
          page_end: 1
        }
      }
      chunk_fields {
        image_chunk_field {
          blob_asset_id: "blob_1"
          annotations {
            description: "This is an ink drawing depicting Winnie-the-Pooh sitting outside his house.\n\nHere are the facts and conclusions that can be derived from the image:\n\n*   **Character:** The central figure is a bear, identifiable as Winnie-the-Pooh, sitting on a log.\n*   **Location:** He is positioned outside what appears to be a small, rustic shelter or house.\n*   **Signage:** Above the doorway of the shelter, there is a sign that reads \"MR SANDERZ\". Below this sign, there is another partial sign visible, where the letters \"RNIG\" and \"ALSO\" can be seen.\n*   **Doorbell:** To the left of the doorway, a bell is hanging, indicating a doorbell mechanism.\n*   **Setting:** The dwelling is surrounded by what looks like brush, trees, and general wilderness, suggested by the lines representing foliage and twigs.\n*   **Log:** Pooh is seated on a cut log or tree trunk. To the left of this log, there are other smaller logs or branches piled up.\n*   **Style:** The image is a black and white line drawing, characteristic of classic book illustrations."
          }
        }
      }
    }
  }
  blob_assets {
    asset_id: "blob_1"
    content: "image_bytes"
    mime_type: "image/png"
  }
}
Python
In diesem Leitfaden wird beschrieben, wie Sie die Python-Clientbibliothek verwenden, um ein Dokument zu verarbeiten. Wenn Sie diesen Code verwenden, werden Bilder und Tabellen standardmäßig mit Anmerkungen versehen.
Installieren Sie die Clientbibliothek.
! pip install --upgrade --quiet google-cloud-documentaiFühren Sie den Prozessor aus.
def process_layout_parser(
    project_id: str, location: str, processor_id: str, gcs_uri: str, mime_type: str
):
    """
    Processes a document with the layout parser and prints chunk text.
    """
    client = documentai.DocumentProcessorServiceClient()

    # The full resource name of the processor
    processor_version_id = 'pretrained-layout-parser-v1.5-2025-08-25'
    name = client.processor_path(project_id, location, processor_id, processor_version_id)

    # Configure the Cloud Storage document
    gcs_document = documentai.GcsDocument(gcs_uri=gcs_uri, mime_type=mime_type)

    # Configure processing options for RAG
    # This enables annotation and context-aware chunking.
    process_options = documentai.ProcessOptions(
      # Process only specific pages
      layout_config=documentai.ProcessOptions.LayoutConfig(
          enable_table_annotation=True,
          enable_image_annotation=True,
          chunking_config=documentai.ProcessOptions.LayoutConfig.ChunkingConfig(
        chunk_size=1024,
        include_ancestor_headings=True,
          ),
      ),
  )

    # Build the request
    request = documentai.ProcessRequest(
        name=name,
        gcs_document=gcs_document,
        process_options=process_options,
    )

    # Process the document
    result = client.process_document(request=request)
    document = result.document

    print(f"Document processing complete.\n")

    print("--- RAG-Ready Chunks (with context) ---")
    for i, chunk in enumerate(document.chunked_document.chunks):
        print(f"\n--- Chunk {i} ---")

        # Print the chunk's content
        print(f"Text: {chunk.content}")
    return result
Dokumente mit dem Layout-Parser im Batch verarbeiten
Gehen Sie so vor, um mehrere Dokumente in einer einzigen Anfrage zu parsen und in Chunks aufzuteilen.
Eingabedokumente für den Layoutparser zum Parsen und Aufteilen.
Folgen Sie der Anleitung für Batchverarbeitungsanfragen unter Verarbeitungsanfrage senden.
Konfigurieren Sie Felder in
ProcessOptions.layoutConfig, wenn Sie einebatchProcess-Anfrage stellen.Eingabe
Im folgenden Beispiel wird
ProcessOptions.layoutConfigmit JSON konfiguriert."processOptions": { "layoutConfig": { "enableTableAnnotation": "true", "enableImageAnnotation": "true", "chunkingConfig": { "chunkSize": "CHUNK_SIZE", "includeAncestorHeadings": "INCLUDE_ANCESTOR_HEADINGS_BOOLEAN" } } }Ersetzen Sie Folgendes:
CHUNK_SIZE: Die maximale Chunksize in Anzahl der Tokens, die beim Aufteilen von Dokumenten verwendet werden soll.INCLUDE_ANCESTOR_HEADINGS_BOOLEAN: Gibt an, ob beim Aufteilen von Dokumenten auch Überschriften der übergeordneten Abschnitte berücksichtigt werden sollen. Ancestor-Überschriften sind die übergeordneten Überschriften von Unterüberschriften im Originaldokument. Sie können einen Chunks mit zusätzlichem Kontext zu seiner Position im Originaldokument bereitstellen. Ein Chunk kann bis zu zwei Überschriftenebenen enthalten.
Bereinigen
Mit den folgenden Schritten vermeiden Sie, dass Ihrem Google Cloud -Konto die auf dieser Seite verwendeten Ressourcen in Rechnung gestellt werden:
Um unnötige Google Cloud Gebühren zu vermeiden, verwenden SieGoogle Cloud console , um den Prozessor und das Projekt zu löschen, wenn Sie diese nicht mehr benötigen.
Wenn Sie ein neues Projekt erstellt haben, um mehr über Document AI zu erfahren, und dieses Projekt nicht mehr benötigen, [löschen Sie das Projekt][delete-project].
Wenn Sie ein vorhandenes Google Cloud Projekt verwendet haben, löschen Sie die von Ihnen erstellten Ressourcen. So vermeiden Sie, dass Ihrem Konto Gebühren in Rechnung gestellt werden:
Wählen Sie im Google Cloud Navigationsmenü der Console Document AI und dann Meine Prozessoren aus.
Wählen Sie in der Zeile, in der sich der zu löschende Prozessor befindet,
Weitere Aktionen aus.Wählen Sie Prozessor löschen aus, geben Sie den Namen des Prozessors ein und wählen Sie zur Bestätigung noch einmal Löschen aus.
Nächste Schritte
Weitere Informationen finden Sie unter Leitfäden.