
Audience
The goal of this tutorial is to help you develop applications using Google Cloud Vision API Document Text Detection. It assumes you are familiar with basic programming constructs and techniques, but even if you are a beginning programmer, you should be able to follow along and run this tutorial without difficulty, then use the Cloud Vision API reference documentation to create basic applications.
Prerequisites
- Set up a Cloud Vision API project in the Google Cloud console.
Set up your environment for using Application Default Credentials.
Python
- Install Python.
- Install pip.
- Install the Google Cloud Client Library and the Python Imaging Library.
Annotating an image using Document Text OCR
This tutorial walks you through a basic Vision API application that makes a
DOCUMENT_TEXT_DETECTION request, then processes the fullTextAnnotation
response.
A fullTextAnnotation is a structured hierarchical response for the UTF-8 text
extracted from the image, organized as
Pages→Blocks→Paragraphs→Words→Symbols:
Pageis a collection of blocks, plus meta-information about the page: sizes, resolutions (X resolution and Y resolution may differ).Blockrepresents one "logical" element of the page—for example, an area covered by text, or a picture or separator between columns. The text and table blocks contain the main information needed to extract the text.Paragraphis a structural unit of text representing an ordered sequence of words. By default, words are considered to be separated by word breaks.Wordis the smallest unit of text. It is represented as an array of Symbols.Symbolrepresents a character or a punctuation mark.
The fullTextAnnotation also can provide URLs to Web images that partially or
fully match the image in the request.
Complete code listing
As you read the code, we recommend that you follow along by referring to the Cloud Vision API Python reference.
This simple application performs the following tasks:
- Imports the libraries necessary to run the application
- Takes three arguments passes it to the
main()function:image_file— the input image file to be annotatedoutput_file—the output filename into which Cloud Vision will generate an output image with polyboxes drawn
- Creates an
ImageAnnotatorClientinstance to interact with the service - Sends the request and returns a response
- Creates an output image with boxes drawn around the text
A closer look at the code
Importing libraries
We import standard libraries:
argparseto allow the application to accept input file names as argumentsenumfor theFeatureTypeenumerationiofor File I/O
Other imports:
- The
ImageAnnotatorClientclass within thegoogle.cloud.visionlibrary for accessing the Vision API. - The
typesmodule within thegoogle.cloud.visionlibrary for constructing requests. - The
ImageandImageDrawlibraries from thePILlibrary are used to create the output image with boxes drawn on the input image.
Running the application
Here, we simply parse the passed-in arguments and pass it to the render_doc_text()
function.
Authenticating to the API
Before communicating with the Vision API service, you must
authenticate your service using previously acquired credentials. Within an
application, the simplest way to obtain credentials is to use
Application Default Credentials
(ADC). By default, the Cloud client library will attempt to
obtain credentials from the GOOGLE_APPLICATION_CREDENTIALS
environment variable, which should be set to point to your service account's
JSON key file (see
Setting Up a Service Account
for more information).
Making the API request and reading text bounds from the response
Now that our Vision API service is ready, we can access the service
by calling the document_text_detection method of the ImageAnnotatorClient
instance.
The client library encapsulates the details for requests and responses to the API. See the Vision API Reference for complete information on the structure of a request.
After the client library has handled the request, our response will contain an AnnotateImageResponse, which consists of a list of Image Annotation results, one for each image sent in the request. Because we sent only one image in the request, we walk through the full TextAnnotation, and collect the boundaries for the specified document feature.
Running the application
To run the application, you can
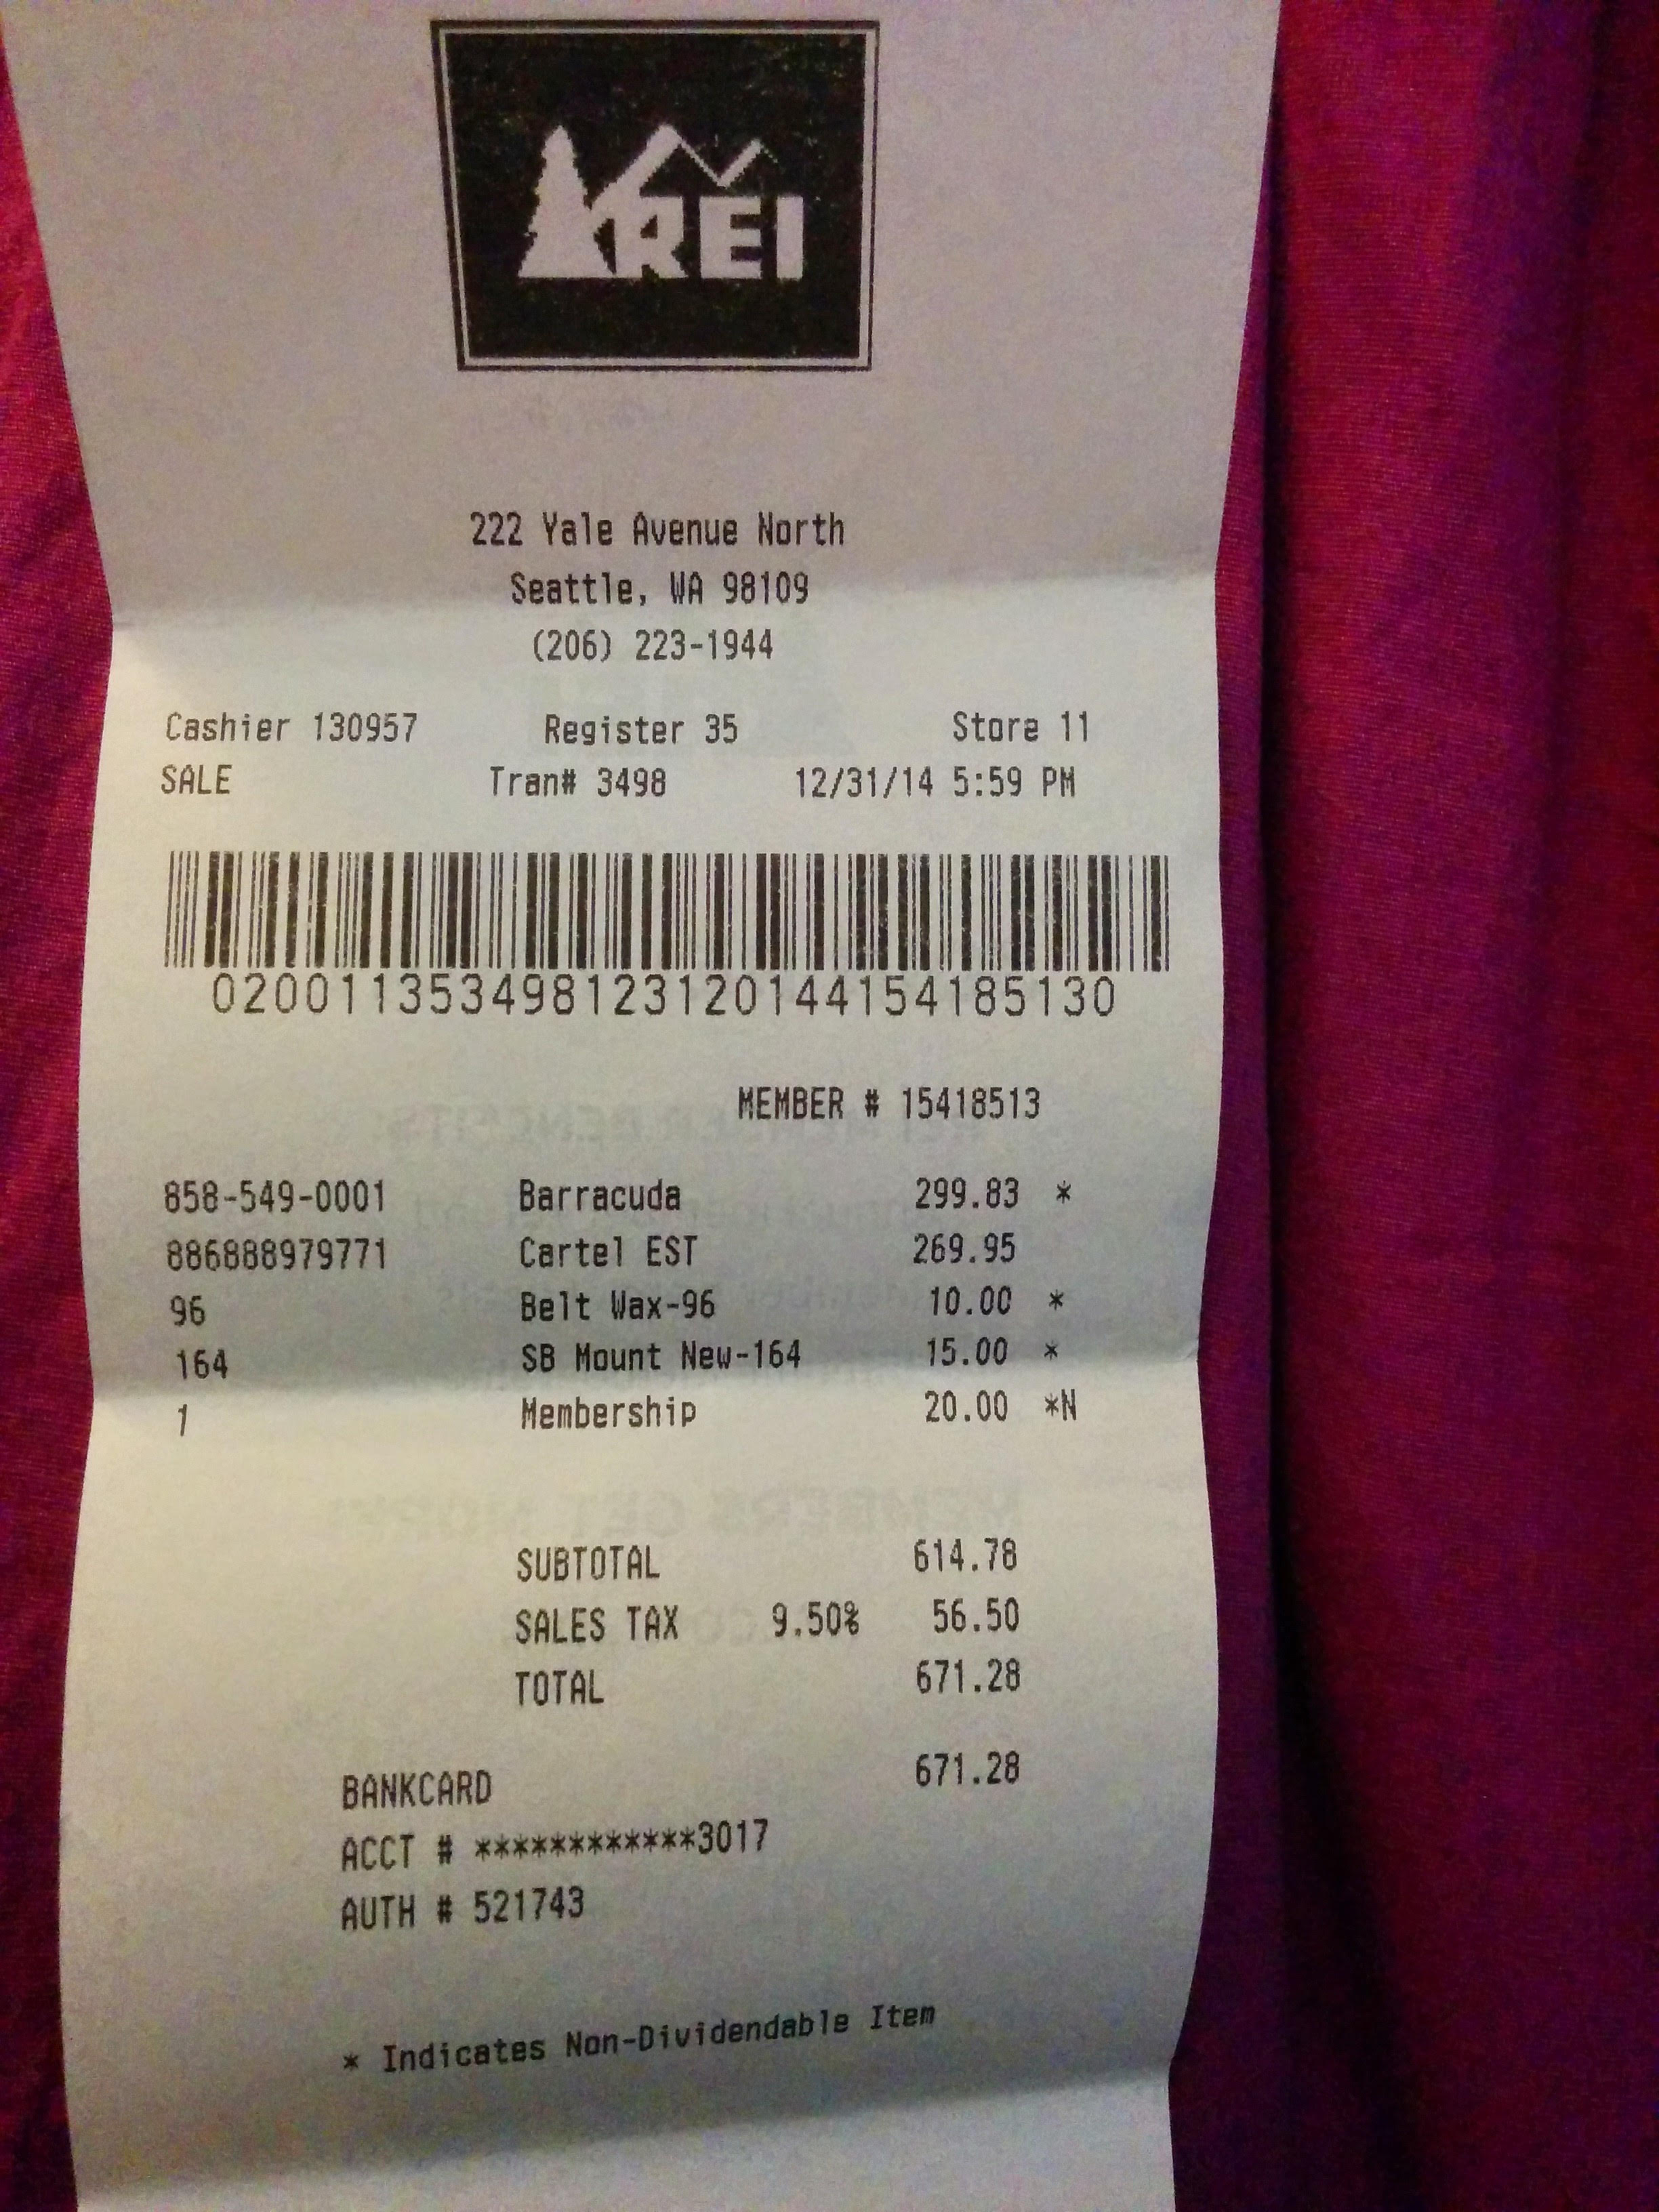
download this receipt.jpg file
(you may need to right-click the link),
then pass the location where you downloaded the file on on your local machine
to the tutorial application (doctext.py).
Here is the Python command, followed by the Text Annotation output images.
$ python doctext.py receipt.jpg -out_file out.jpg
The following image shows words in yellow boxes and sentences in red.
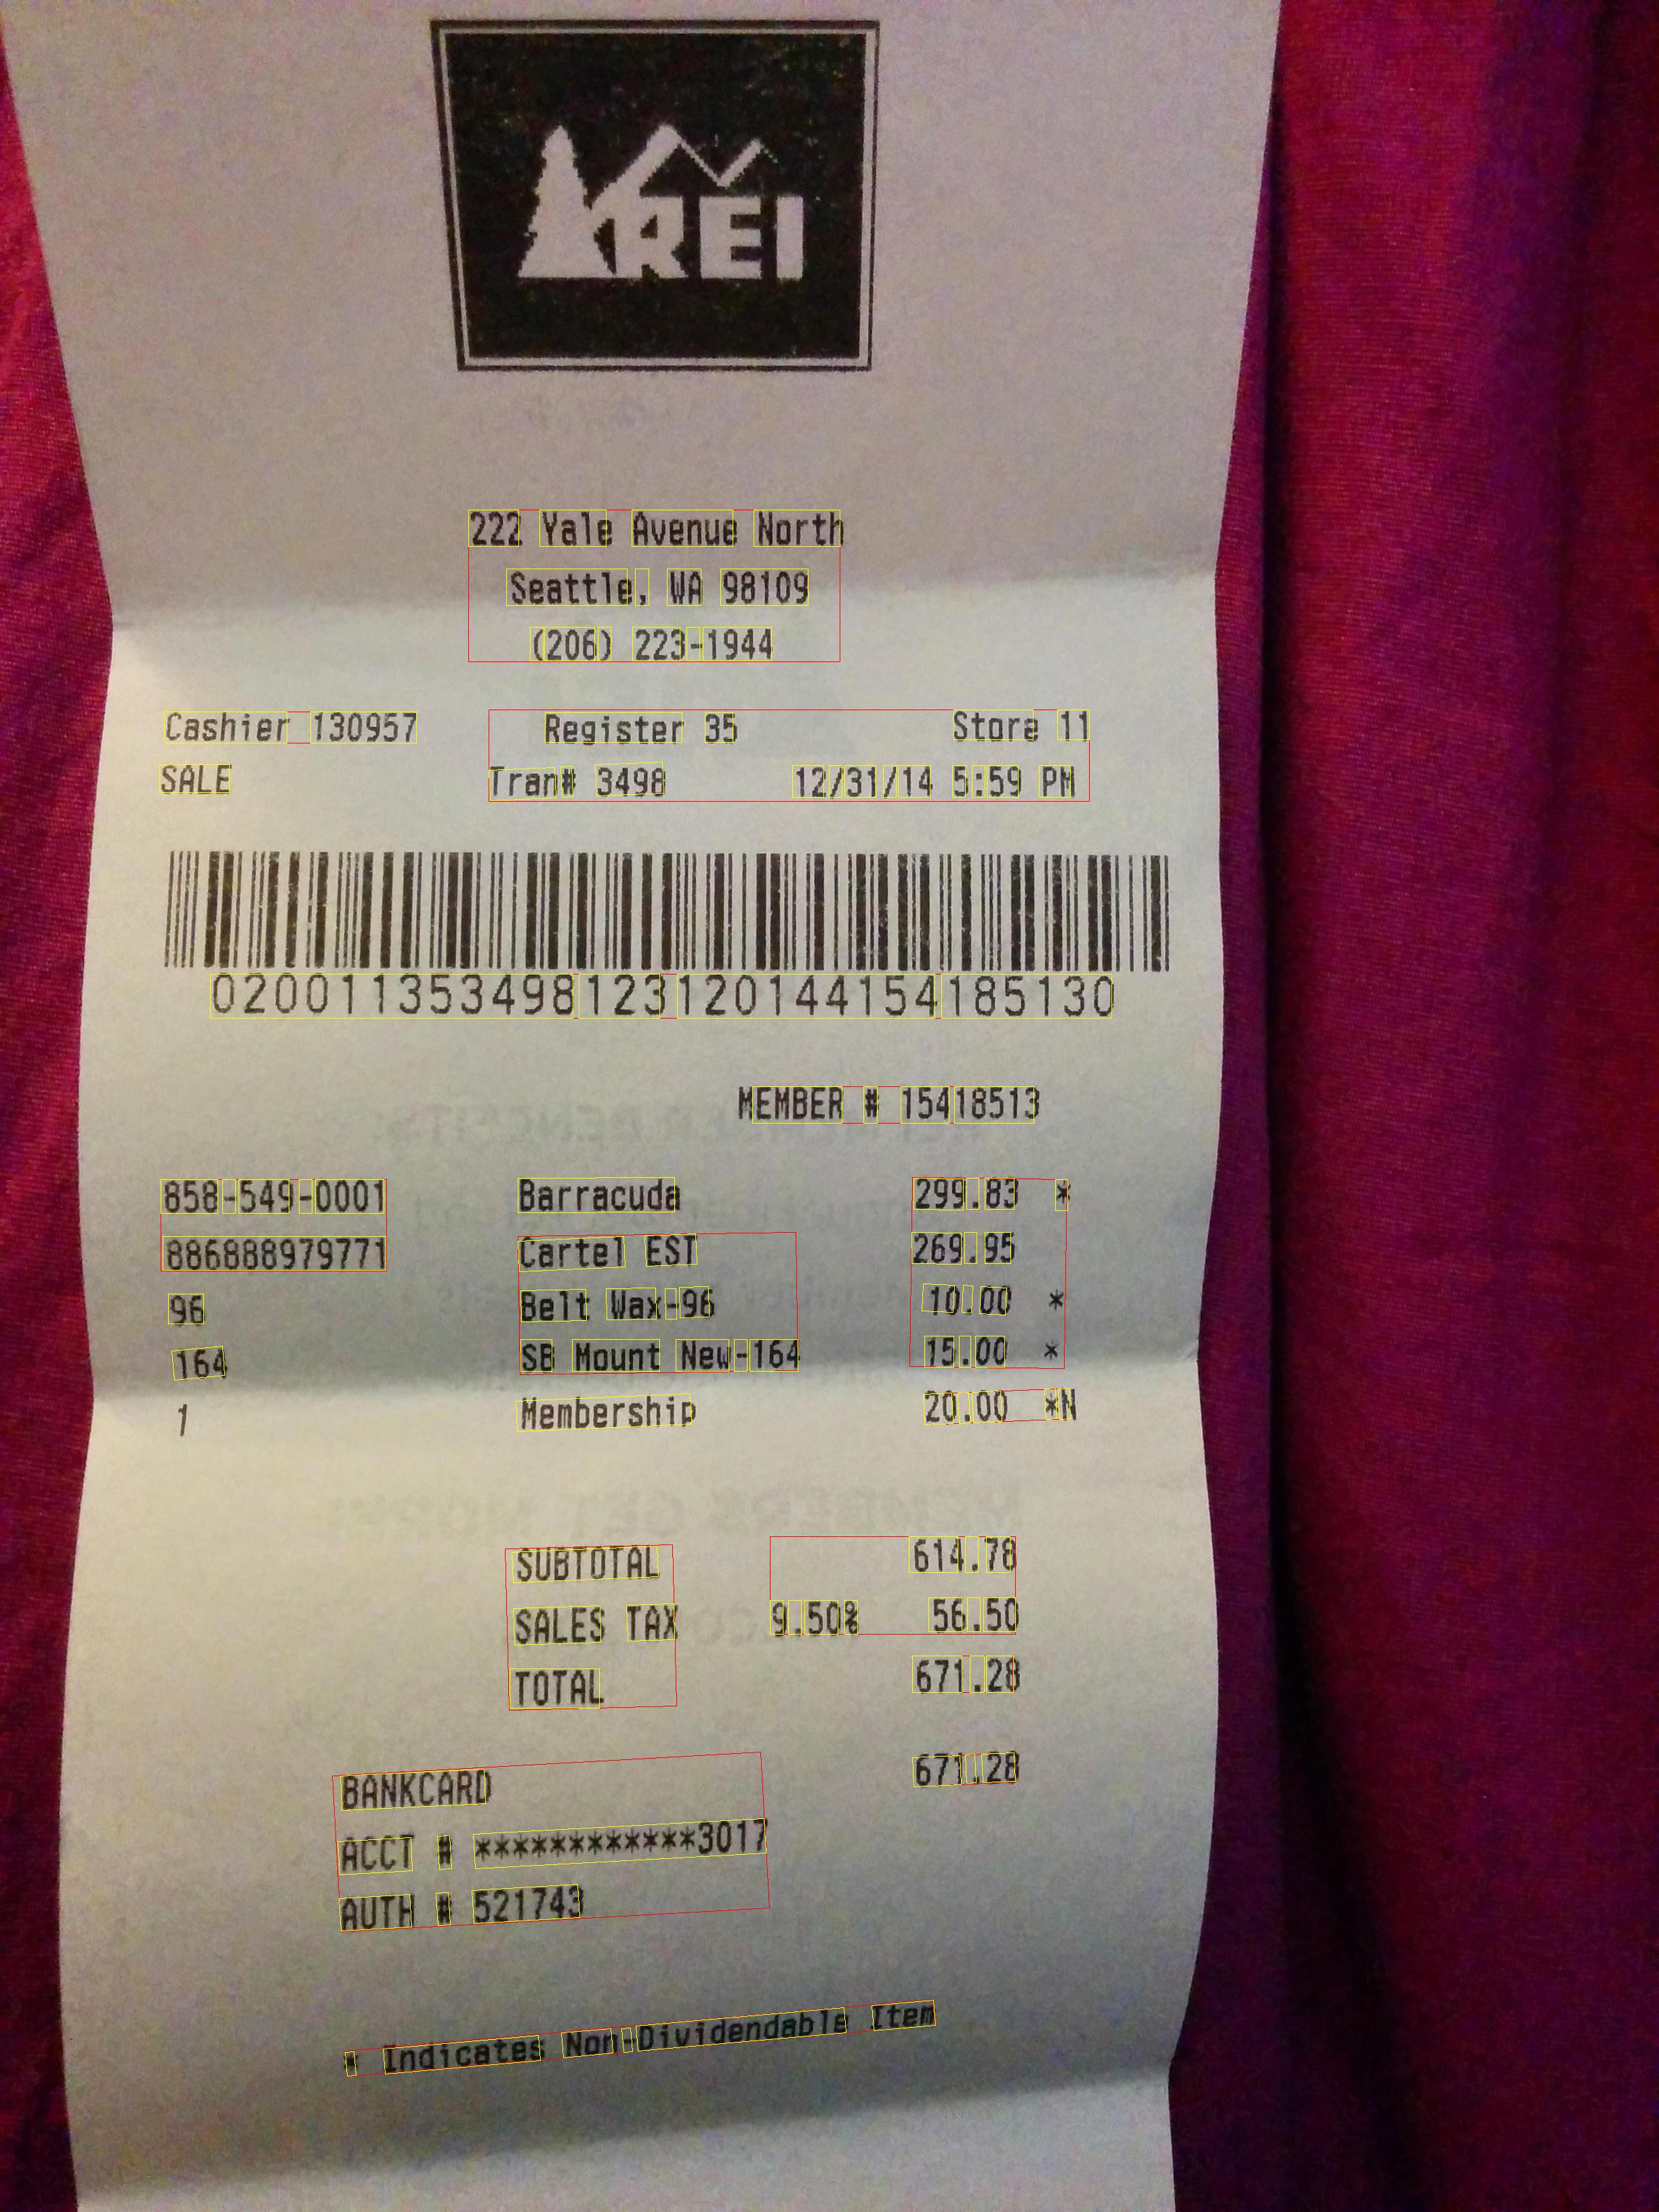
Congratulations! You've performed Text Detection using Google Cloud Vision Full Text Annotations!