Dialogflow's Slack Integration makes it easy to create your own Slack apps and bots
and train them to understand natural language.
> [!NOTE]
> **Note:** When using a third party integration, requests and end-user data are sent to both Google and the third party. The terms of service, SLA, pricing, and quotas [for your agent edition](https://docs.cloud.google.com/dialogflow/docs/editions) are applicable for Google's handling of these requests. The third party's terms of service, SLA, pricing, and quotas are applicable for the third party's handling of these requests.
## Limitations
Only the
[default agent language](https://docs.cloud.google.com/dialogflow/es/docs/agents-settings#lang)
is supported by this integration.
## Setting Up Slack
In order to set up the Slack integration for your agent, you'll need the
following:
- a Slack account
- a [Slack Team](https://slack.com/create#email)
### Create a Slack App
1. Navigate to the [Slack Developer Console](https://api.slack.com/apps/new)
2. Enter a name for your app
3. Choose a Team you would like the app associated with
4. Click the **Create App** button 
### Add a Bot User
1. Click on **OAuth \& Permissions** in the left hand menu
2. Go to **Scopes** section and make sure the following OAuth Scopes are in the Bot Token Scopes section 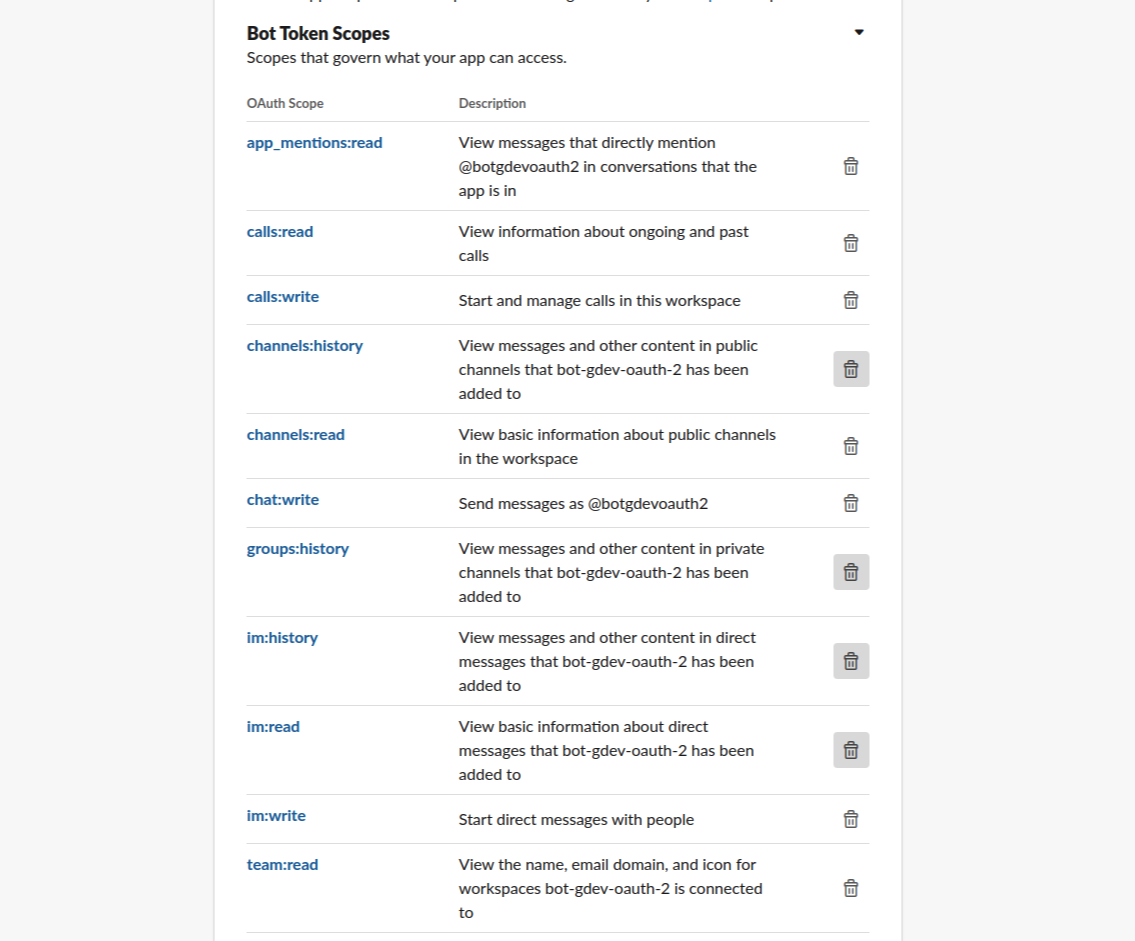
3. Click on **App Home** in the left hand menu
4. Enable **Always Show My Bot as Online** and edit **App Display Name** if needed (this is what users will see for your bot)
## Enabling Integration in Dialogflow
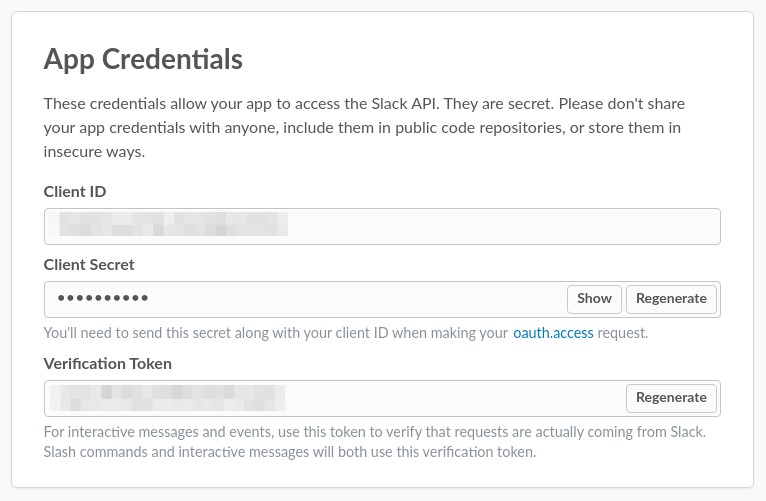
In the Slack Developer Console, click on **Basic Information** in the left hand
menu and scroll down to the **App Credentials** section. Make note of the
**Client ID** , **Client Secret** , and **Verification Token**.
### Link Slack to Dialogflow
1. In Dialogflow, go to **Integrations** in the left hand menu
2. Click on the **Slack** tile
3. Enter the related values into the following fields:
1. **Client ID**
2. **Client Secret**
3. **Verification Token**
4. Click **Start** 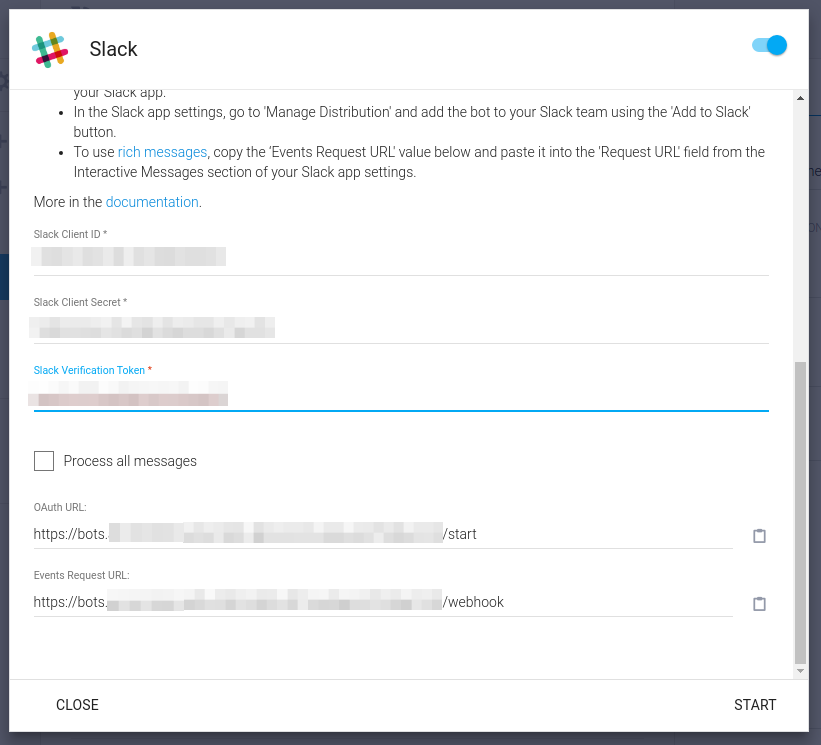
## Continuing Slack Setup
Now that you've set up Slack and Dialogflow, you'll enable OAuth, Event
Requests URLs (provided by Dialogflow) and Event Subscriptions.
### Add OAuth URL
1. Copy the **OAuth URL** from Dialogflow's Slack setting page
> [!NOTE]
> **Note:** If your Slack App is a classic Slack App and you haven't upgraded it yet, you will need to click **Show URLs for legacy Slack workflow** on Dialogflow's Slack setting page, and then copy the **OAuth URL** . Please see [Quickstart: differences between old and new Slack apps](https://api.slack.com/authentication/quickstart) for more information.
1. Go to the Slack Developer Console and click on **OAuth \& Permissions** in the left hand menu
2. Click on the **Add a new Redirect URL** button and paste the OAuth URL
3. Click **Add** 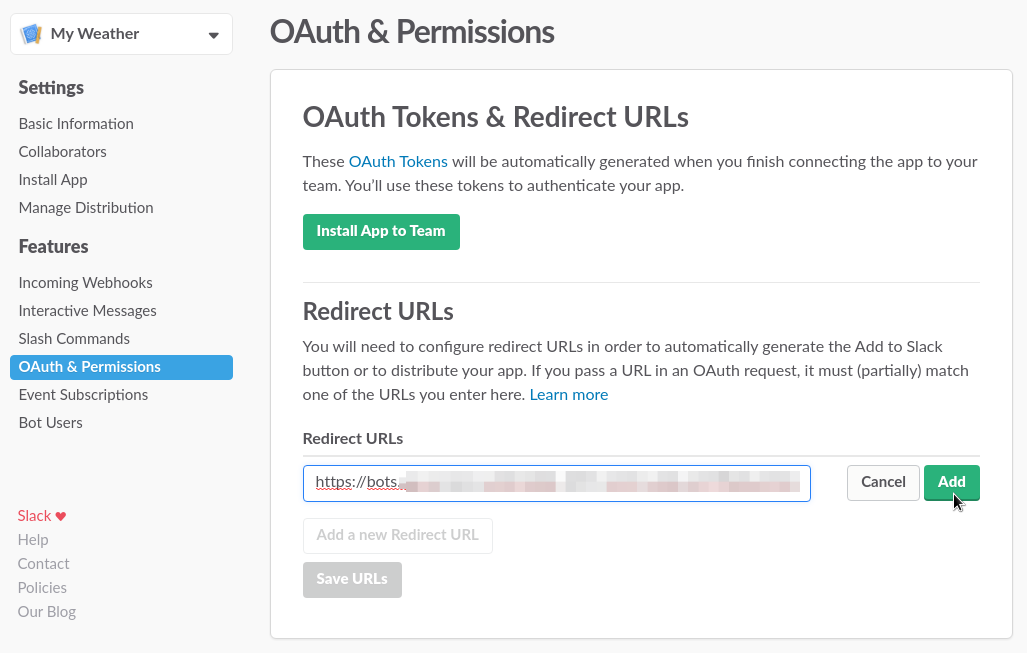
4. Click **Save URLs** button
### Add Event Request URL and Enable Event Subscriptions
1. Copy the **Event Request URL** from Dialogflow's Slack setting page
2. Go to the Slack Developer Console and click on **Event Subscriptions** in the left menu
3. Click on the switch to enable Events, and paste the Event Subscription URL in to **Request URL** field
After a few moments you should see a green "Verified" above the Request URL field. 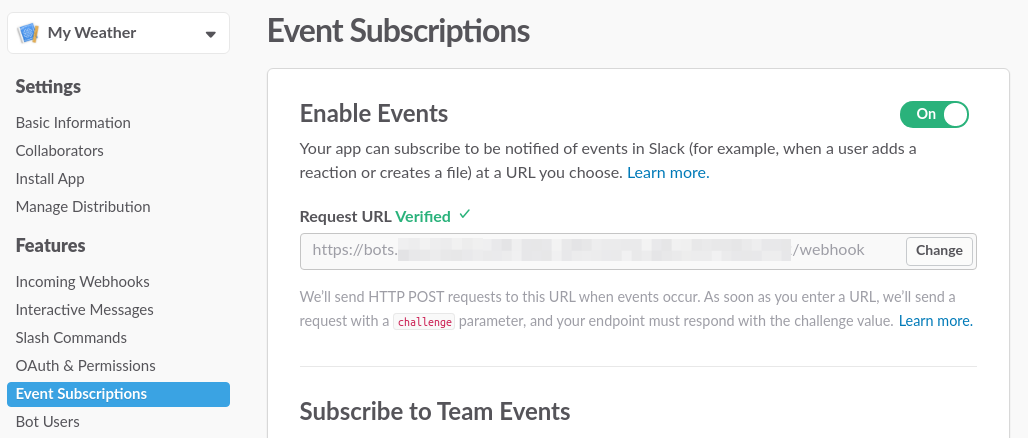
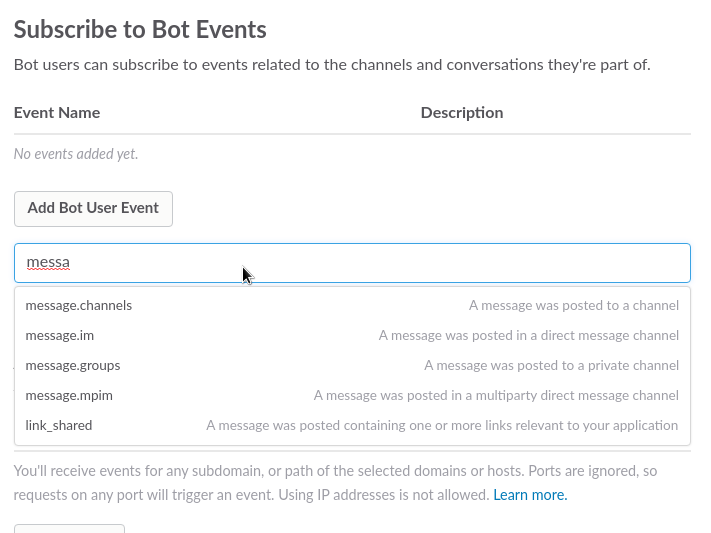
4. Under the **Subscribe to Bot Events** , click on the **Add Bot User Event**
button
This will reveal text field and list of events. You can enter terms into this
field to search for events you want your bot to respond to. Here's a list of
events we suggest adding:
|---|---|
| Event Name | Event Description |
| message.im | A message was posted in a direct message channel |
| message.groups | A message was posted to a private channel |
| message.channels | A message was posted to a channel |
| im_created | A DM was created. Under the **Subscribe to events on behalf of users** section, click the **Add Workspace Event** button to add the im_created event, then press **Save Changes**. |
5. Once you're done updating these settings, click the **Save Changes**
button at the bottom of the page.
### Add Your Slack Bot to a Team
1. In the Slack Developer Console, click on **Manage Distribution** in the left menu
2. Under the **Share Your App with Your Workplace** section, click the **Add to
Slack** button 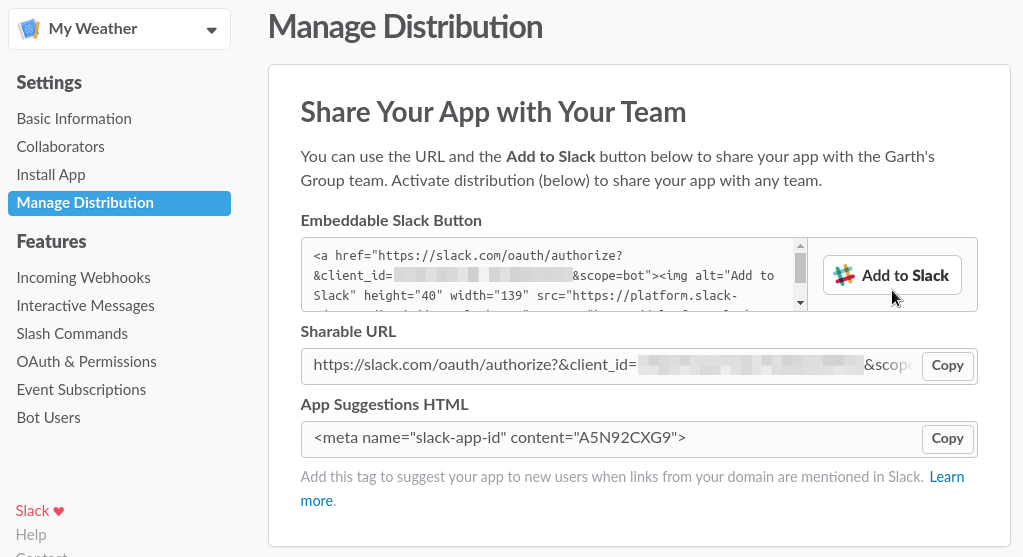
3. On the next page, click the **Authorize** button to add the agent 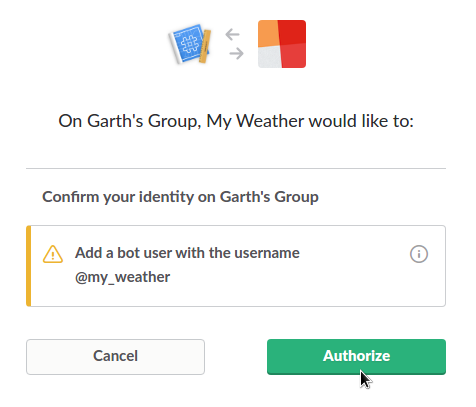
## Testing
You can test your agent without creating a public Slack bot. To do so, go to the
**Integrations** page for your agent and click the switch on the **Slack** tile.
In the pop-up window, click the **Test In Slack** button.
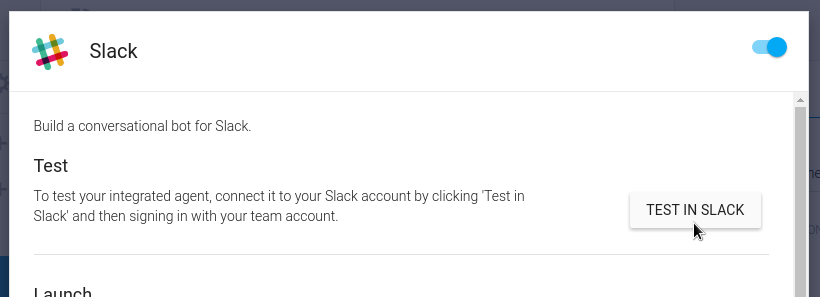
You'll be prompted to log in to Slack. Once logged in, navigate to the instance
and locate the bot user called **@dialogflow-bot**. You can direct message the agent
to test it or add it to channels in your instance.
> [!NOTE]
> **Note:** In order to change the name of the agent or add a logo, you'll need to make the bot public.
## Events
The following [events](https://docs.cloud.google.com/dialogflow/docs/events-overview)
are invoked by this integration:
| Event | Description |
|---|---|
| `SLACK_WELCOME` | Triggered when a user starts a conversation with your Slack bot. |
## Rich response messages
The following
[rich response messages](https://docs.cloud.google.com/dialogflow/docs/intents-rich-messages)
are supported.
### Image responses
Supported formats and sizes:
- gif
- jpeg
- png
- bmp
### Card responses
There are no mandatory fields for cards in Slack -- any combination of elements can be used.
Buttons with a URL and with a text postback are supported. Buttons with a URL are displayed as hyperlinks.
### Quick reply responses
Quick replies are supported in one-click Slack integrations and correspond to a text version of [Slack interactive buttons](https://api.slack.com/docs/message-buttons).
### Custom payload responses
**Formatted text in one-click Slack integration**
Your Slack bots can send [formatted text](https://api.slack.com/docs/message-formatting#message_formatting), as the following example shows:
```
{
"slack": {
"text": "This is an example of *bold*, _italic_, and `code`."
}
}
```