*This page
applies to **Apigee** and **Apigee hybrid**.*
*View [Apigee Edge](https://docs.apigee.com/api-platform/get-started/what-apigee-edge) documentation.*

In this step, you'll publish an API to the portal by performing the following steps:
1. [Create an API proxy from a spec](https://docs.cloud.google.com/apigee/docs/api-platform/publish/portal/get-started/publish-api.md.txt#proxy)
2. [Create an API product](https://docs.cloud.google.com/apigee/docs/api-platform/publish/portal/get-started/publish-api.md.txt#product)
3. [Publish the API to your portal](https://docs.cloud.google.com/apigee/docs/api-platform/publish/portal/get-started/publish-api.md.txt#publish)
## Step 1: Create an API Proxy from a spec
Create an API proxy from an OpenAPI Specification that describes the API.
To create an API proxy from an OpenAPI Specification:
1. In the Apigee in Cloud console, go to the **Proxy Development \> API proxies** page.
[Go to API proxies](https://console.cloud.google.com/apigee/proxies)
2. Click **Create** .
The **Create a proxy** wizard opens prompting you to select the type of API
proxy to create.
3. Click in the **Proxy template** box.
4. Click **OpenAPI spec template, Reverse Proxy (most common)**.
5. Open the following file in a browser, and then save it:
```
https://raw.githubusercontent.com/apigee/api-platform-samples/master/default-proxies/helloworld/openapi/mocktarget3.0.yaml
```
6. In **Step 1 OpenAPI Specs** , click **Browse**.
7. Navigate to an OpenAPI Spec file you just downloaded, select it, and then
click **Open**.
8. Click **Next**.
9. In **Step 2 Proxy details** , the fields are prepopulated using values from
the OpenAPI Specification. Edit the **Description** field as follows: **API proxy for hello world.**
10. Click **Next**.
11. In **Step 3 Flows**, select all operations.
12. Click **Next**.
13. In **Step 4 Deploy**, select the environment to which you want to deploy.
14. Click **OK**.
15. Click **Create**.
> [!NOTE]
> **Note:** It may take a few moments for Apigee to deploy the new proxy.
When the proxy is deployed, the **Status** column in the **Deployments**
section displays a green icon to show that the API proxy revision is deployed.
You can hold the pointer over the status icon to see more information about
the deployment.
## Step 2: Create an API product
Create an API product that contains the API resources that you want to expose to your API consumers.
To create an API product:
1. In the Apigee in Cloud console, go to the **Distribution \> API products** page.
[Go to API products](https://console.cloud.google.com/apigee/apiproducts)
2. Click **Create** . The **Product details** page is displayed.
Enter the **Product Details** for your API product.
> [!NOTE]
> **Note:** The **Display Name** and **Description** fields are displayed in the portal when you publish the API product, by default. You can edit the values in [Step 3: Publish the API to your portal](https://docs.cloud.google.com/apigee/docs/api-platform/publish/portal/get-started/publish-api.md.txt#publish).
| Field | Value |
|---|---|
| Name | **Hello World** |
| Display Name | **Hello World** |
| Description | **Simple hello world example** |
| Environment | Select environment where API proxy is deployed. |
| Access | **Public** |
| Automatically approve access requests | **Enabled** |
| Quota | **(leave blank)** |
| Allowed OAuth Scopes | **(leave blank)** |
3. In the **Operations** section, click **Add an operation** to identify the
operations to add to your API product.
- Under **Source** , select **API proxy** and then select **Mock-Target-API** from the drop-down.
- Under **Operation** , enter a forward slash (`/`) in the **Path** field. Ignore the other fields.
4. Click **Save** to save the operation.
5. Click **Save** to save the product.
## Step 3: Publish the API to your portal
Publish the API to your portal to enable your customers to learn about and use it.
To publish the API to your portal:
1. In the Apigee in Cloud console, go to the **Distribution \> Portals** page.
[Go to Portals](https://console.cloud.google.com/apigee/portals)
2. Click in the **My first portal** row to open the portal.
3. Click the **APIs** tab.
4. Click **+ API**.
5. For **API product** select **Hello World**.
6. Select **Published (listed in the catalog)** to publish the API to your portal.
7. For **Display title** , enter **Hello World**.
8. For **Display image** , click **Select**.
9. Click **Assets**.
10. Click **Preview** for `home-background.jpg`.
11. Click **Select**.
12. For **API documentation**, to auto-generate API reference documentation
from a snapshot of your OpenAPI Specification:
1. Select **OpenAPI document**.
2. Click **Select**.
3. Click the **URL** tab.
4. Type **helloworld** in the **Spec name** field.
5. Copy and paste the following URL in the **URL** field:
```
https://raw.githubusercontent.com/apigee/api-platform-samples/master/default-proxies/helloworld/openapi/mocktarget3.0.yaml
```
6. Click **Select**.
13. Click **Save**.
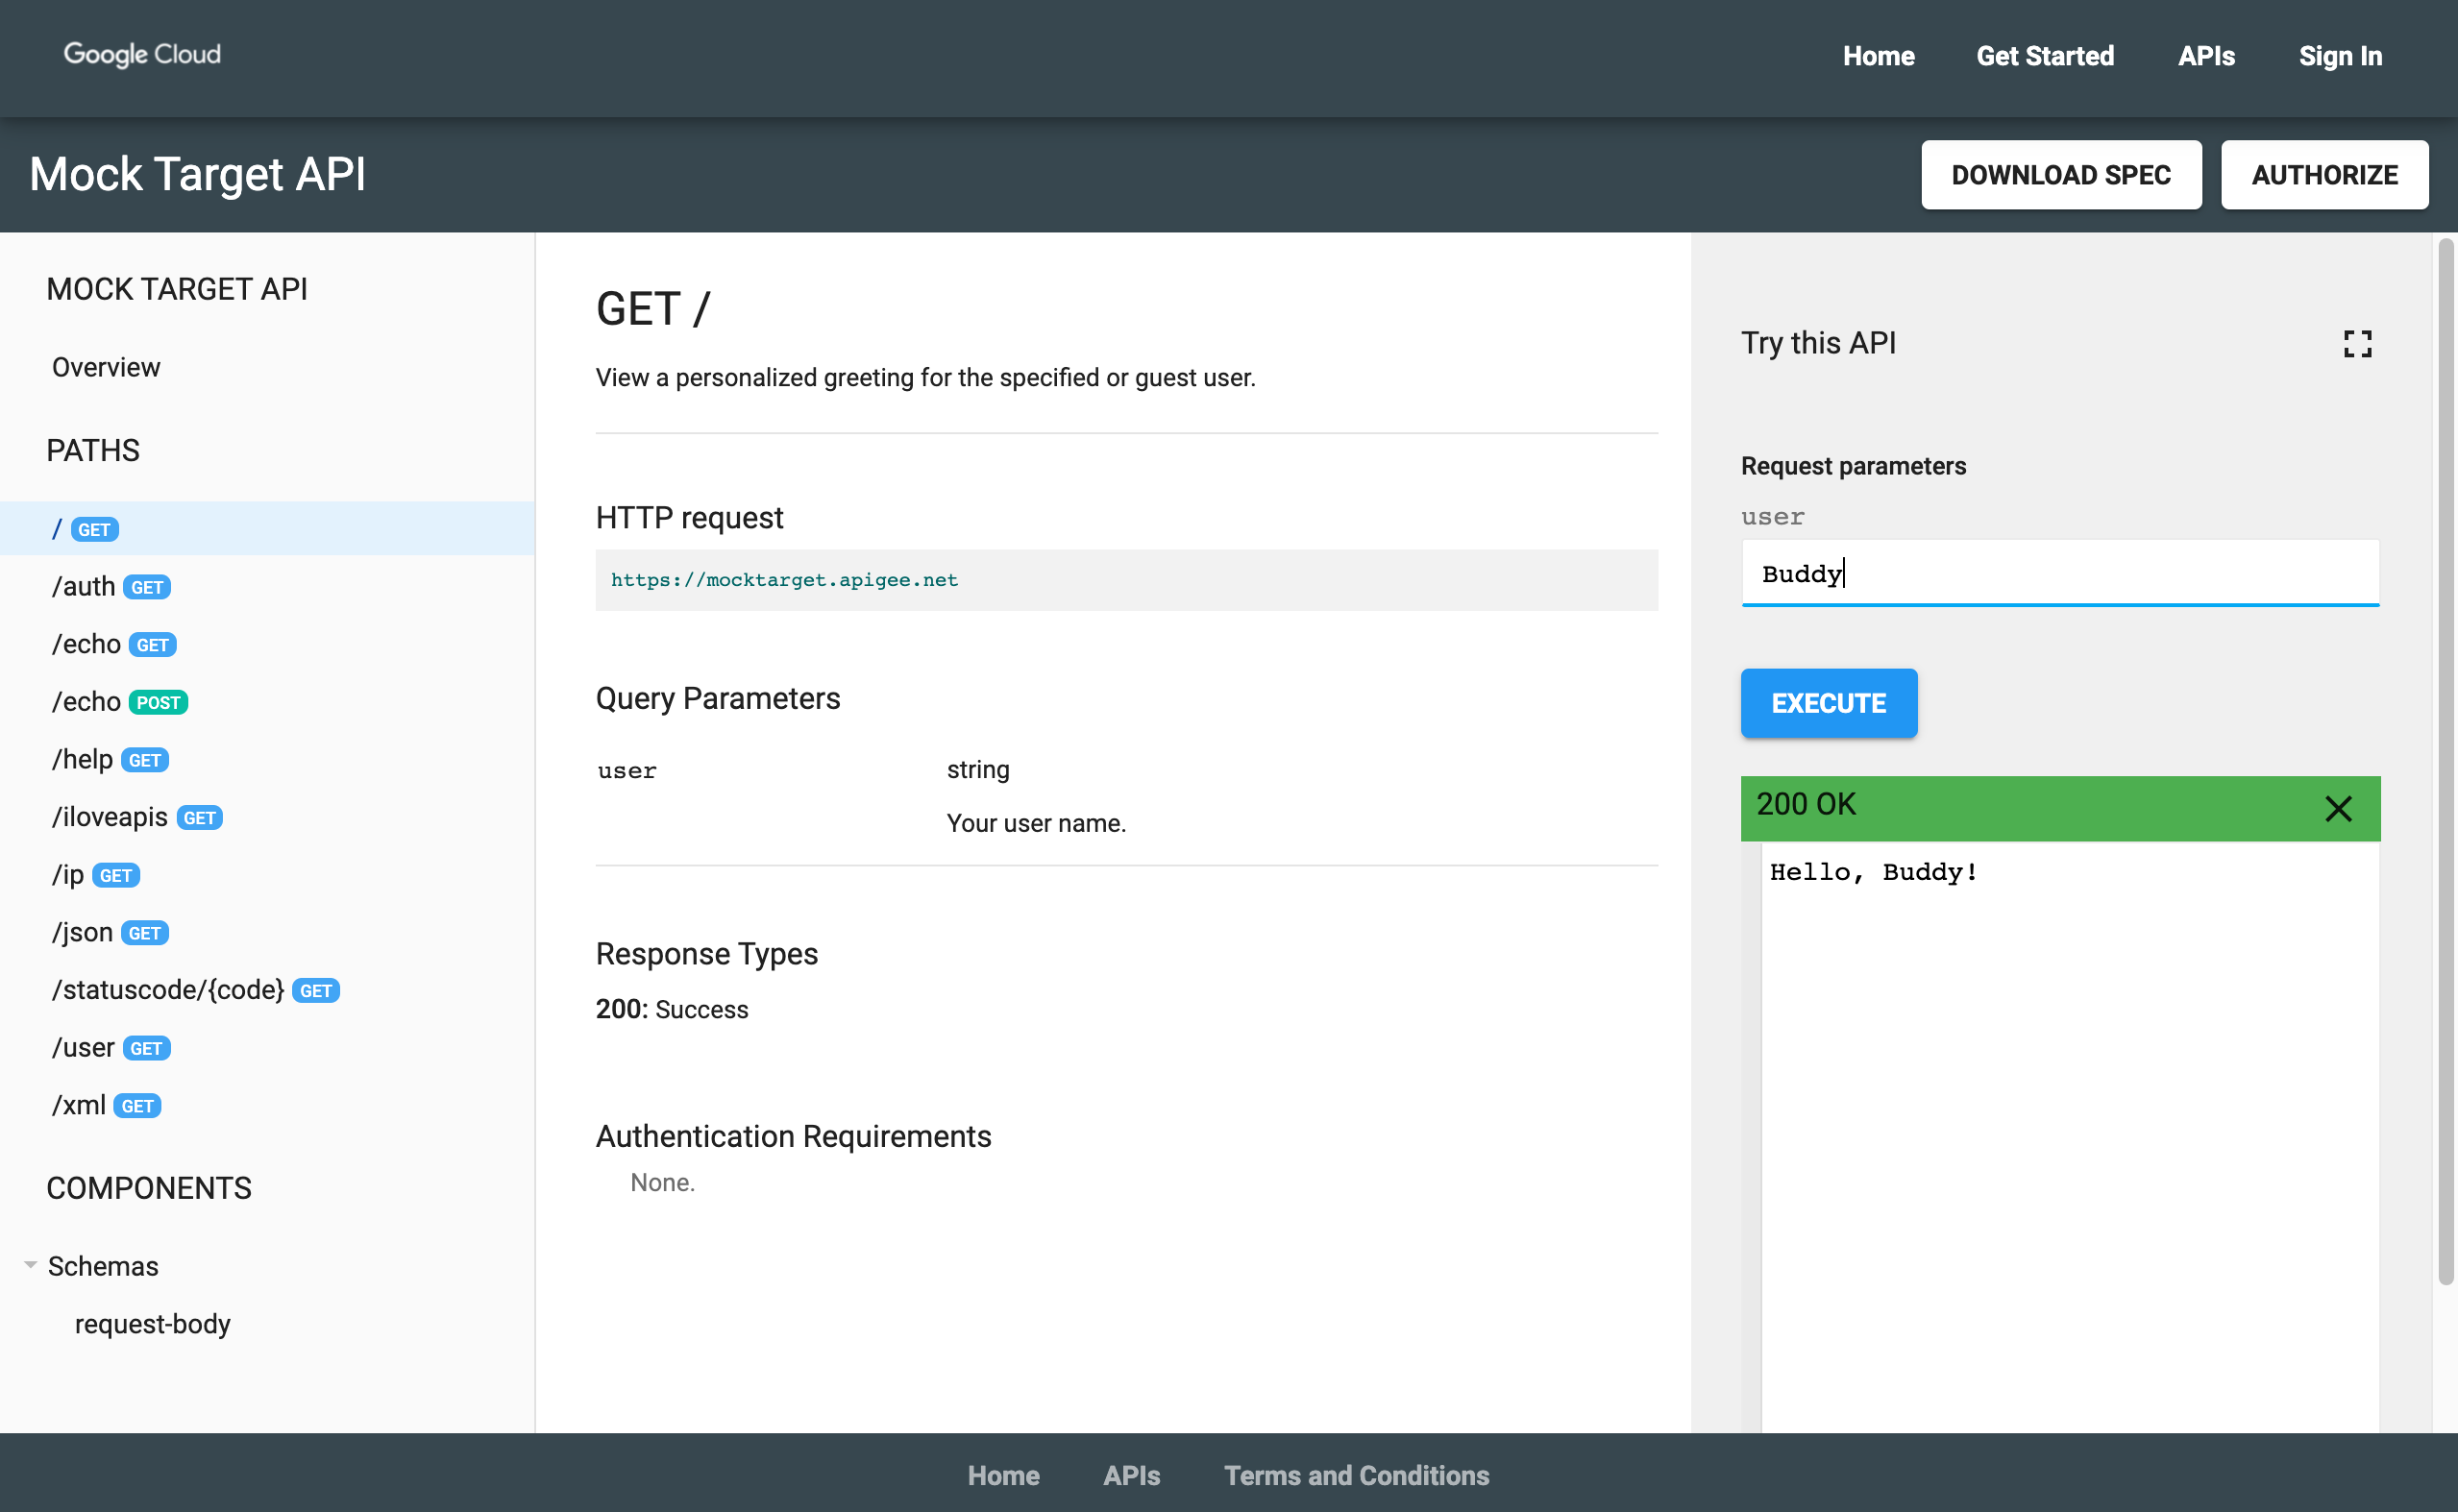
## Step 4: View the API reference documentation
To view the API reference documentation:
1. In the Apigee UI, click **Live Portal** to view the changes in the live portal (or refresh the live portal if it is already open in another tab).
2. In the live portal:
1. Click **APIs** in the top navigation bar to the view published API.
2. Click the **Hello World** card to view the API reference documentation.
3. Give your API a try!
> [!TIP]
> **Congratulations!** You have successfully completed the tutorial. Ready to learn more? Go to the [Apigee portal documentation](https://docs.cloud.google.com/apigee/docs/api-platform/publish/portal/build-integrated-portal.md.txt).